

How to Make VHS-Style Photos with an AI VHS Photo Editor
Your phone shoots in crisp 4K, and somehow that's the problem. Every shot comes out clean, sharp, and forgettable — the same look as everyone else's feed. Meanwhile the posts people actually stop on are grainy, time-stamped, and slightly broken, like they were pulled off a 1994 camcorder tape.
The retro wave isn't slowing down. Product Hunt recently featured NTSC-RS, a tool that recreates analog TV signal artifacts, and The Virtual OS Museum, which lets you boot up old operating systems in the browser. Both hit the front page because the VHS / old-TV aesthetic is having a real moment in 2026.
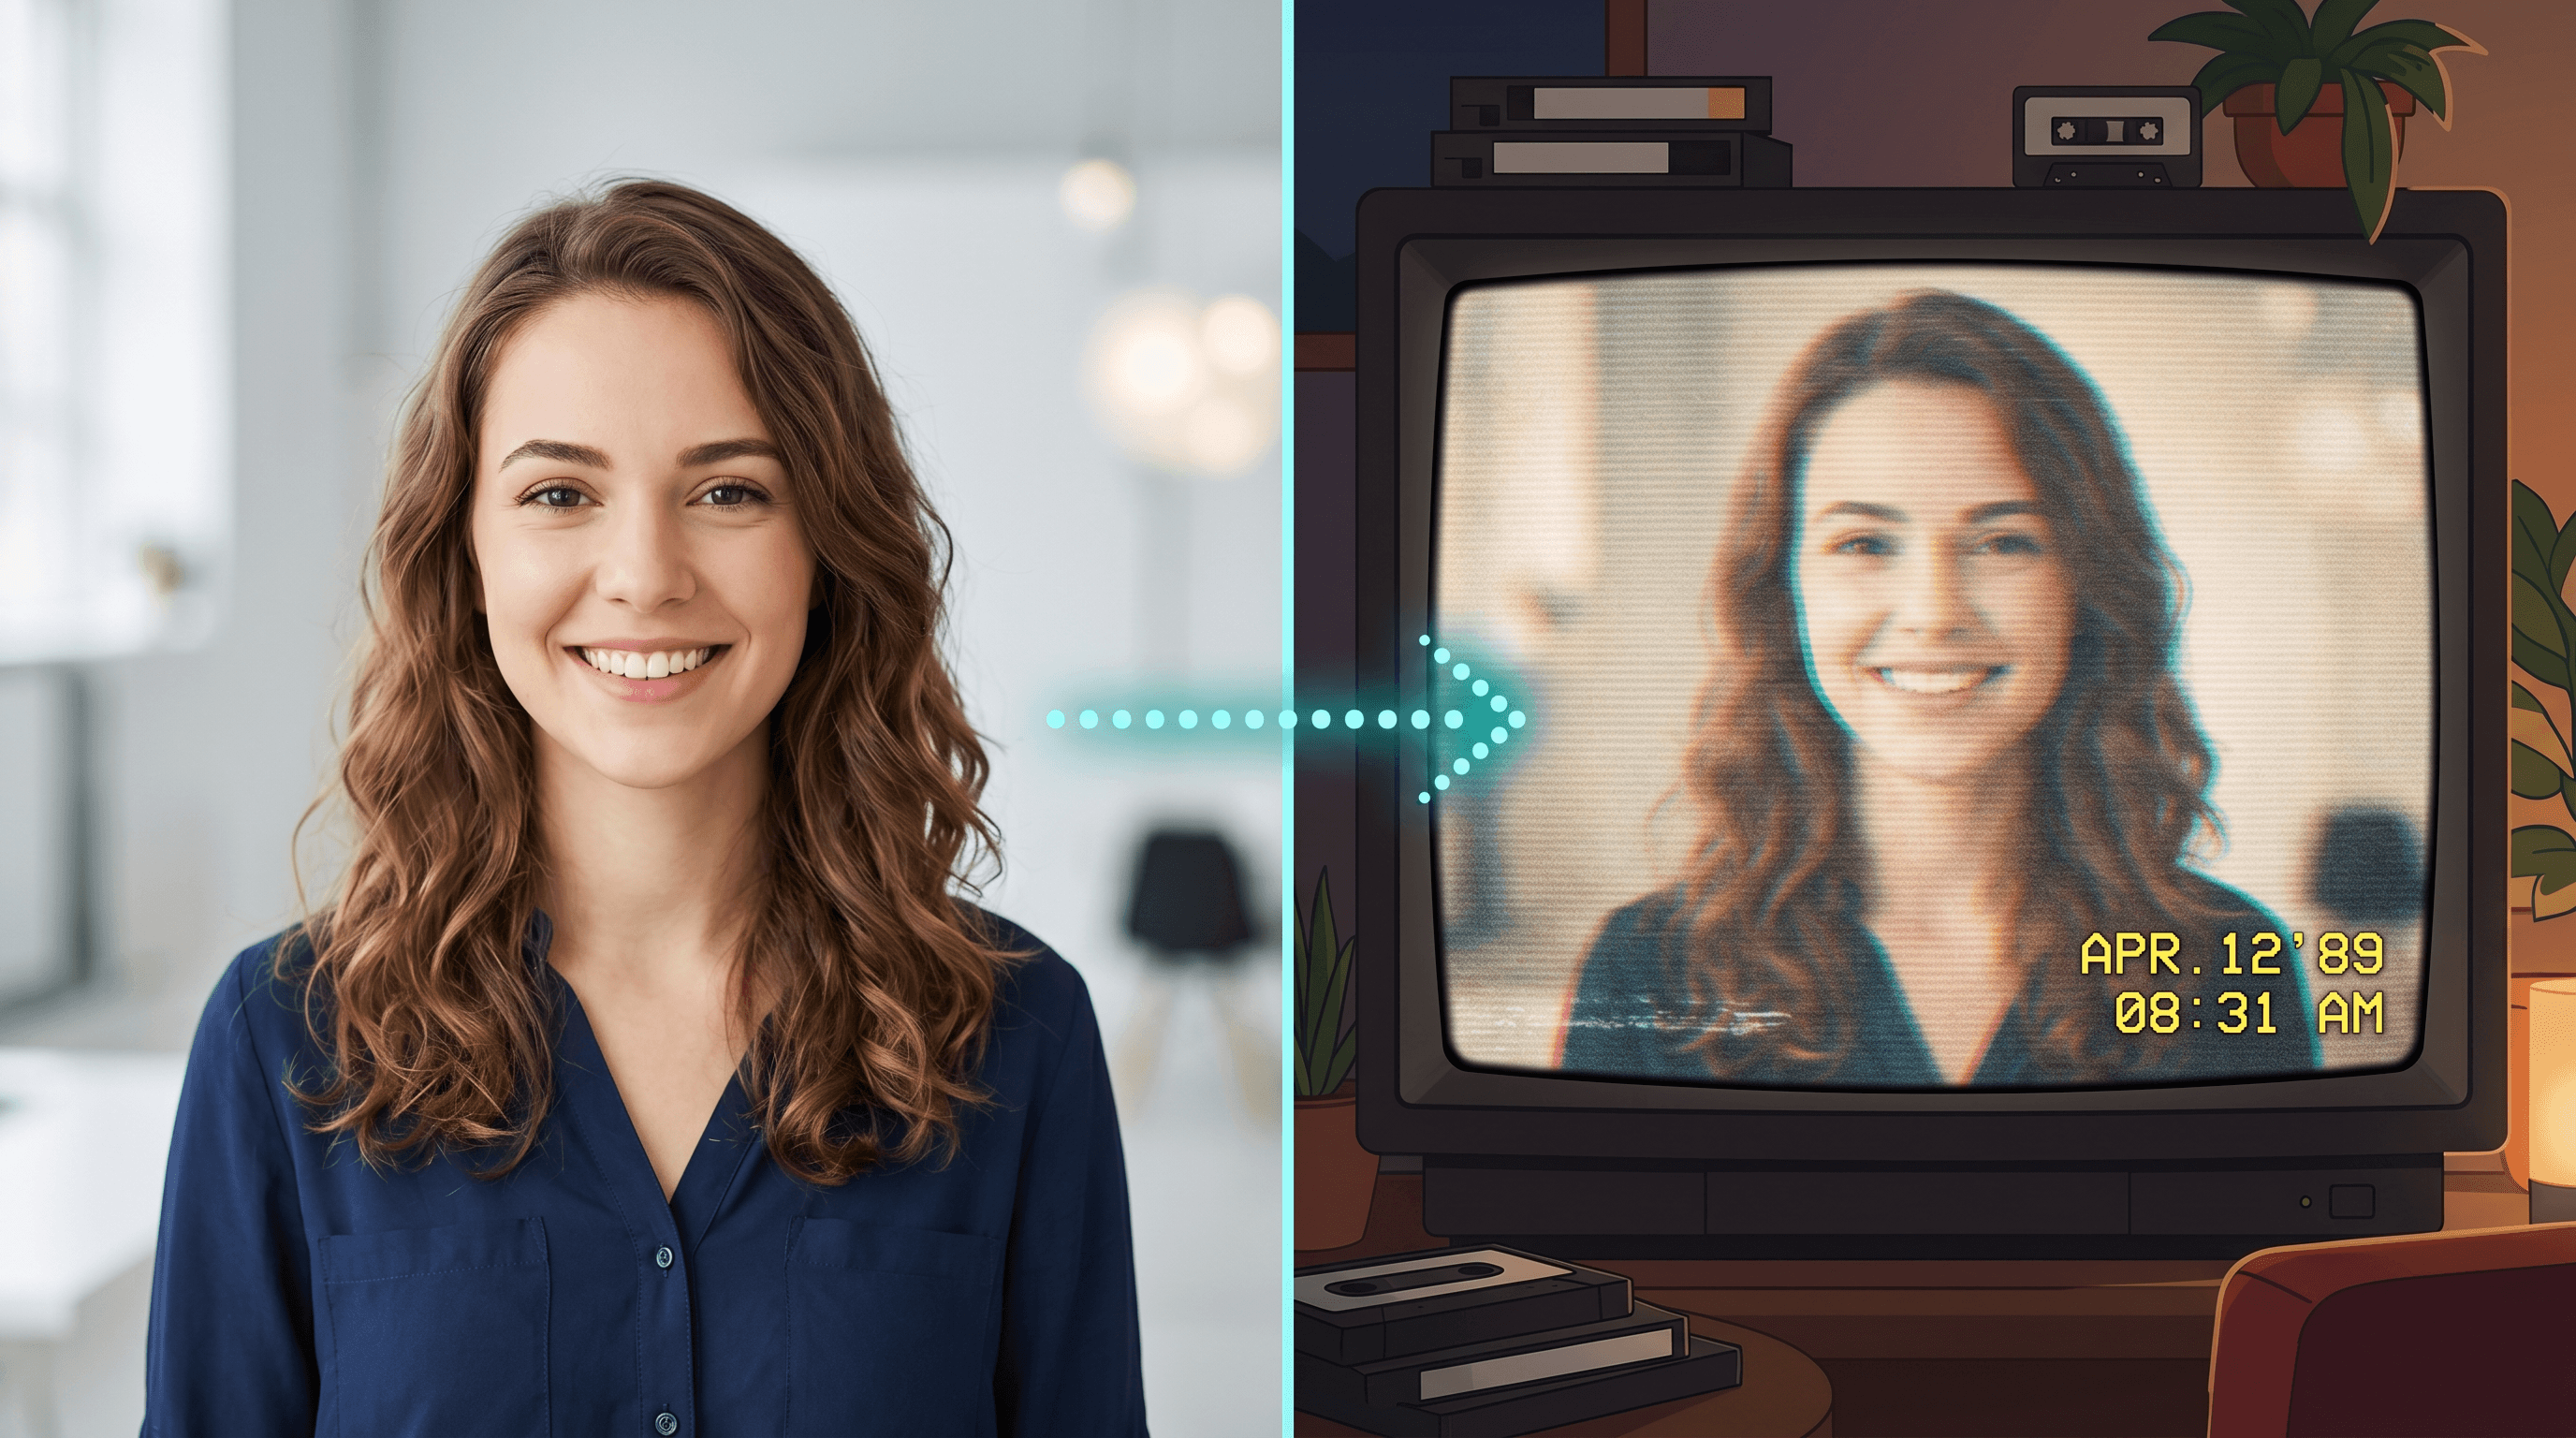
Here's the good news: you don't need a physical camcorder, a capture card, or a stack of Photoshop plugins to get there. With an AI VHS photo editor, you describe the effect in plain English and the model rebuilds your photo with tape noise, scanlines, color bleed, and a blinking timestamp. This guide walks you through it, prompt by prompt.
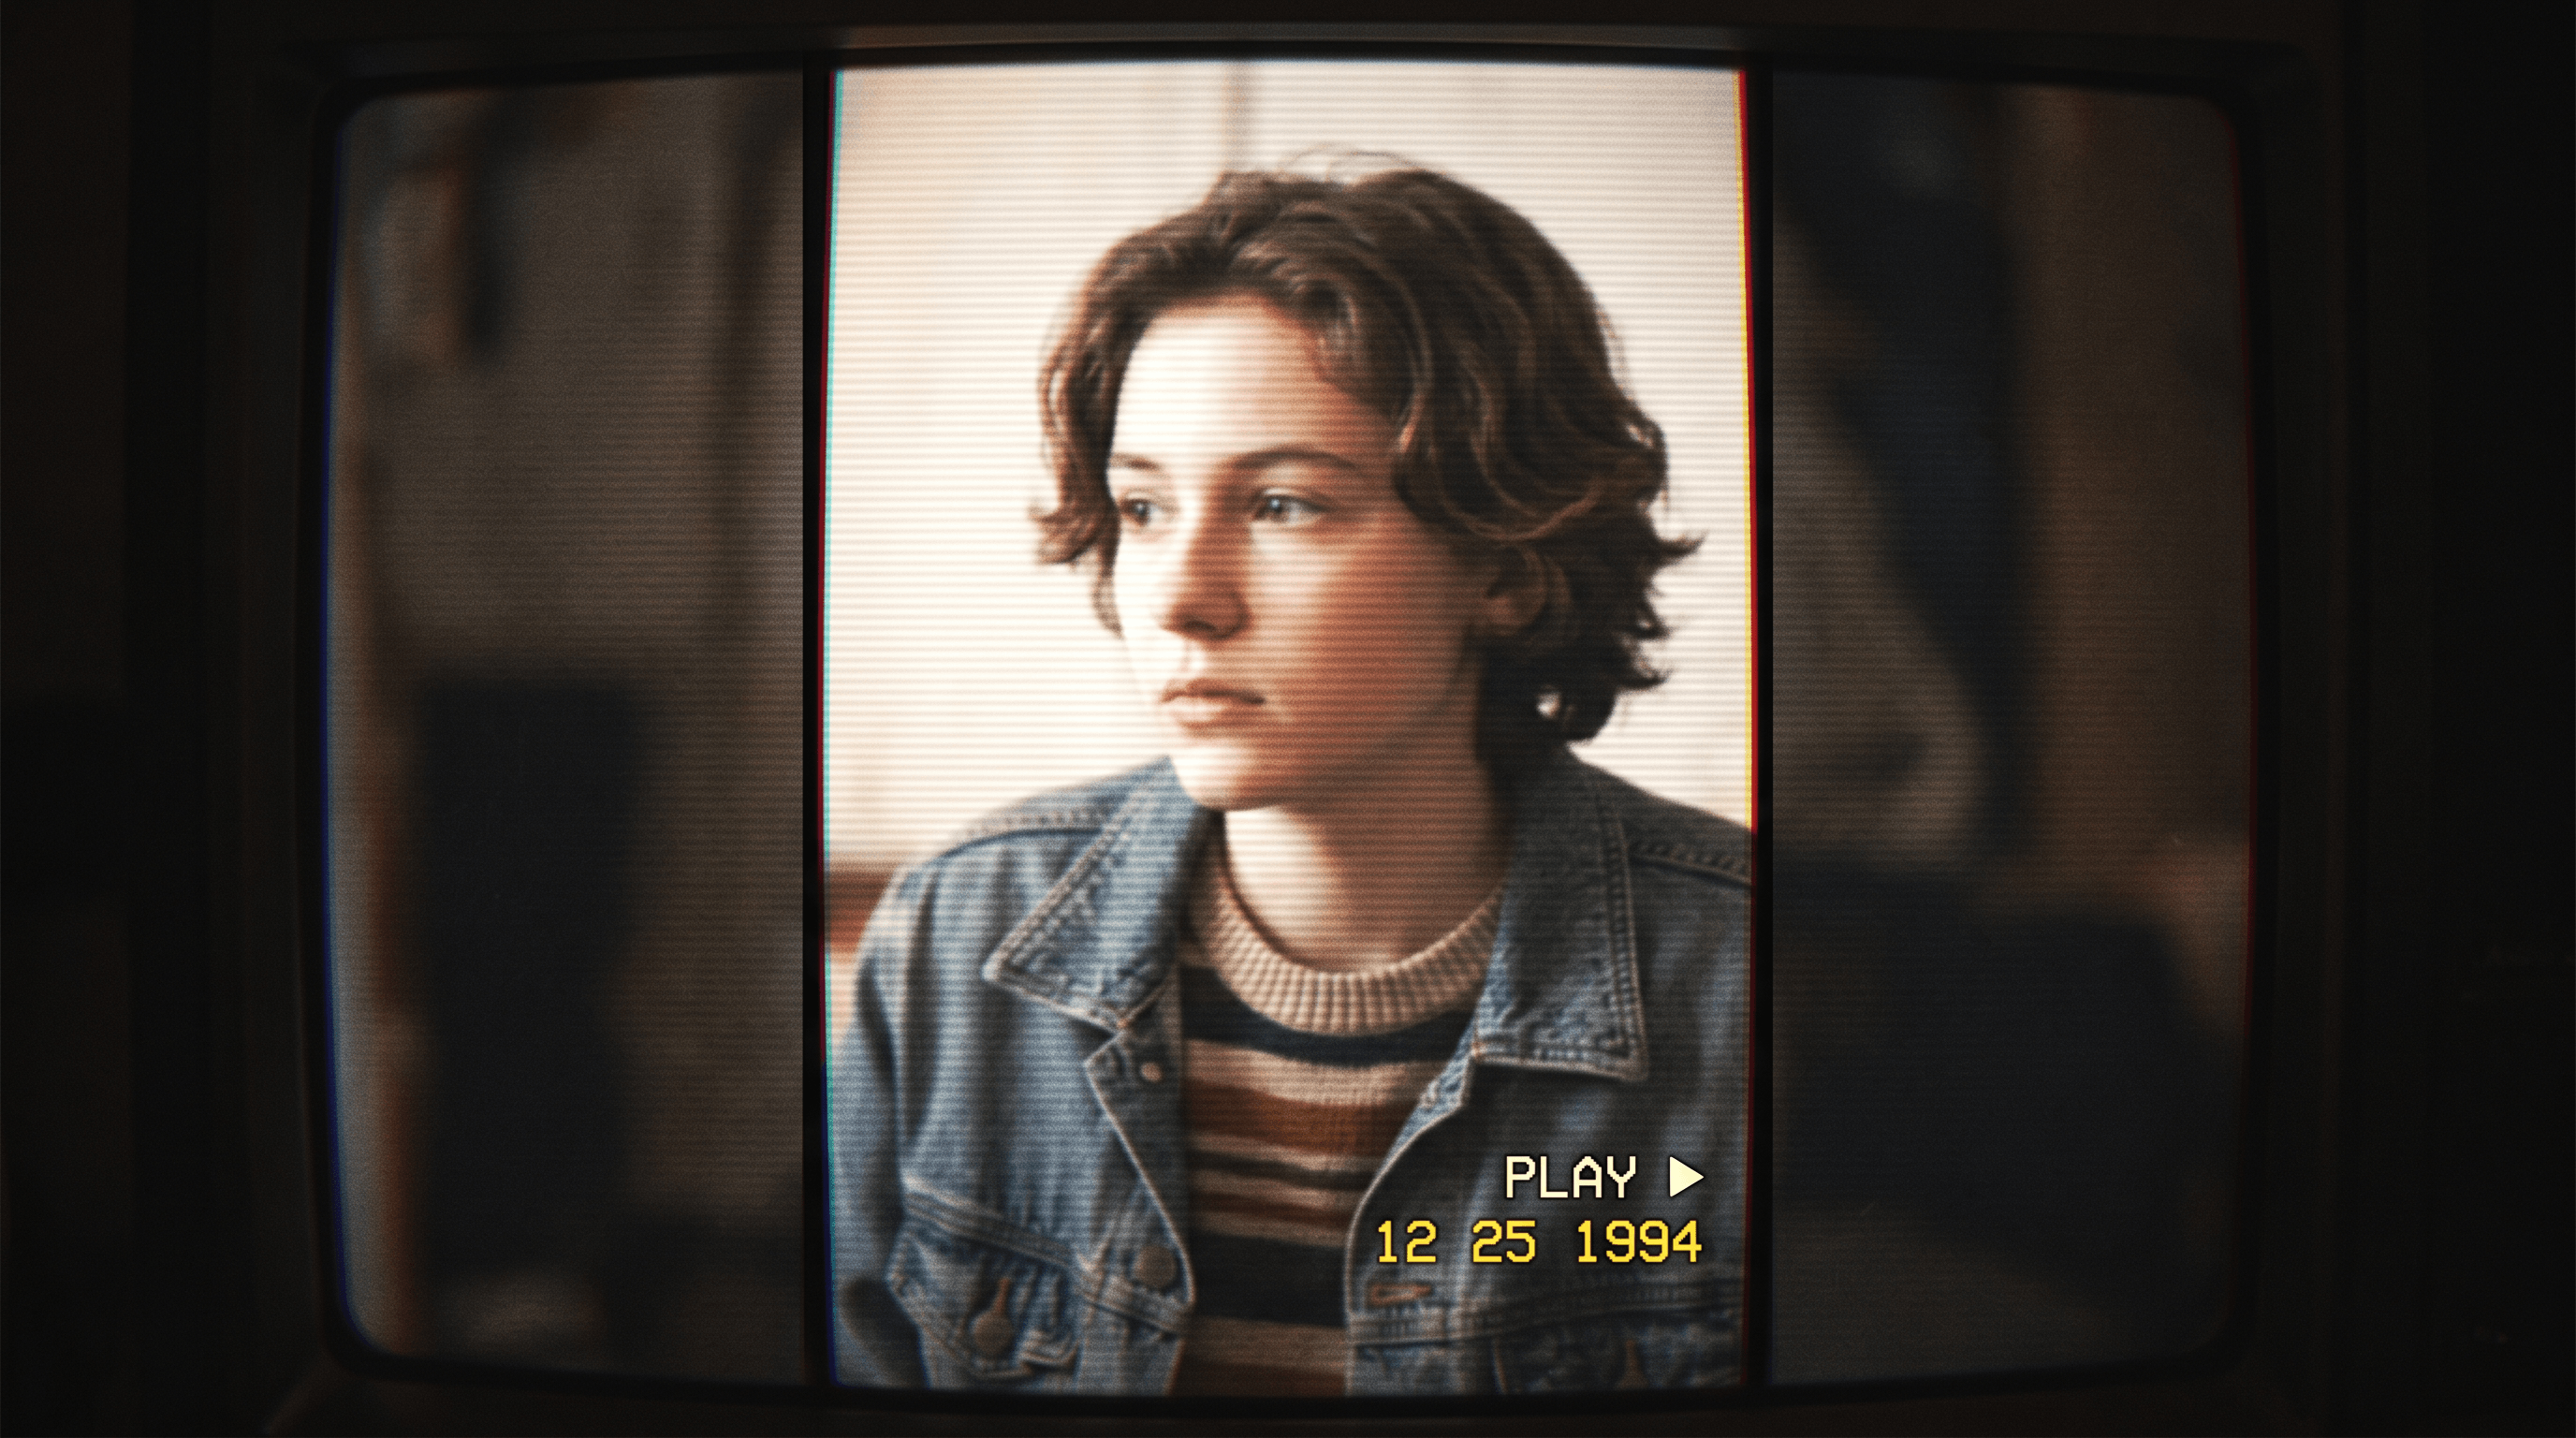
Table of Contents
- Why Make VHS-Style Photos?
- What Makes a Photo Look "VHS"?
- Step-by-Step: Create VHS Photos with AI
- Copy-Paste VHS Prompt Recipes
- Pro Tips for Better VHS Results
- FAQ
Why Make VHS-Style Photos?
VHS-style photos stand out because they break the clean-digital sameness of every other post in the feed. The analog look signals nostalgia, a specific 80s/90s mood, and a kind of imperfect realness that audiences respond to — which is exactly why retro filters keep trending and why an AI VHS photo editor has become the fastest way to get there.
The use cases go well beyond personal posts. Musicians use the look for single covers and lyric videos; the lo-fi, "ripped from an old tape" vibe matches the sound. Indie brands lean on it for nostalgia marketing, since a warm, degraded frame reads as authentic rather than corporate. Creators build reels and carousels around it, and plenty of people just want their profile picture to look like a frame paused on a CRT TV.
The trend has data behind it. The NTSC-RS and The Virtual OS Museum launches both landed on Product Hunt's front page in the same window, and "VHS effect" and "retro photo filter" searches climb every time a new nostalgia wave hits a streaming series or music video. The aesthetic isn't a one-week meme — it resurfaces on a loop, which makes it worth learning to produce on demand instead of hunting for the right preset.
What Makes a Photo Look "VHS"?
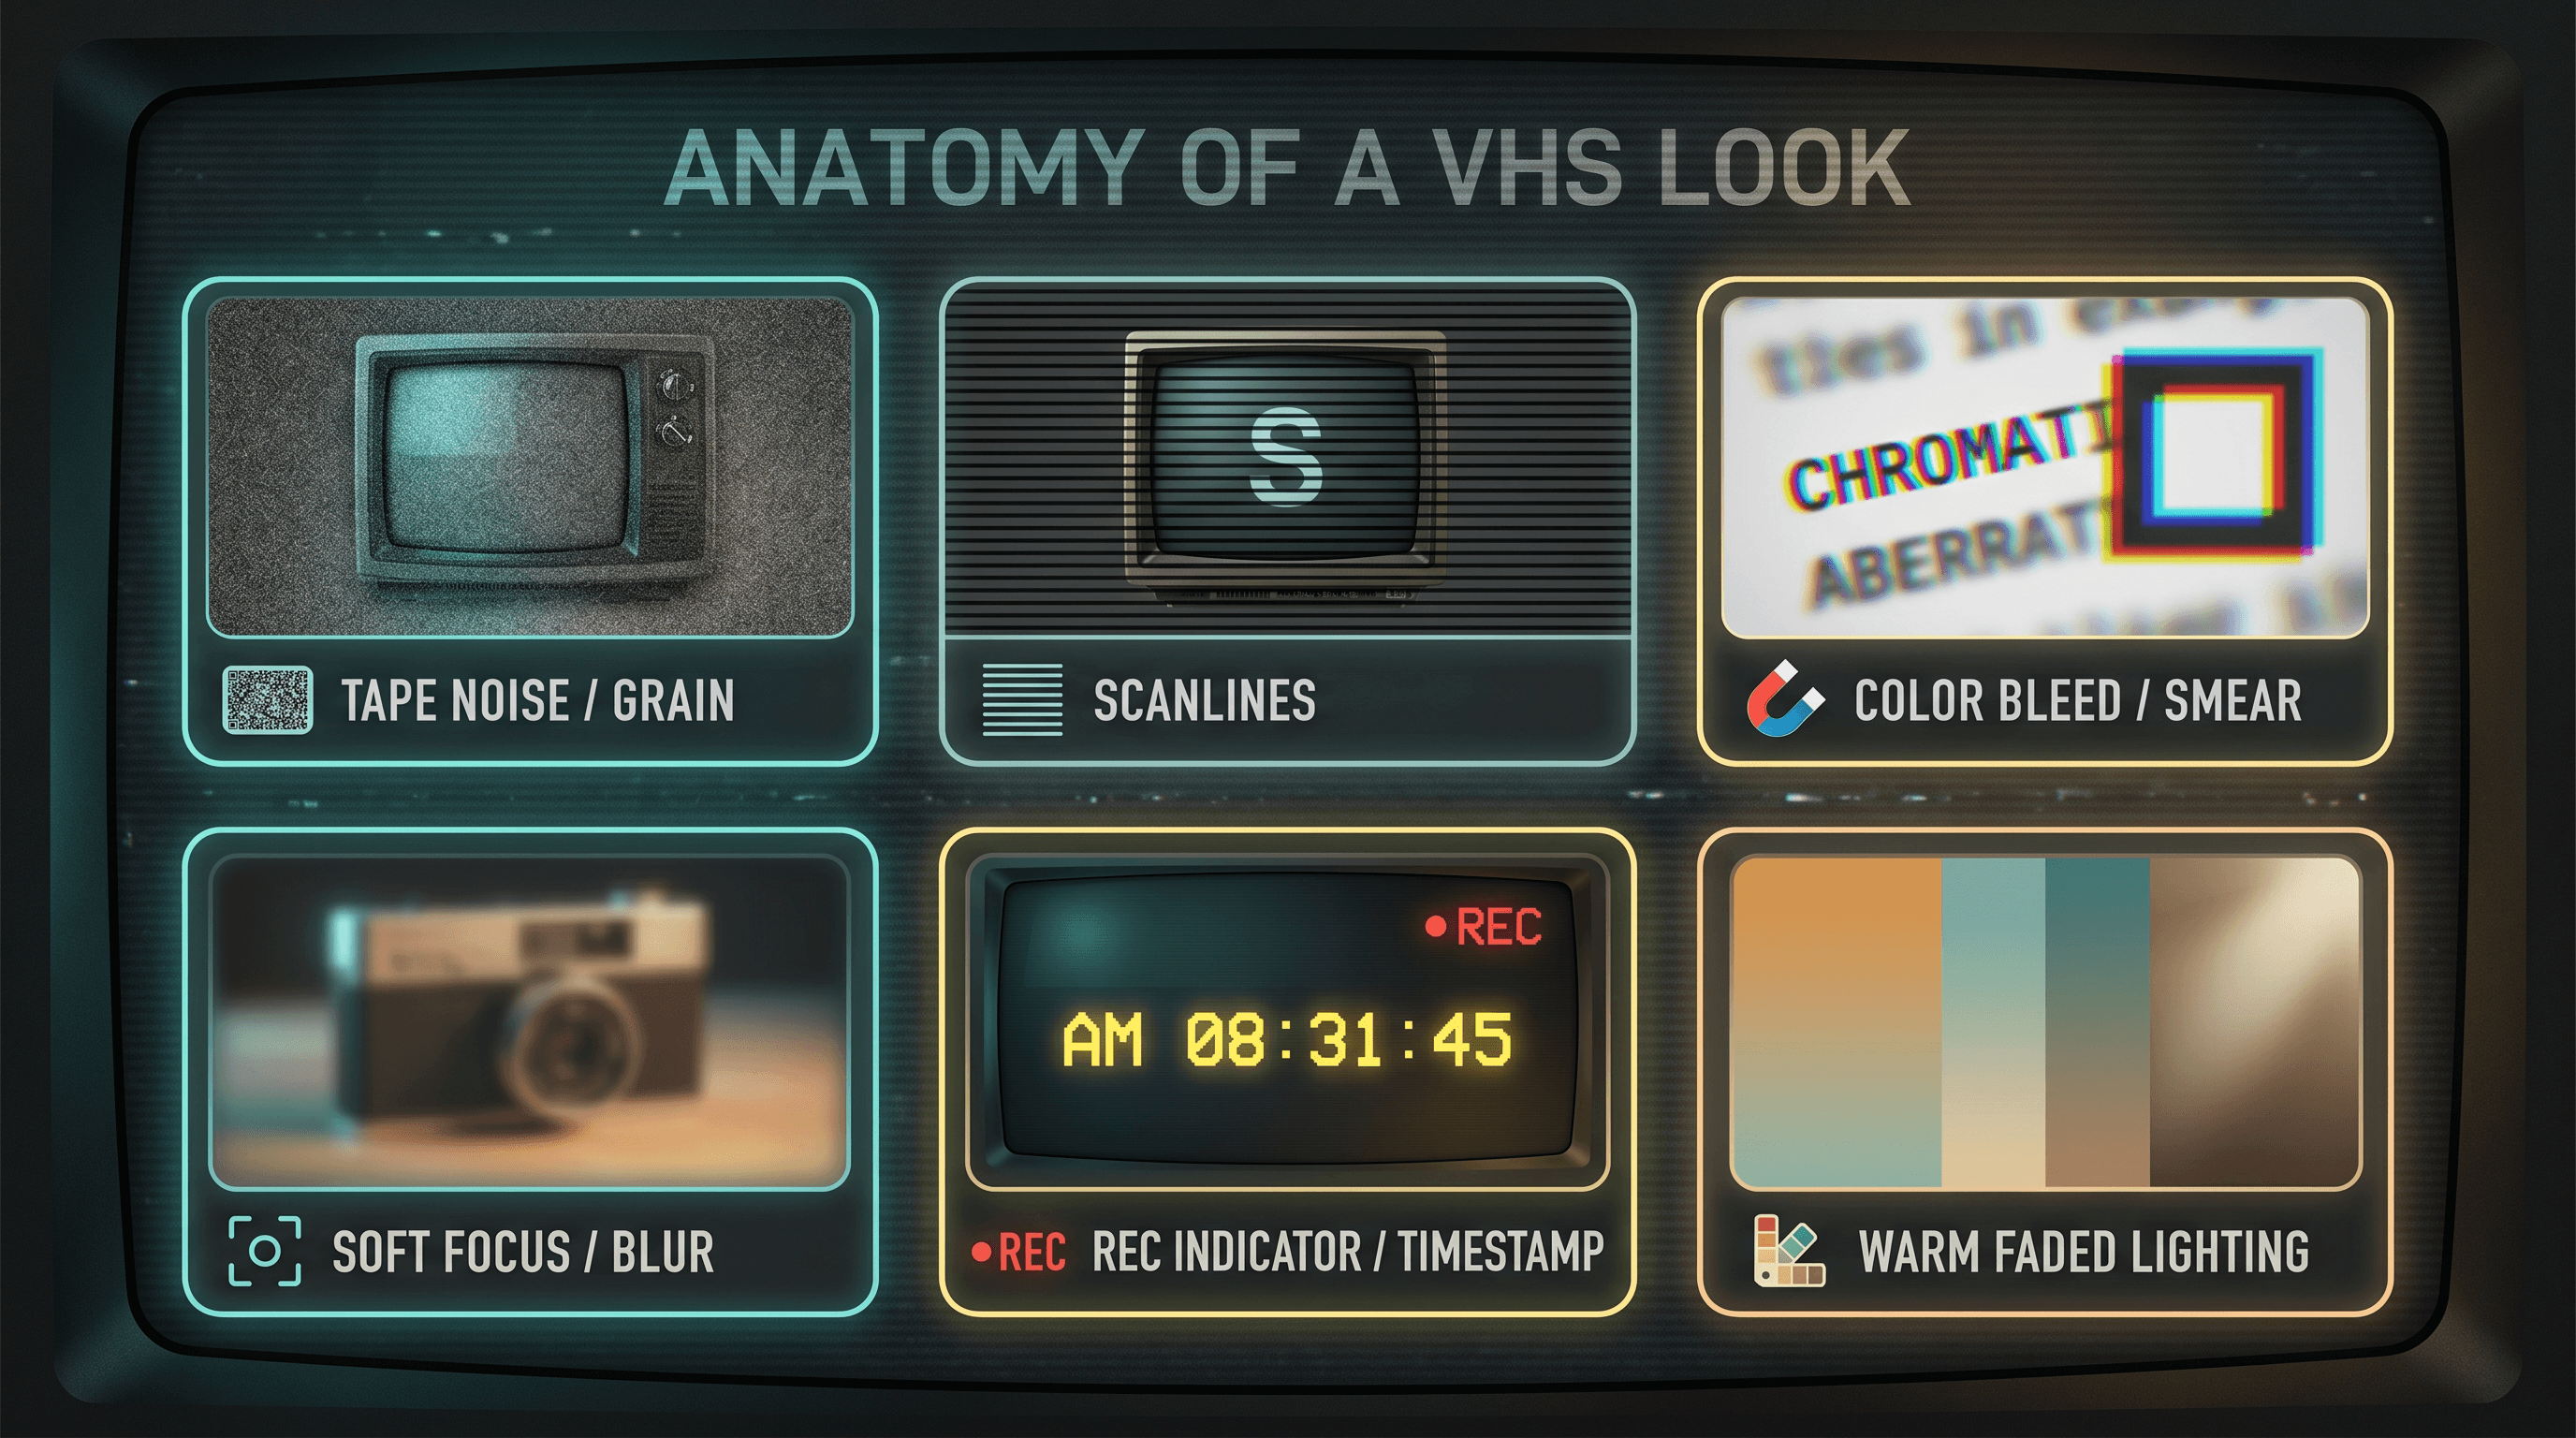
A convincing VHS look isn't one filter — it's a stack of small analog flaws layered together. Get these six ingredients right and almost any image reads as "recorded on tape." This is the vocabulary you'll reuse in every prompt you give your AI VHS photo editor:
| Ingredient | What it does | Prompt words to use |
|---|---|---|
| Tape noise / grain | Adds the fuzzy, sparkly texture of a worn cassette | "VHS tape noise", "analog grain", "static specks" |
| Scanlines | Thin horizontal lines from an interlaced CRT scan | "horizontal scanlines", "interlaced lines", "CRT scan" |
| Color bleed | Reds and blues smear sideways past their edges | "chroma bleed", "color smear", "RGB ghosting" |
| Soft focus | The slightly out-of-focus blur of magnetic tape | "soft VHS blur", "low-resolution softness" |
| Timestamp overlay | The camcorder date/time burned into a corner | "yellow timestamp overlay", "1994 date stamp, REC indicator" |
| Aged lighting | Warm, washed-out color and crushed contrast | "warm faded color cast", "washed-out highlights" |
You rarely want all six at full strength. A music-video frame might lean on color bleed and scanlines, while a "home movie" snapshot needs the timestamp and warm cast more than heavy static. Treat these as dials, not switches — that mindset is what separates a believable retro photo filter from an obvious one-click gimmick.
Step-by-Step: Create VHS Photos with AI
You can turn a normal photo into a VHS-style shot in about a minute. Upload a clean image, write a base prompt that names the effect, then layer the analog ingredients one at a time so you can control how strong each one looks. Here's the full process.
Step 1: Start with a clean, well-lit photo
Counterintuitively, the better your starting photo, the better the VHS effect lands. The AI needs clear shapes and faces to degrade convincingly — a blurry, dark input just turns into mush once you add tape noise on top. Pick a sharp, well-lit photo with a clear subject. Portraits, street scenes, and concert shots all convert beautifully.
Step 2: Write your base VHS prompt
Start broad, then refine. Your first prompt should set the overall era and medium before you fine-tune individual artifacts. Something like: "Make this photo look like a still frame from a 1990s VHS home video — analog tape texture, soft focus, warm faded colors." Run it, look at the result, and decide which ingredient needs more or less.
Step 3: Layer in tape noise and scanlines
Now add the signature analog texture. Append specifics to your prompt: "add fine VHS tape noise and horizontal scanlines, light static." This is the step where a generic "retro" image becomes unmistakably VHS. Upload your photo to Imgezy and describe the effect in plain text — the AI VHS photo editor applies the tape noise and scanlines in about five seconds, and you can re-run with "more" or "less" until the texture feels right. If you'd rather start from a preset look, the AI vintage portrait generator gives you an aged base to push further.
Step 4: Add color bleed and a timestamp overlay
Two details sell the era harder than anything else: chroma bleed and an on-screen timestamp. Add: "add subtle red/blue color bleed and a yellow camcorder timestamp in the bottom-right corner reading 'PLAY ▶ 12 25 1994'." The smeared color edges mimic how magnetic tape stored chroma, and the date stamp instantly frames the shot as found footage. Keep the bleed subtle — too much and it reads as a glitch effect, not VHS.
Step 5: Soften the focus and warm the lighting
Real tape never looked crisp. Add a light blur and a warm, faded color grade: "slightly soften the focus, lower the contrast, add a warm yellow-green color cast and washed-out highlights." This is the difference between a sharp photo with noise stickered on top and a frame that genuinely looks decades old. Crushed blacks and slightly blown highlights complete the analog feel.
Step 6: Export, then batch the rest of your set
Once one frame looks right, you've got a recipe. Save the final prompt, export your image at full resolution, and reuse the exact same prompt across the rest of your photos so a whole set shares one consistent VHS grade. Batching keeps a carousel or single-cover series looking like it came off the same tape instead of five different filters.
Copy-Paste VHS Prompt Recipes
Don't want to build a prompt from scratch? Paste one of these into your AI VHS photo editor and adjust the details. Each recipe targets a different flavor of the retro look.
90s Home Video
"Make this look like a still from a 1990s VHS home video: analog tape grain, horizontal scanlines, soft focus, warm faded colors, slight color bleed, and a yellow timestamp in the bottom-right corner reading '06 12 1994'. Lower the contrast for an aged-tape feel."
Late-Night Cable TV
"Convert this into a late-night cable broadcast frame: heavy scanlines, RGB chroma smear, slight signal noise and tracking distortion at the top edge, dim warm lighting, and a small 'REC ●' indicator in the top-left corner."
Found-Footage Horror
"Degrade this into a found-footage VHS frame: harsh tape static, visible tracking lines, washed-out greens, heavy grain, soft blur, and a flickering timestamp. Make it look damaged and decades old."
Retro Anime / City Pop
"Give this a 1980s city-pop VHS aesthetic: warm sunset tones, soft glow, fine scanlines, light chroma bleed, dreamy soft focus, and subtle film grain. Nostalgic and slightly faded."
Treat the values — "heavy," "subtle," "light" — as starting points. If the scanlines overpower the subject, ask for "fainter scanlines"; if it doesn't read as VHS yet, push the grain and bleed up a notch.
Pro Tips for Better VHS Results
- Add one ingredient at a time. Stacking all six artifacts in a single prompt usually produces a muddy mess. Layer them across two or three passes so you can see what each one contributes and dial it back if needed.
- Match the timestamp to the story. A 1994 date on a photo of a modern smartphone breaks the illusion instantly. Pick a year that fits the subject, or crop modern tech out first with an object remover.
- Keep faces readable. Push noise and bleed too hard and your subject disappears. If you're editing a portrait, tell the AI to "keep the face sharp and clear" while degrading the rest of the frame.
- Use a 4:3 crop for authenticity. Old camcorders shot in 4:3, not widescreen. Cropping to that ratio before you export does as much for the retro feel as any filter.
- Save your winning prompt. Once a recipe nails the look, keep it in a note. You'll reuse it constantly, and consistency across a set is what makes a feed look intentional instead of random.
FAQ
What is an AI VHS photo editor?
An AI VHS photo editor is a tool that turns a normal digital photo into a VHS-style image using text prompts instead of manual filters. You describe the effect — tape noise, scanlines, color bleed, a timestamp — and the AI rebuilds the photo with those analog artifacts in a few seconds, no Photoshop or plugins required.
Can I add a real camcorder timestamp?
Yes. Just describe it in the prompt, including the exact text and position — for example, "a yellow timestamp in the bottom-right corner reading '12 25 1994'." Most AI VHS photo editors can render the date stamp, a "REC ●" indicator, or a "PLAY ▶" label directly onto the frame.
Which photos work best for the VHS effect?
Sharp, well-lit photos with a clear subject convert best. The AI degrades a clean image far more convincingly than a blurry or dark one, since it needs defined shapes to break down realistically. Portraits, concert shots, street scenes, and group photos are all strong candidates.
Is a VHS effect the same as a retro photo filter?
Not quite. A retro photo filter usually just shifts colors and adds grain, while a true VHS effect also layers scanlines, chroma bleed, soft tracking distortion, and on-screen camcorder text. The VHS look is a specific subset of retro — more "recorded on tape" than "faded film."
Can I make a VHS-style video too?
This guide covers photos, but the same prompt vocabulary — tape noise, scanlines, color bleed, timestamp — applies to video tools as well. Start by perfecting the look on a still frame, then carry the recipe over to motion once you know which ingredients sell the effect.
Conclusion
Creating VHS-style photos comes down to a simple loop: start with a clean image, name the era in a base prompt, then layer in tape noise, scanlines, color bleed, a timestamp, and warm aged lighting one ingredient at a time. Treat each artifact as a dial you can turn up or down, save the prompt that works, and reuse it across a whole set for a consistent retro grade.
The nostalgia wave behind NTSC-RS and The Virtual OS Museum isn't going anywhere, and an AI VHS photo editor lets you ride it without hunting for the perfect preset or learning a plugin stack.
Ready to give your photos that recorded-on-tape look? Try Imgezy free → — describe the VHS effect in plain text, watch the AI add the noise, scanlines, and timestamp in about five seconds, and download your retro shot in full resolution. No design skills needed.
Last updated: June 2026