

How to Remove Sensitive Information from Photos (2026)
You took a great photo on your own street and posted it. What you didn't notice: the house number behind you, the delivery box on the porch printed with your full name and address, and your reflection in a parked car's window holding your phone. None of it was the subject of the shot — but all of it is now public.
This is the quiet risk of sharing images online. The thing you meant to post is rarely the only thing in the frame. And in 2026, with renewed attention on EXIF metadata (Hacker News spent a week "appreciating EXIF") and AI tools that can guess a location from background clues alone, a single careless upload leaks more than ever.
This guide shows you how to remove sensitive information from photos before you share them — faces, license plates, documents, screens, addresses, and the invisible metadata baked into the file. You'll get a pre-sharing checklist, a step-by-step redaction workflow, and a comparison of which methods actually keep data hidden.
Last updated: June 2026
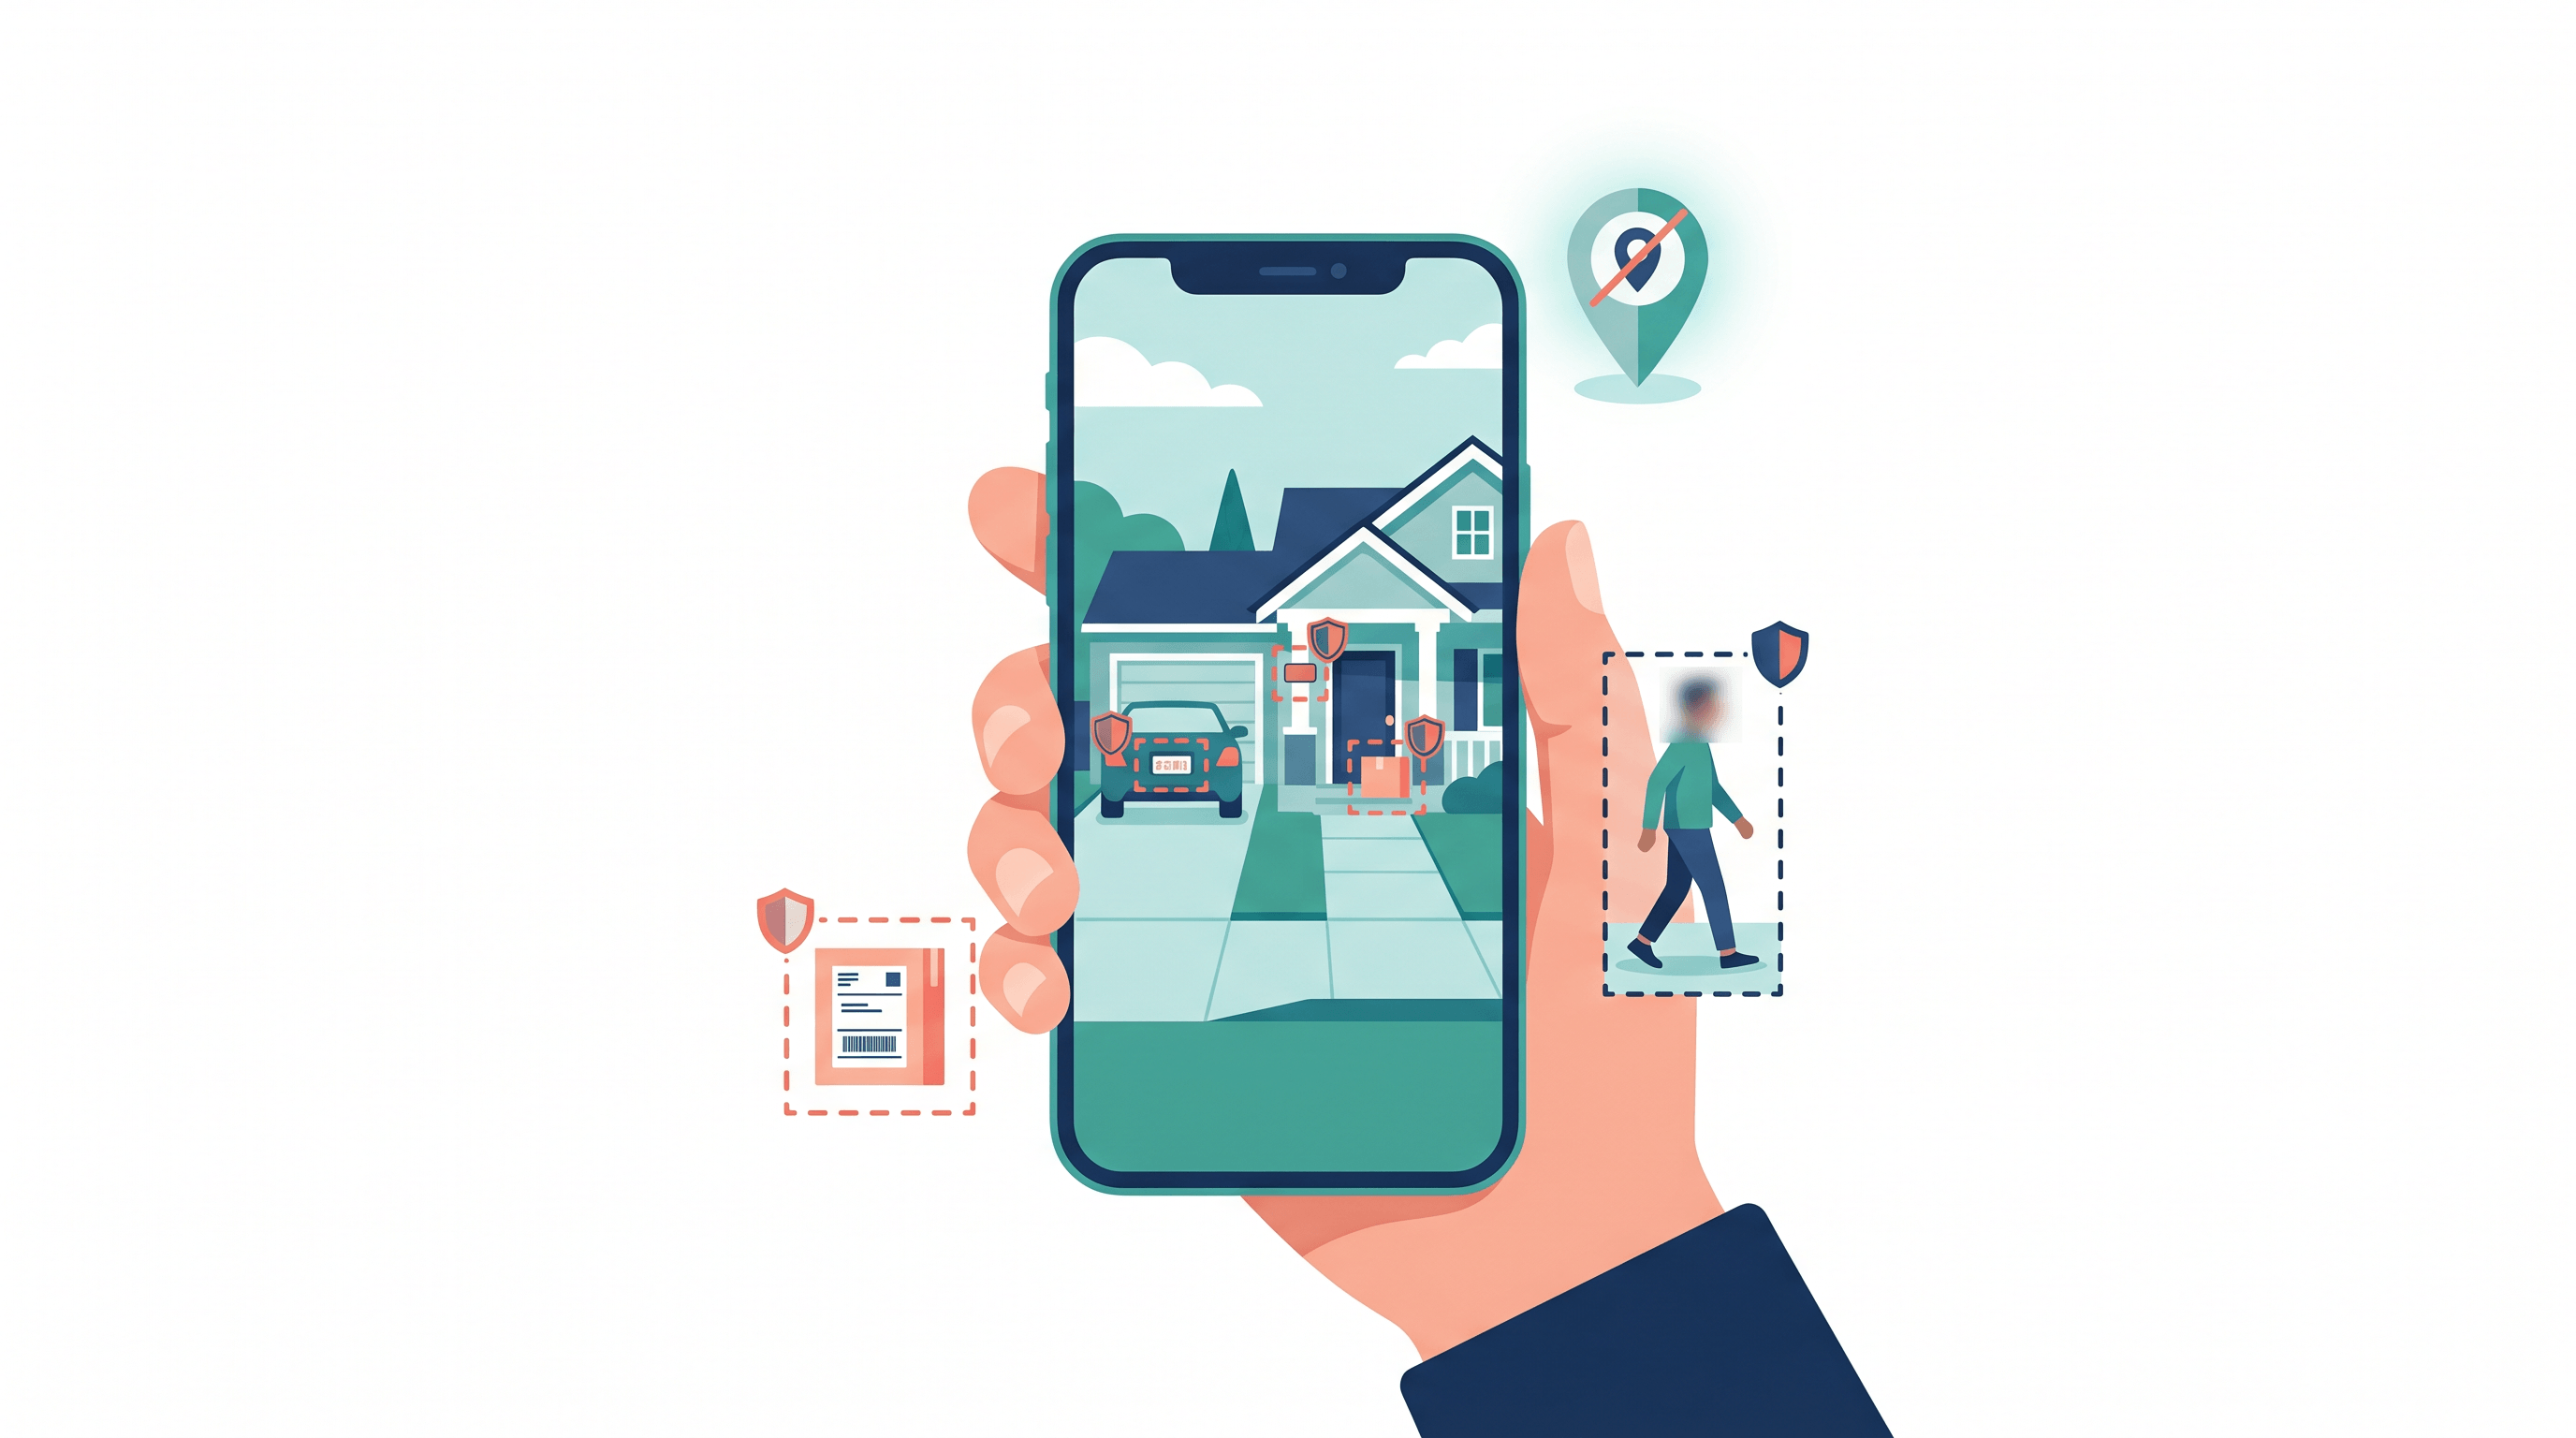
Table of Contents
- What Counts as Sensitive Information in a Photo?
- Why Remove Sensitive Information Before Sharing?
- The Pre-Sharing Privacy Checklist
- Step-by-Step: How to Remove Sensitive Information from Photos
- Blur vs. Black Box vs. AI Removal: Which Is Safest?
- Pro Tips for Better Results
- FAQ
What Counts as Sensitive Information in a Photo?
Sensitive information is anything in a photo that can identify you, reveal where you are, or expose another person without their consent. It splits into three visible categories — people, place, and paper — plus one invisible layer: the EXIF metadata stored inside the image file.
| Category | Examples | What it can reveal |
|---|---|---|
| People | Bystander faces, children, coworkers | Identity, relationships, who you were with |
| Place | House numbers, street signs, license plates, landmarks, mailbox labels | Your home, workplace, or daily routine |
| Paper & screens | Mail, invoices, IDs, boarding passes, laptop and phone screens, badges, barcodes / QR codes | Account numbers, full names, travel plans, login sessions |
| Metadata (invisible) | EXIF GPS coordinates, timestamp, device model | Exact location (within ~5 m), when and with what device |
The tricky part: the leak is rarely the subject of your photo. It's the reflection in a window, the prescription label on a pill bottle, the boarding pass on the table, or the GPS tag your camera wrote automatically.
Why Remove Sensitive Information Before Sharing?
Removing sensitive details protects you from doxxing, stalking, identity theft, and even burglary. Once a photo is online it can be screenshotted, cached, and indexed within seconds — so "I'll just delete it later" rarely undoes the exposure.
The risks are concrete. A geotag in EXIF data can place your home to within about five meters, which is why stalkers and burglars have used social photos to confirm addresses and routines. According to the U.S. Federal Trade Commission, consumers filed more than one million identity-theft reports in 2023, and a clear shot of a document, card, or screen is enough raw material to start.
Visual clues alone are enough now, too. Renewed interest in image metadata — Hacker News recently ran a popular "Appreciating EXIF" thread — has arrived alongside AI reverse-geolocation models that guess where a photo was taken from architecture, signage, and vegetation, no GPS tag required. The same wave of generative tools that makes fake "evidence" easy also makes mining real photos for private context trivial. Safest assumption: anything visible in the frame is data someone can use.
The Pre-Sharing Privacy Checklist
Before you upload, run a 30-second scan for the eight most common leaks. If any are present, redact them before the photo leaves your device.
| # | Check | Risk if ignored | Quick fix |
|---|---|---|---|
| 1 | Bystander and child faces | Identifying people who didn't consent | Remove or obscure the face |
| 2 | License plates | Vehicle and owner lookup | Erase the plate |
| 3 | House numbers & street signs | Pinpoints your address | Remove or replace the background |
| 4 | Mail, packages, documents | Full name + address + account data | Crop or erase |
| 5 | Screens & notifications | Emails, messages, logged-in accounts | Blank the screen |
| 6 | Reflections (glasses, windows, mirrors) | Hidden faces, rooms, locations | Remove the reflective detail |
| 7 | Badges, tickets, barcodes / QR | IDs, bookings, scannable links | Erase the code |
| 8 | EXIF metadata | GPS, timestamp, device | Strip metadata on export |
Step-by-Step: How to Remove Sensitive Information from Photos
Here's the workflow we use to clean a photo before sharing — about two minutes from import to a safe, postable file.
Step 1: Strip the EXIF metadata first
Start with the data you can't see. EXIF can store GPS coordinates, a timestamp, and your device model. Big platforms like Instagram, Facebook, and X strip most EXIF on upload, but direct file transfers, email attachments, AirDrop, and cloud-share links keep it intact. On iPhone, open the share sheet → Options → turn off "All Photos Data" and Location. On Android, choose "Remove location" in the Gallery share menu. On desktop, right-click → Properties → Remove Properties (Windows), or use an EXIF-stripping tool.
Step 2: Scan every zone of the frame
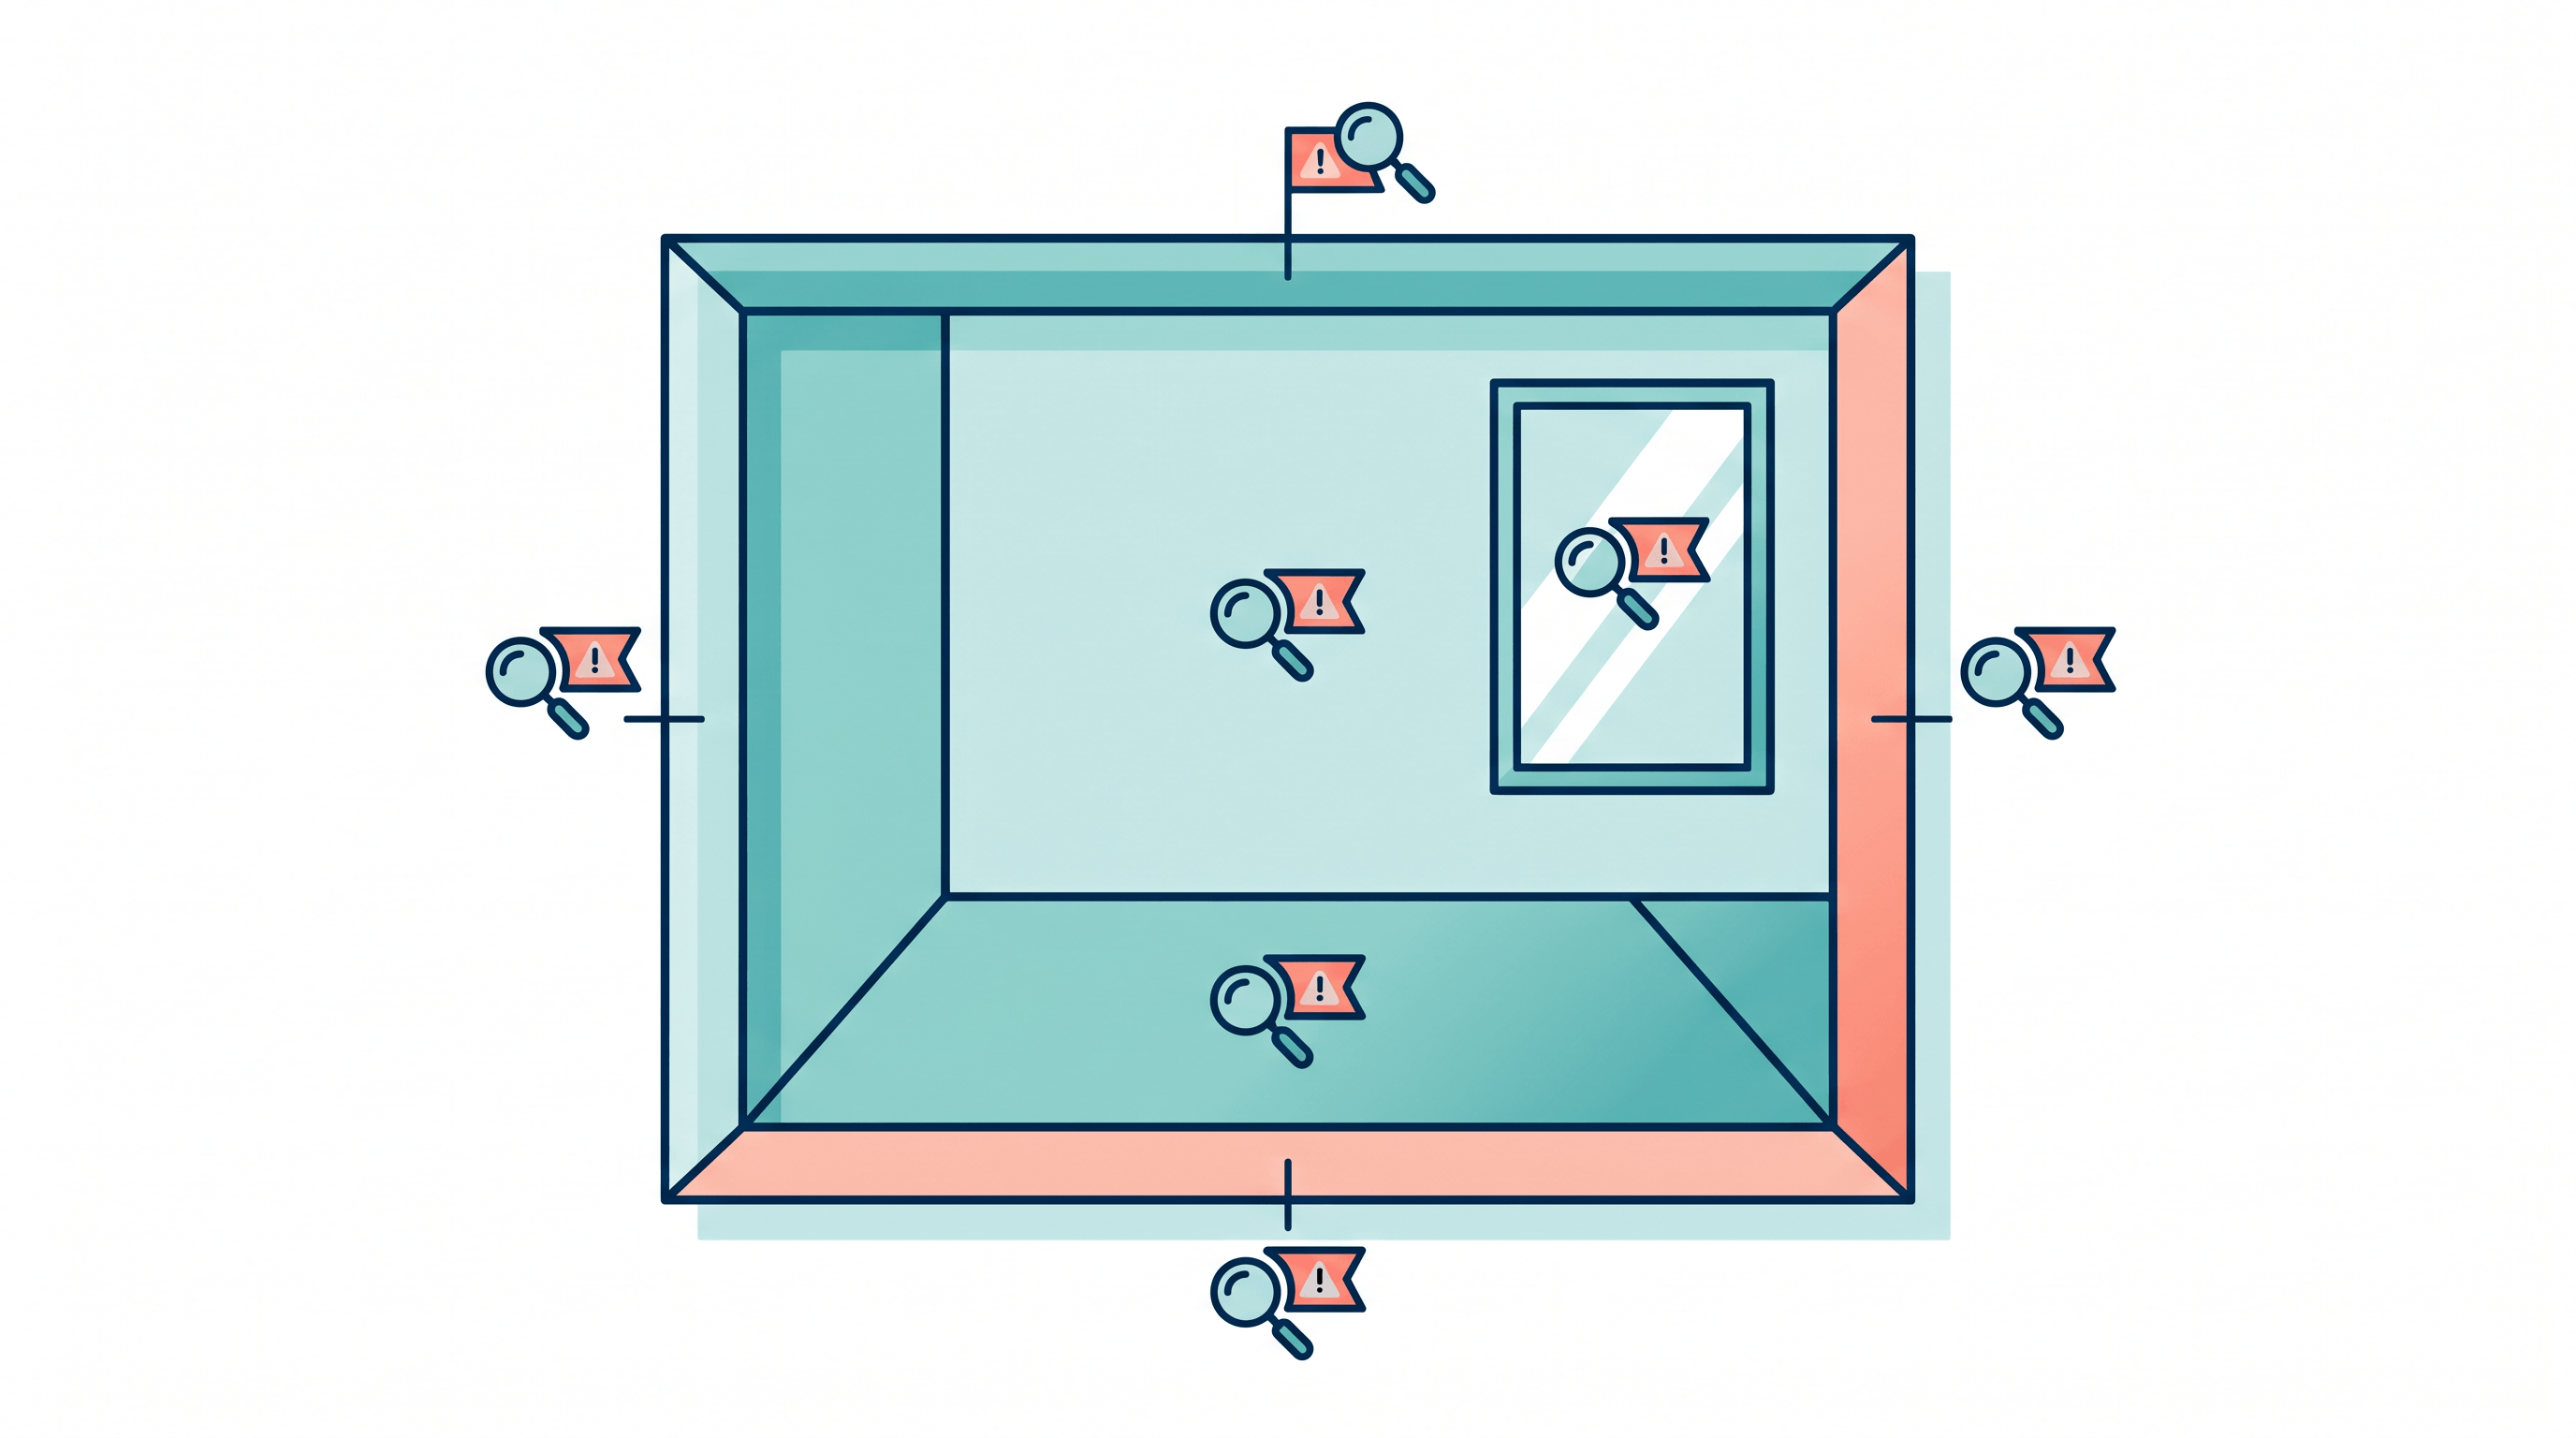
Zoom to 100% and check the frame in zones: foreground, background, all four edges, and any reflective surface. Most leaks hide at the edges (a neighbor's house number) or in reflections (your face and room in a window). Note every element you'll need to remove before you start editing.
Step 3: Erase identifying objects with an AI object remover
This is where most of the work happens. Upload your photo to an AI object remover like Imgezy, brush over the license plate, house number, or document, and the AI rebuilds the wall, bumper, or table behind it in about five seconds. In our testing, removing a plate and reconstructing the bumper left no visible seam — far cleaner than a black box, which screams "something was here." Unlike clone-stamping in Photoshop, you just mark or describe the target and let the model fill the gap.
Step 4: Replace or obscure a revealing background
If the location itself is the giveaway — a recognizable storefront, your front door, a school sign — don't just patch one object. Swap the background entirely or replace it with a neutral scene. This keeps the subject while erasing the where.
Step 5: Redact documents, screens, and text
For mail, IDs, and screens, removal beats blur. Erase the text block or the whole document, or paint the screen a solid color so no model can recover it. If you only need part of the document, crop the frame first, then clean what's left.
Step 6: Re-check the exported file before you post
Re-open the finished image and confirm the sensitive elements are gone at full zoom. Then check the exported file's metadata one more time — some editors re-add data on save. The simplest way to guarantee a clean file is to export a fresh copy or screenshot the final image, which drops the original EXIF entirely.
Blur vs. Black Box vs. AI Removal: Which Is Safest?
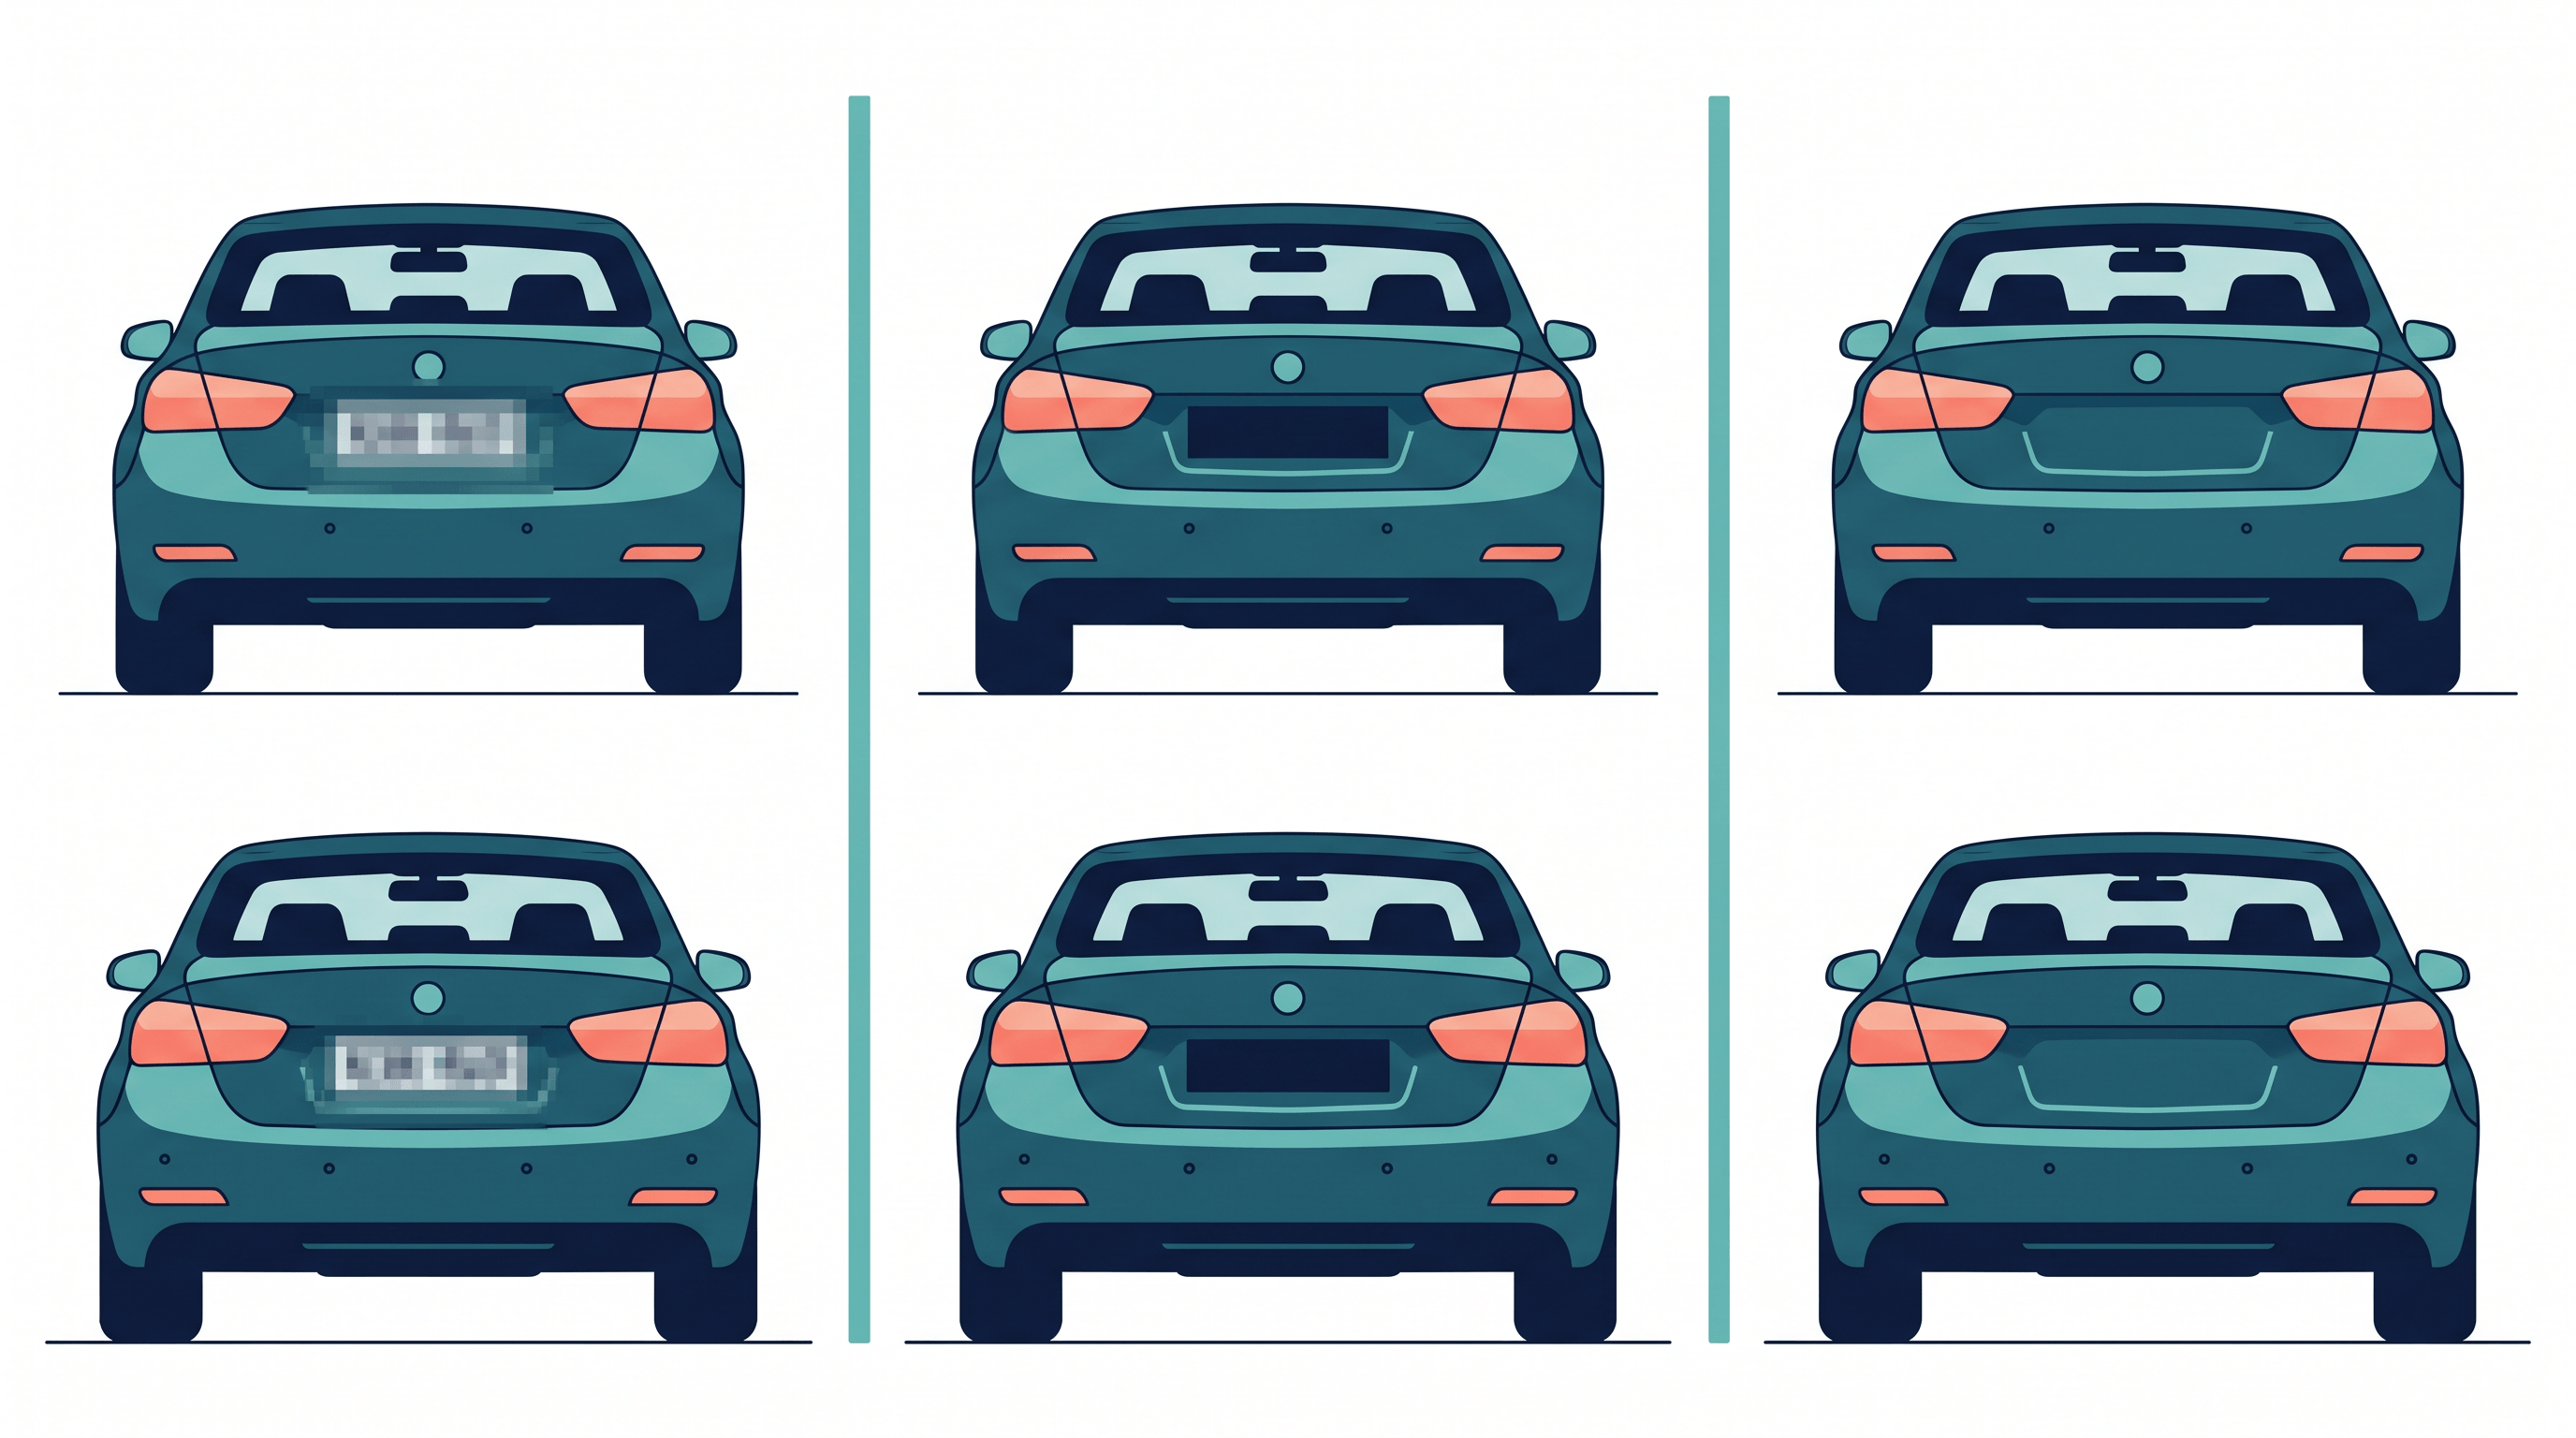
For truly sensitive data, AI object removal is the safest option because it deletes the pixels and rebuilds the background, leaving nothing to recover. Blur and pixelation only scramble pixels — and security researchers have shown that machine-learning models can reverse them to recover the original faces or text, with recovery rates above 80% in some published experiments.
| Method | Best for | Can it be reversed? | How it looks |
|---|---|---|---|
| Blur / pixelation | Quick, low-stakes hiding | Yes — often recoverable by AI | Obvious smudge |
| Black box / sticker | Fast manual redaction | No, but signals "hidden data" | Blocky, draws the eye |
| AI object removal | Sensitive data you must not leak | No — the pixels are gone | Clean, natural |
The takeaway: blur is fine for hiding a stranger's face in a casual post, but for anything that could be exploited — plates, addresses, documents — remove it, don't blur it.
Pro Tips for Better Results
- Crop before you redact. A tighter frame removes whole categories of leaks at once and gives the AI less to rebuild.
- Hunt reflections. Sunglasses, windows, glossy appliances, TV screens, and even eyes can mirror faces, rooms, and addresses. It's the most-missed leak.
- Don't trust blur on faces. AI can re-identify blurred and pixelated faces, so remove them fully when consent matters.
- Redact, then re-export. Save a fresh copy or screenshot the cleaned image so no original metadata survives the edit.
- Make it a routine. If you post often, build a repeatable clean-up step. The same flow that hides sensitive data also tidies general clutter — see our guide on removing objects from photos with AI.
FAQ
Does cropping a photo remove sensitive information?
Cropping removes only what leaves the frame, and it does not touch EXIF metadata. It's a useful first step — cut out the porch with your house number — but you still need to strip metadata and redact anything that remains inside the crop.
Can blurred or pixelated information be recovered?
Often, yes. Blur and pixelation transform pixels rather than delete them, and machine-learning models have reconstructed blurred faces and text with over 80% accuracy in research tests. For sensitive details, full removal is safer than blur.
Does removing a photo's EXIF data delete the GPS location?
Yes — stripping EXIF removes the embedded GPS coordinates, timestamp, and device info stored in the file. But it does not remove visible location clues inside the image, like street signs or storefronts, so do both.
Is it safe to post photos of my kids online?
Limit it, and redact identifying context. Avoid school names, house numbers, uniform crests, and geotags, and consider obscuring or removing faces in public posts. The goal is to share the moment without publishing a map to your child.
What's the fastest way to remove a license plate or address from a photo?
Use an AI object remover: upload the image, mark the plate or house number, and the tool erases it and rebuilds the background in about five seconds — cleaner and faster than editing by hand in Photoshop.
Conclusion
Cleaning a photo before you share it comes down to a simple routine: strip the EXIF metadata, scan the frame zone by zone, remove identifying objects, handle backgrounds and screens, and re-check the exported file. The whole pass takes about two minutes and closes the gap between the photo you meant to share and the data you didn't.
Treat removal as the default for anything truly sensitive — plates, addresses, documents, IDs — because blur can be reversed and a black box just advertises that something was hidden.
Ready to clean up your photos before you post? Try Imgezy free → Remove license plates, faces, documents, and revealing backgrounds in seconds — no design skills needed.