

How to Turn Photos into Game Assets with AI
Last updated: June 16, 2026
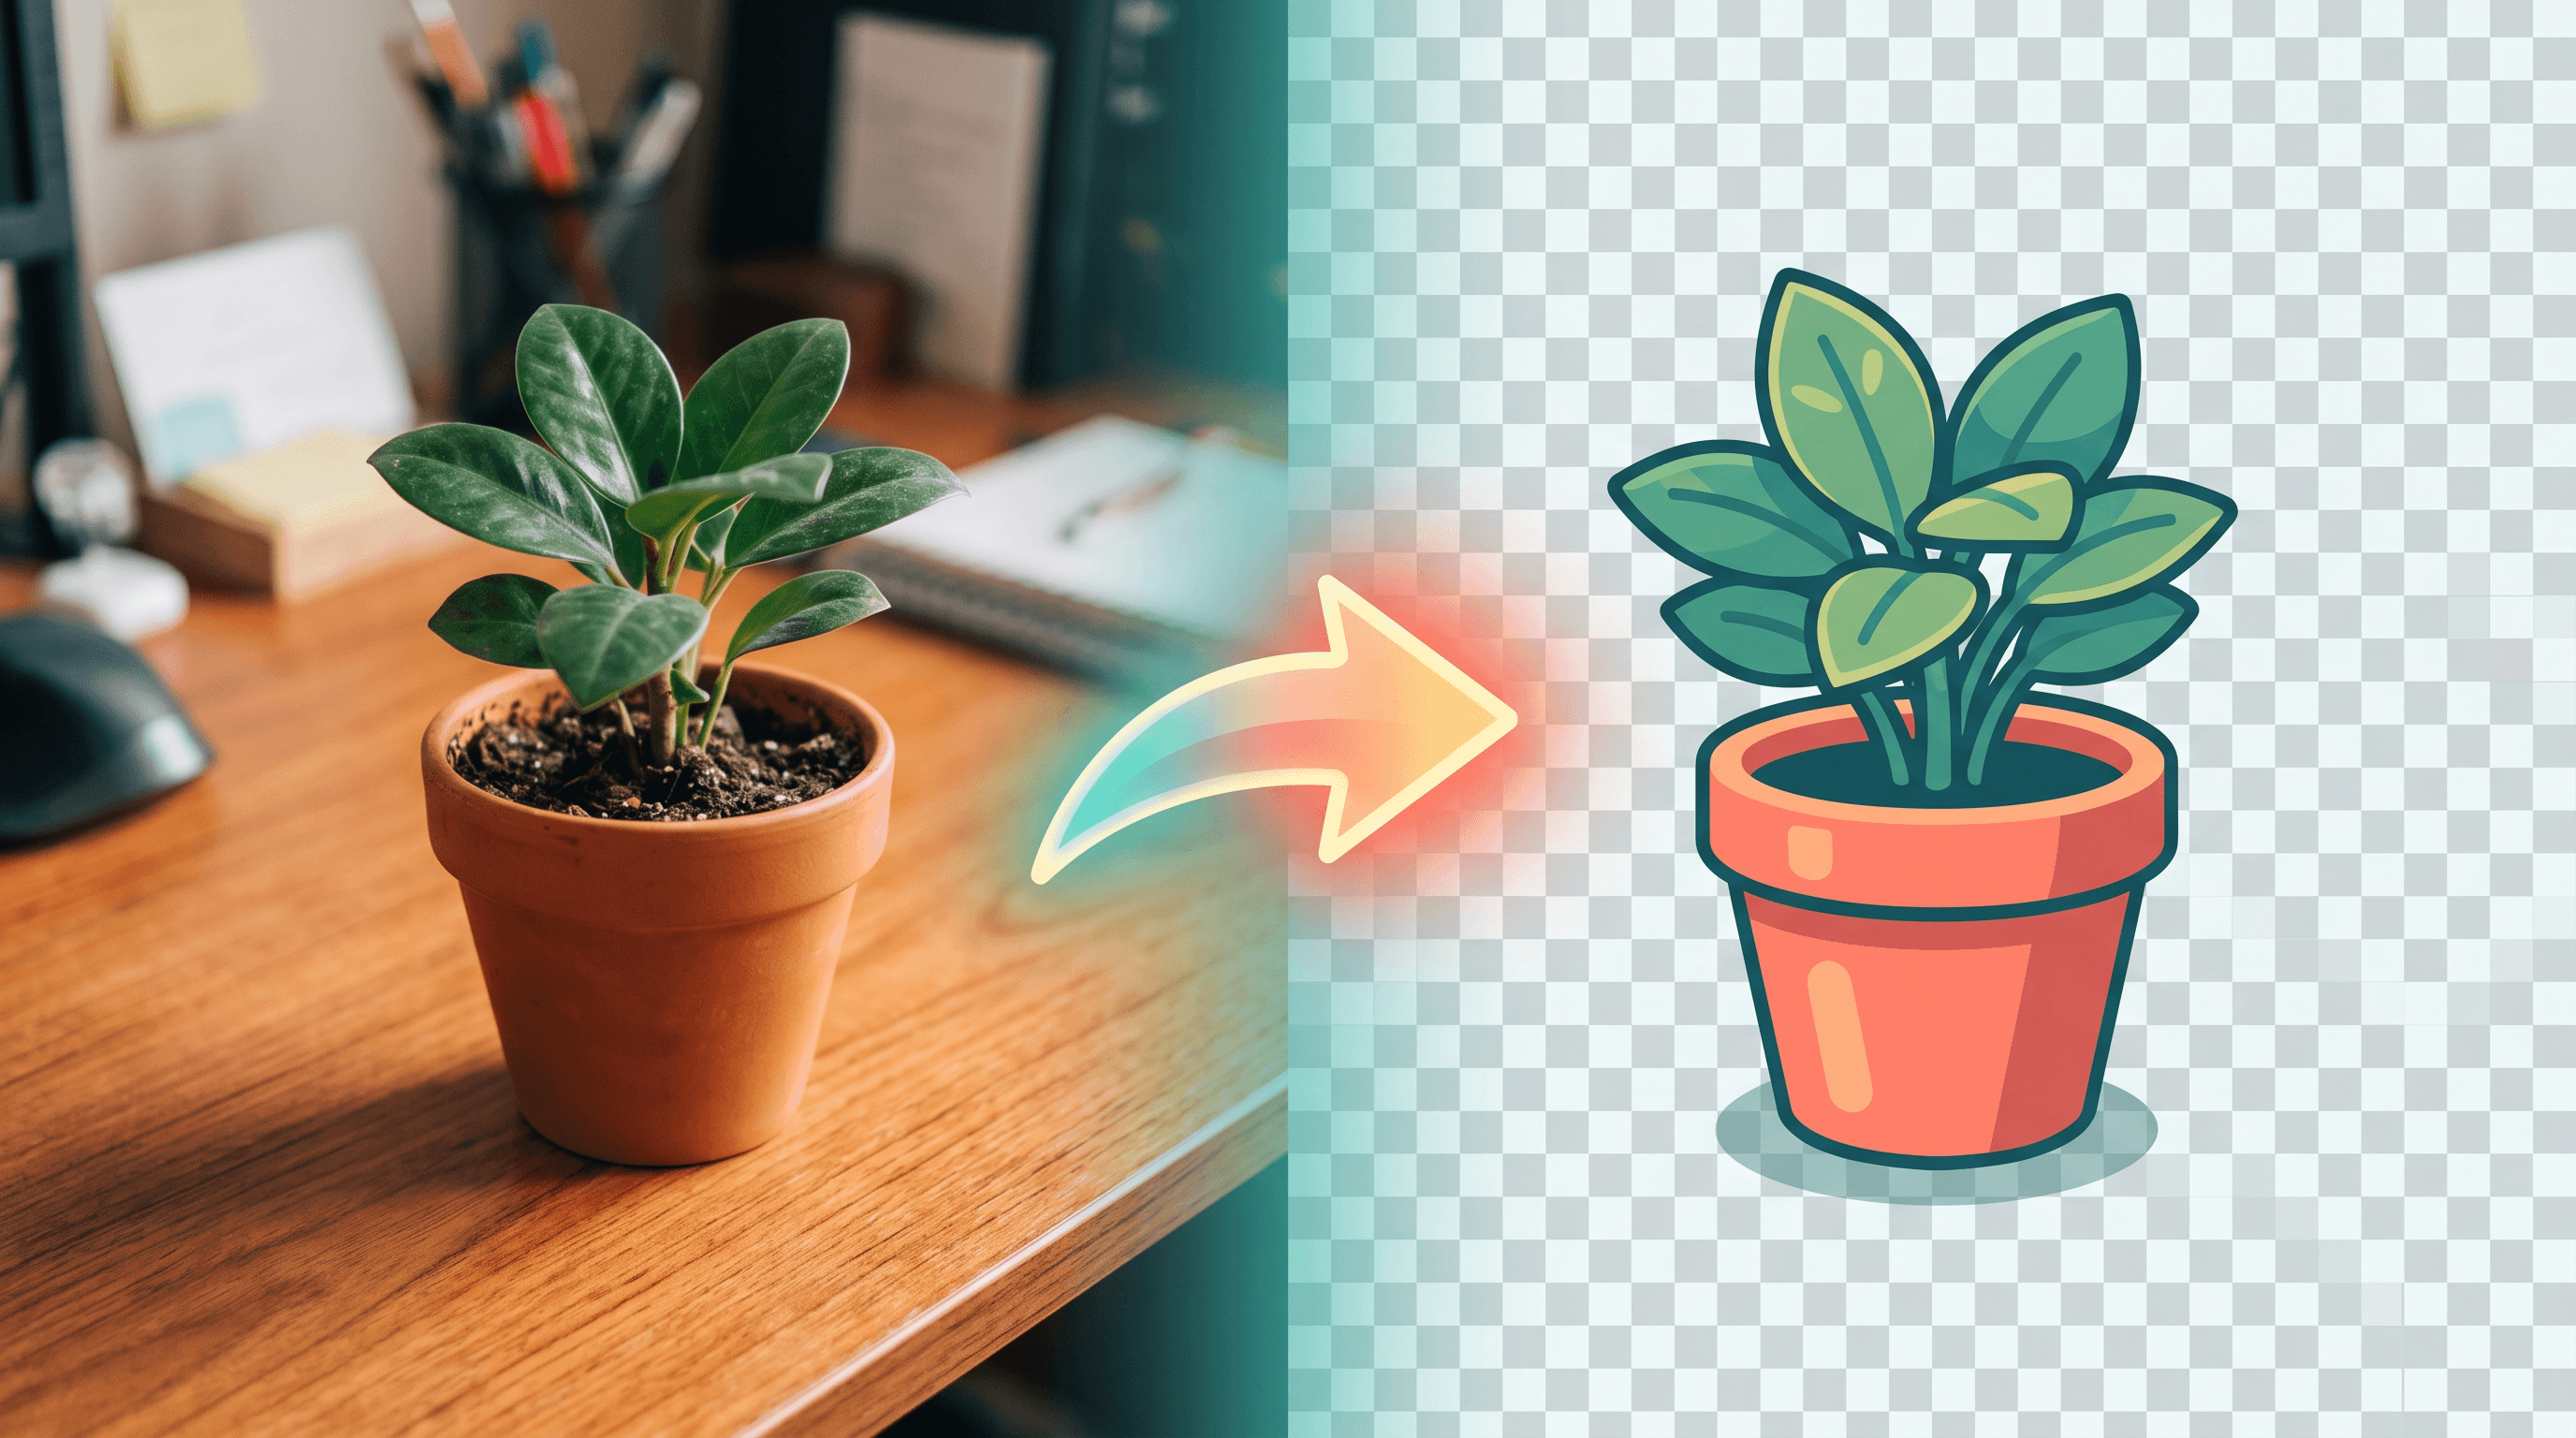
PixelForge just hit #12 on Product Hunt with a one-line pitch: "turn photos into game assets." That headline lands because the problem is painfully real. A playable prototype needs 30–60 visual assets — props, item icons, tiles, character bits — and a freelance 2D artist quotes $40–$120 for each polished one. Meanwhile you have a phone full of reference photos and a playtest deadline. This guide walks the exact workflow to turn photos into game assets with AI: object cleanup, background handling, enhancement, and style direction — the four moves a good game asset photo editor handles in minutes instead of days.
In this guide
- The challenge: indie devs burn their budget on art
- How turning photos into game assets works
- The photo-to-game-asset workflow, step by step
- Results and what to expect
- Tips for indie game developers
- FAQ
The Challenge: Indie Devs Burn Their Budget on Art
Most indie game projects stall on art, not code. A single playable prototype needs 30–60 visual assets, and commissioned 2D art runs $40–$120 per piece. For a solo dev with a phone camera and a side-project budget, that math never closes — which is why so many prototypes ship with gray boxes instead of real objects.
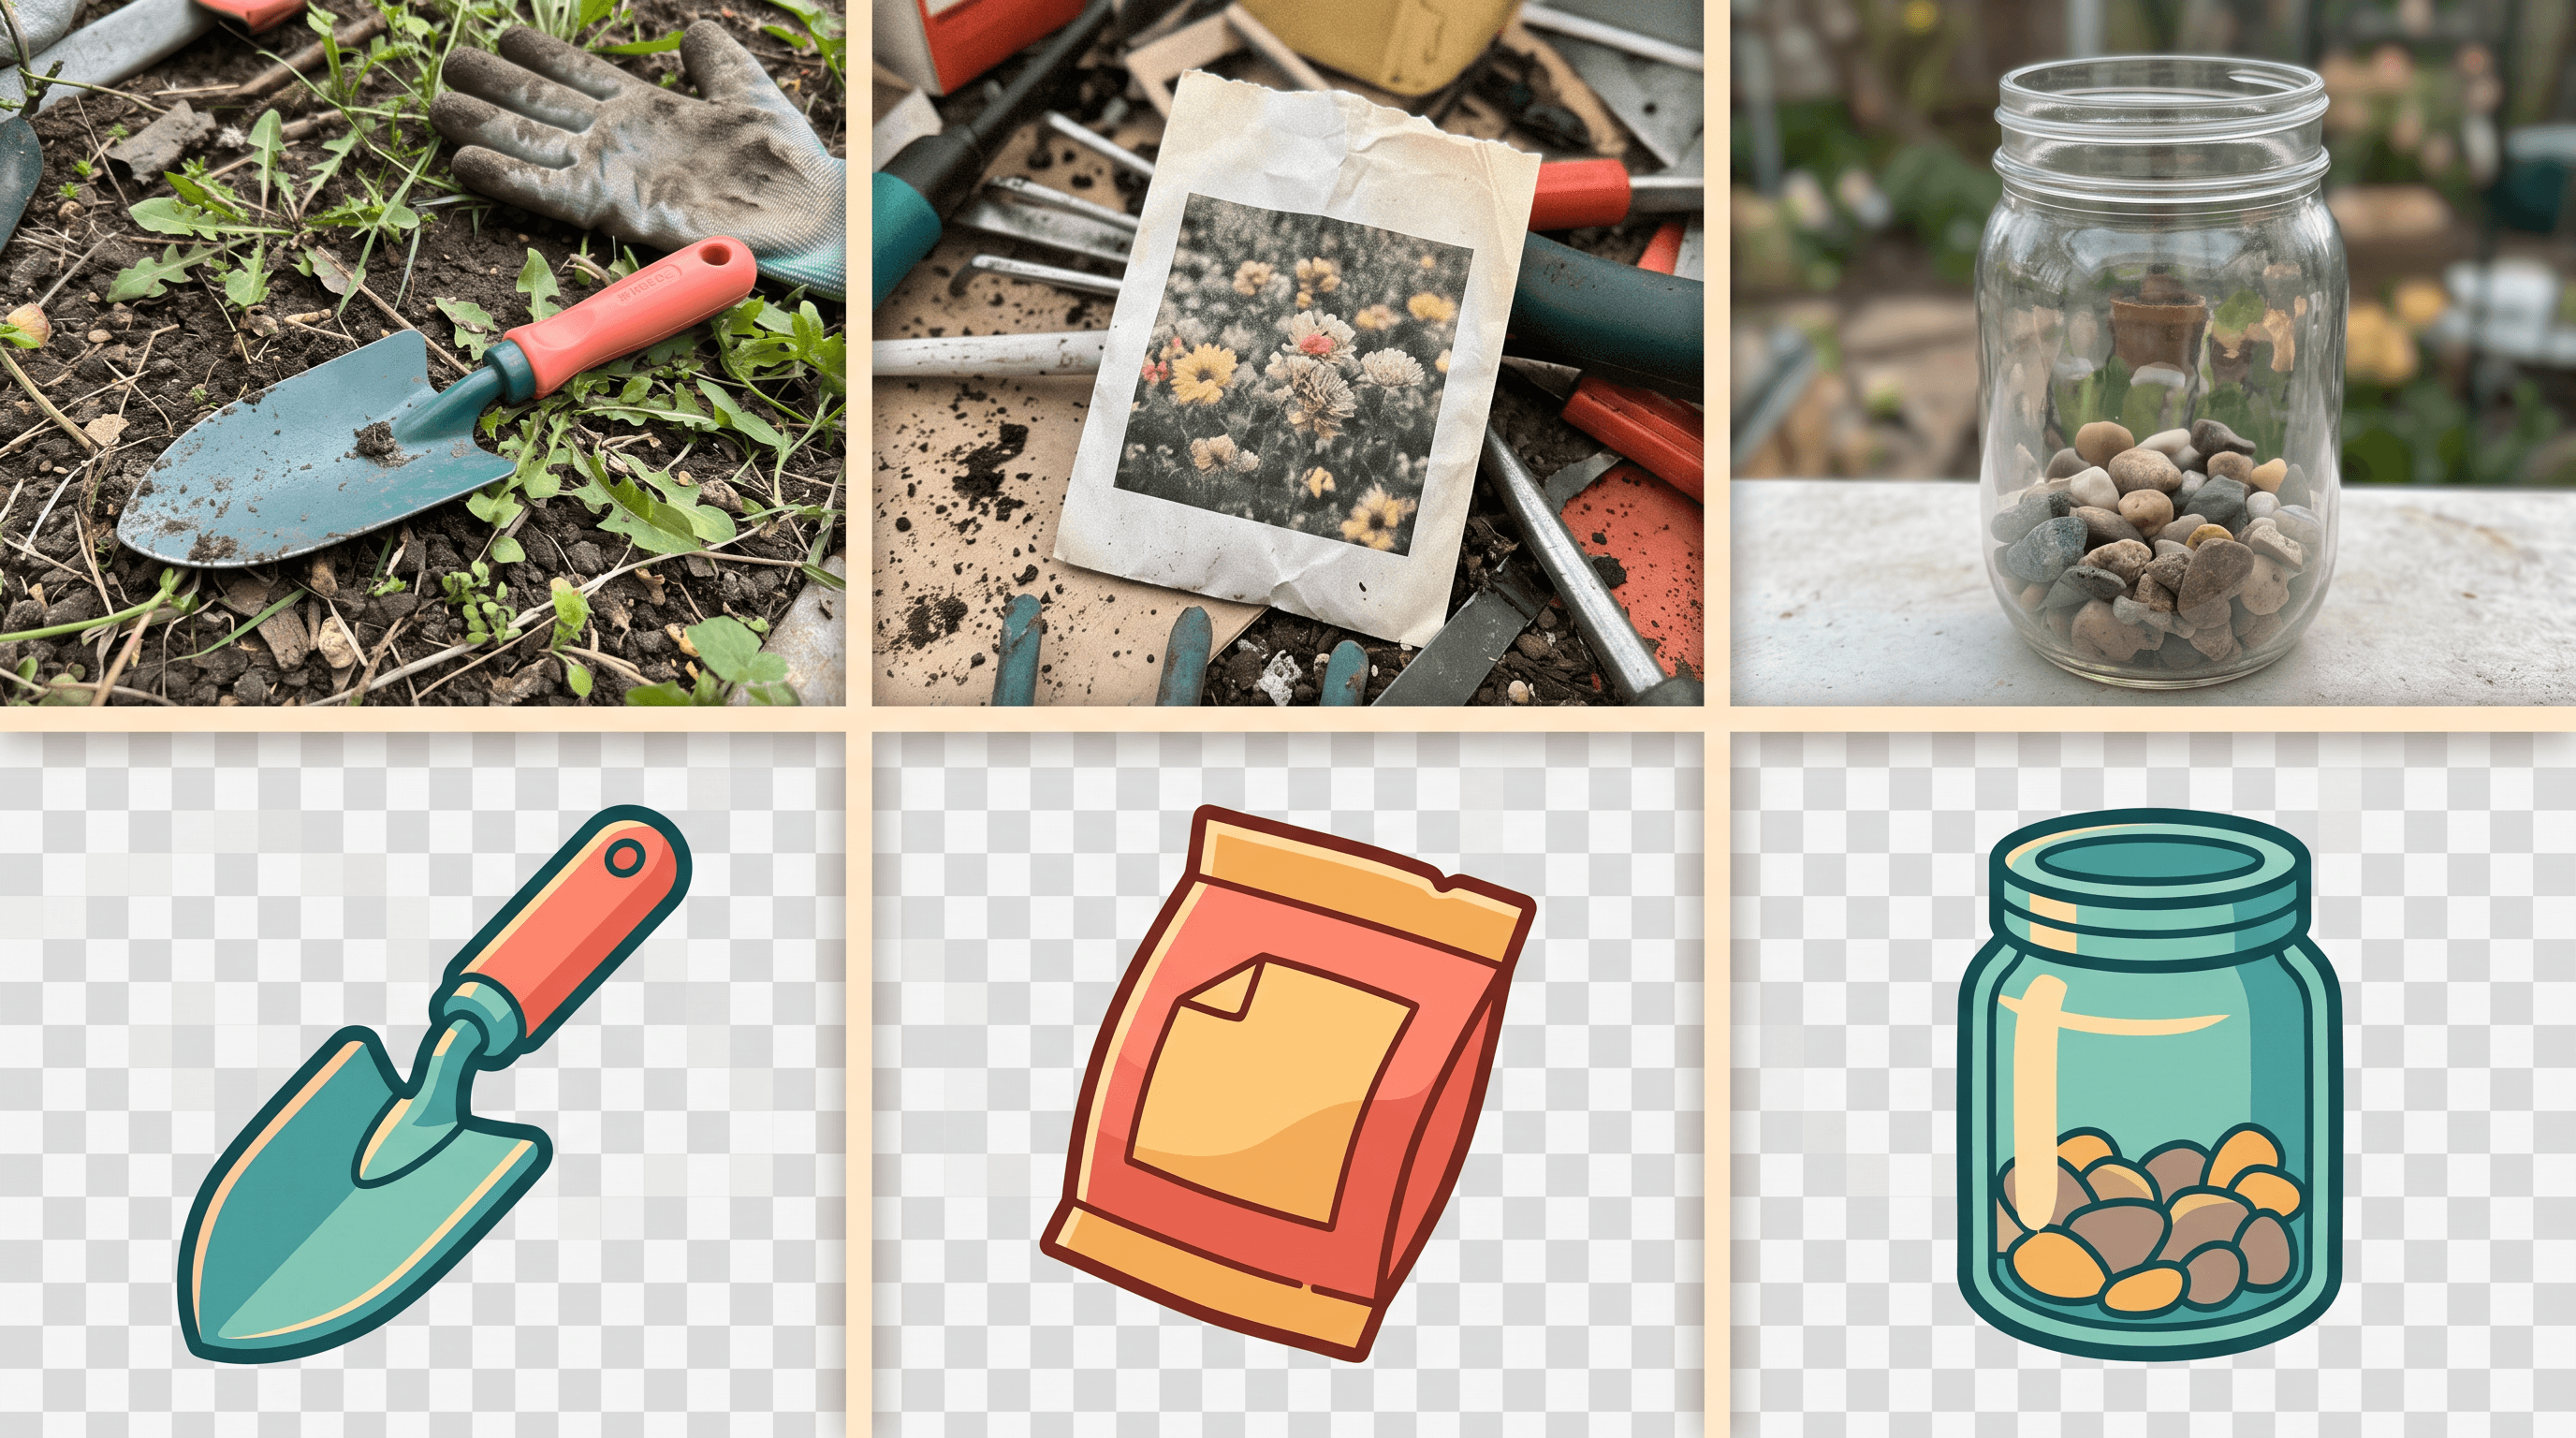
Take Maya, a solo developer building a cozy farming game on nights and weekends. Her backlog has 48 item icons — seeds, tools, crops, jars, decorations — due before a community playtest in two weeks. At $50 per commissioned icon, that is $2,400 and a turnaround she cannot hit alongside a day job. The frustrating part: she already owns the raw material. There is a real trowel in her shed, seed packets on her desk, and a houseplant on the windowsill. Photos of all of it are free, instant, and already on her phone.
The gap is that a raw photo is not a game asset. It has the wrong background, a cluttered frame, uneven lighting, and a realistic style that clashes with a stylized game. Closing that gap by hand means hours in a photo editor per object. Closing it with an AI game asset generator means describing what you want and letting the model do the cleanup — which is exactly the workflow below.
How Turning Photos into Game Assets Works
Turning a photo into a game asset means stripping out everything that is not the subject, then conditioning what remains to fit your game. You are not generating art from nothing — you are refining real photos into usable sprites, icons, and textures. An AI image editor does this in four passes: object cleanup, background handling, enhancement, and style direction.
Each pass solves a specific way that raw photos fail as assets. A photo of a coffee mug on a messy desk has clutter (cleanup), a distracting background (background handling), phone-camera softness and noise (enhancement), and a photoreal look that fights a cartoon game (style direction). Run all four and the mug becomes a clean, sharp, transparent, style-matched icon you can drop into your atlas.
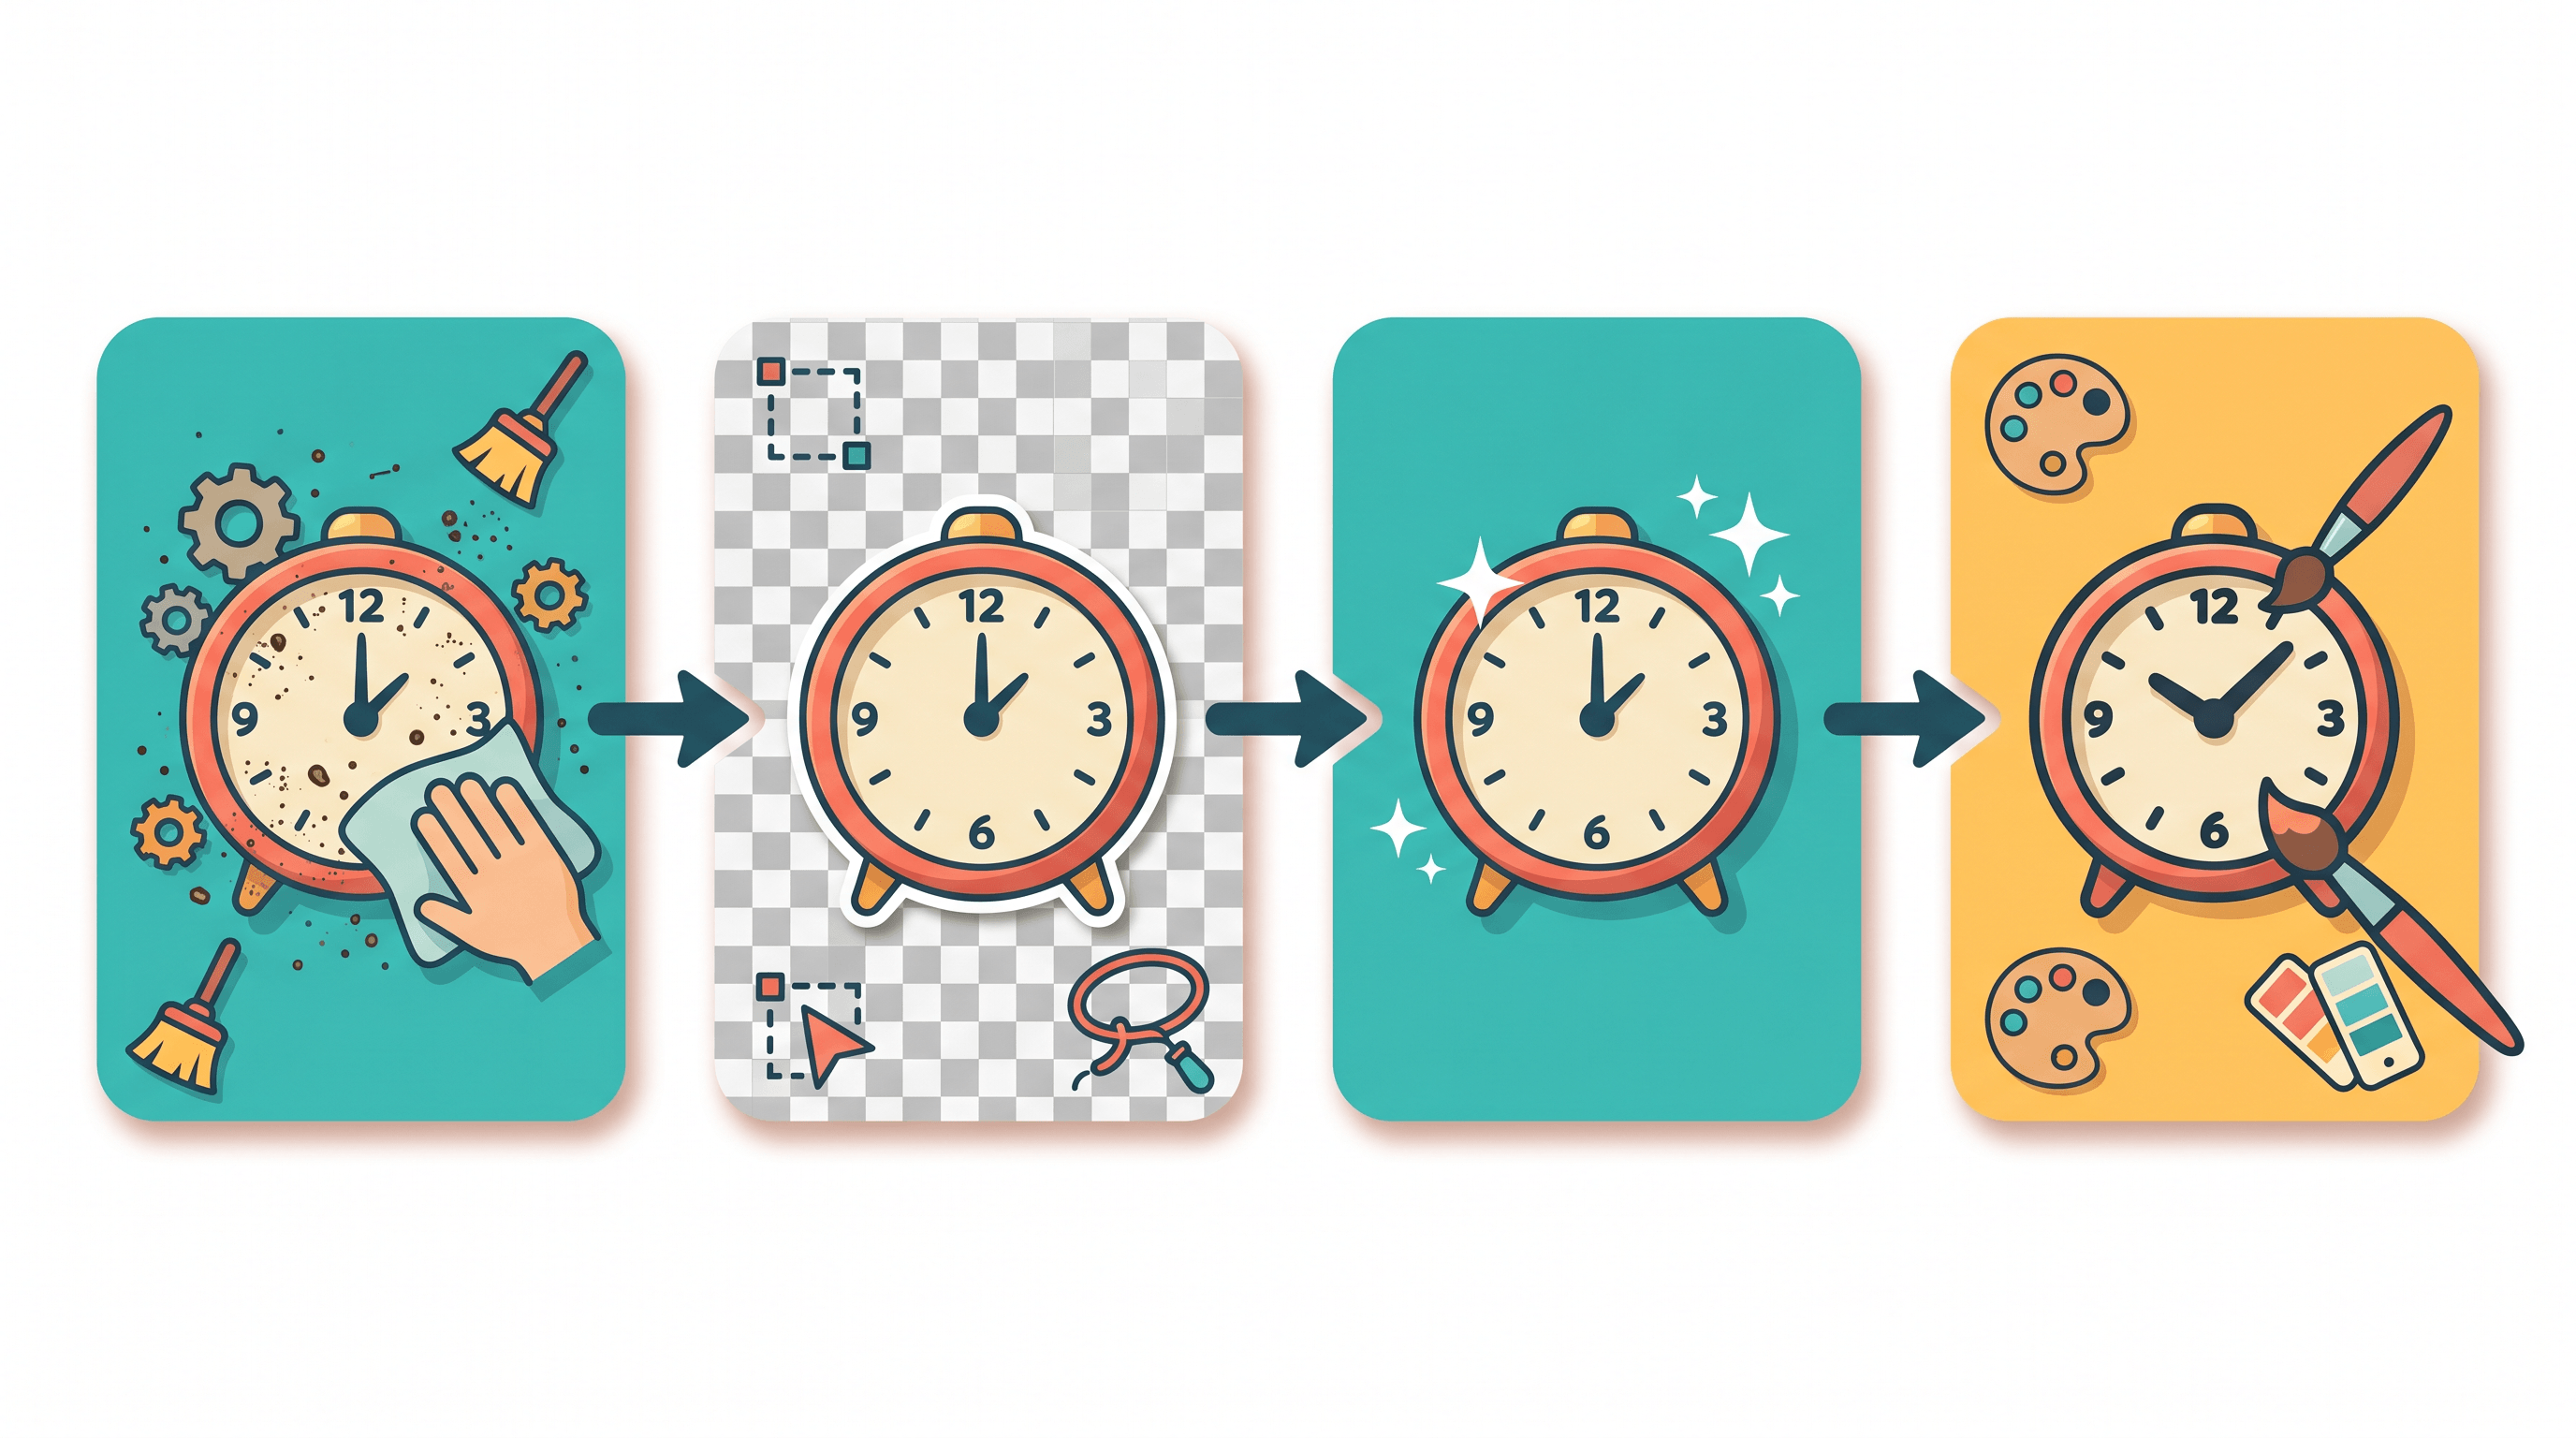
The order matters. Clean the object first so the background tool has a clear subject to cut around; handle the background before enhancement so you are not sharpening pixels you are about to delete; save style direction for last so it applies to a finished cutout. Here is how the four stages map to the problems they fix:
| Stage | Photo problem it fixes | What it does | Game-ready output |
|---|---|---|---|
| Object cleanup | Clutter, hands, price tags, shadows | Removes everything that isn't the subject and rebuilds the surface behind it | A clean, isolated object |
| Background handling | Distracting or wrong backdrop | Cuts to a transparent PNG, or swaps in a game-appropriate scene | Sprite-ready cutout or staged shot |
| Enhancement | Blur, noise, low resolution | Sharpens, denoises, and upscales the subject | Crisp asset at the size you need |
| Style direction | Photoreal look clashes with the game | Re-styles to pixel, flat, painterly, or 3D-toy looks | A consistent, on-brand asset |
The Photo-to-Game-Asset Workflow, Step by Step
The workflow has four steps: source the right photos, clean up the object, handle the background, then enhance and style-match. Each step moves a real photo closer to a drop-in asset. Run related items through the same settings so a whole set stays visually consistent, not a patchwork of mismatched objects.
Step 1: Source and shoot the right photos
Good input is half the work. Shoot one object per frame on a plain surface — a sheet of paper or a clean table — under even, indirect light, and fill the frame so the object is large and sharp. If you do not want to shoot, pull from your own camera roll or CC0 stock libraries; just check the license before anything ships in a commercial game. Aim for at least 2× the final pixel size, since later steps can sharpen detail but cannot invent it.
Step 2: Clean up and isolate the object
Real photos are full of things you do not want in a game: a price tag, your fingers, a cable, a hard shadow. Removing them by hand with the clone tool is slow and obvious. Upload the shot to an editor like Imgezy and describe what to delete — its object remover clears the tag and the shadow in about 5 seconds and rebuilds the surface behind it, so the subject sits clean and self-contained before you ever touch the background.
Step 3: Remove or replace the background
Once the object is clean, decide what the background should be. For sprites and item icons you want nothing behind the subject, so cut it out to a transparent PNG with a background remover — that is the format your engine expects for layered art. For key art, a store screenshot, or an environment shot, replace the backdrop instead: an AI background changer drops your prop into a forest, a dungeon, or a flat brand color in one step.
Step 4: Enhance, upscale, and style-match
A clean cutout from a phone is still a photo — too soft and too realistic for most games. Run it through an image upscaler to add resolution and sharpness, then apply a single art direction so every asset reads as one game. For a retro 2D title, push the set through a pixel art generator; for a stylized look, prompt for flat shading or a painterly finish. Use batch processing to send a whole category — all your crops, all your tools — through identical settings so the set comes out matched.
Results and What to Expect
Expect a finished, consistent asset in a few minutes per object instead of the days a commission takes, at a few cents of credits instead of $40–$120. In our testing, a 12-icon item set went from raw phone photos to clean, style-matched transparent PNGs in about 35 minutes — work that a freelance turnaround would have stretched across two days.
The quality you get depends on the game. This workflow shines for casual, cozy, puzzle, and stylized 2D games where a clean, charming icon is the goal. It is weaker for photoreal AAA work, where you need purpose-built 3D pipelines, and for anything requiring an exact licensed likeness. Set expectations there and you will not be disappointed.
| Approach | Time per asset | Cost per asset | Set consistency |
|---|---|---|---|
| Commissioned 2D artist | 1–3 days | $40–$120 | High (but slow to iterate) |
| Drawing it yourself | 30–90 min | Your time | Depends on skill |
| Photo to game asset with AI | 2–5 min | A few cents | High with shared settings |
Tips for Indie Game Developers
These five habits keep a photo-built asset set looking deliberate instead of scraped together.
- Lock one style reference first. Style one asset you love, then reuse that exact prompt across the whole set so nothing drifts.
- Shoot at 2× your target size. Upscalers add detail to what is there; they cannot recover what the camera never captured.
- Keep everything as transparent PNGs. Flatten only at final export — layered cutouts are far easier to re-stage later.
- Build a "look kit." Same lighting, same palette, same finish across props makes a pile of unrelated objects read as one coherent game.
- Batch by category. Run all crops together, then all tools, then all décor — shared settings per batch is what makes a set feel matched.
FAQ
Can you really turn any photo into a game asset?
Almost any clearly-shot object can become a game asset, but well-lit photos of a single subject on a plain background work best. Busy scenes, motion blur, or tiny low-resolution shots fight every step of the workflow. Start with sharp, simple photos and the cleanup, cutout, and styling steps all get easier.
What kinds of game assets work best from photos?
Props, item icons, collectibles, food, plants, tools, and textures convert best, because they are real objects you can photograph directly. Characters and animated sprites are harder, since they need consistent poses and frames. Most teams use the photo workflow for static 2D assets and reserve hand-drawn or generated art for animated characters.
Do I need design skills to do this?
No. The point of an AI game asset generator is that you describe the result in plain language — "remove the price tag," "cut out the background," "make it pixel art" — and the model handles the editing. Basic taste helps you pick a consistent style, but you do not need to know a brush tool or layer masks.
Are photo-derived game assets okay to sell commercially?
Yes, if you own or have a commercial license for the source photos and the editing tool's output license allows commercial use. Photographing your own objects is the safest path. Check stock-photo licenses and your editor's terms before shipping a paid game — Imgezy's Pro plan, for example, includes a commercial license.
How long does it take to make a full asset set?
A set of 10–15 related assets typically takes 30–45 minutes once you have the photos, since batching applies the same cleanup and style to each one. The first asset is the slowest because you are dialing in the look; every asset after that reuses those settings and moves quickly.
Conclusion
You do not need an artist's budget to fill a prototype with real, charming assets — you need a phone, a clear workflow, and a tool that can clean up, cut out, enhance, and style your photos. Source good shots, isolate the object, handle the background, then upscale and style-match. Do it once on a single icon to lock your look, then batch the rest of the set in minutes.
Ready to turn your camera roll into game-ready art? Try Imgezy free → — remove objects, cut backgrounds, upscale, and style-match your photos into game assets. No design skills, no artist invoices, just describe what you want.