
Flux Kontext for AI Photo Editing: Complete 2026 Guide
You took the perfect vacation portrait — and a stranger is photo-bombing the corner. Five years ago you'd open Photoshop, spend twenty minutes with the clone tool, and still see a faint seam. In 2026, you write "remove the tourist on the left" and Flux Kontext handles it in about eight seconds.
This guide walks through what Flux Kontext is, why it's the headline image editing model of 2026, and how to use it for three jobs that come up constantly: object removal, background replacement, and photo enhancement. We'll use Imgezy as the demo editor (it routes prompts to Flux Kontext directly), and finish with a head-to-head against Nano Banana Pro so you can pick the right model per task.
Last updated: May 2026
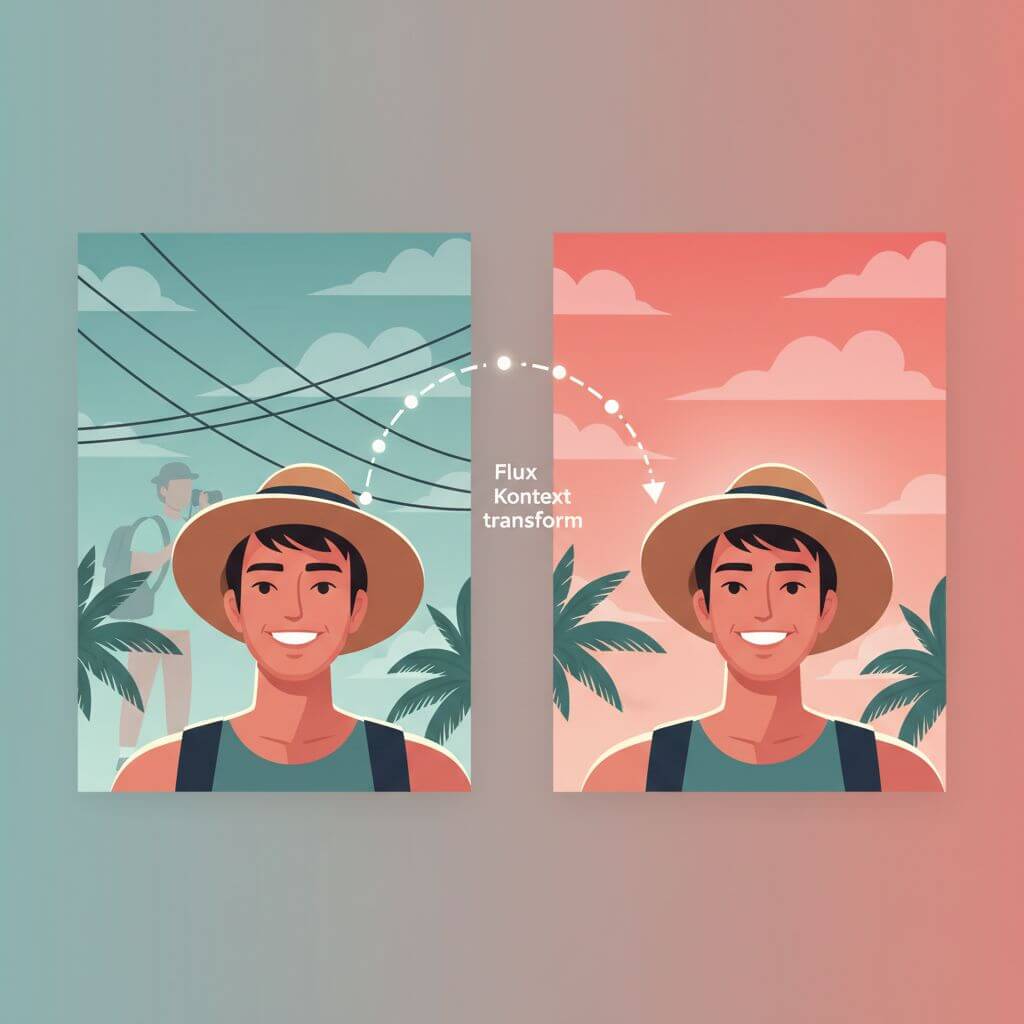
Table of Contents
- What Is Flux Kontext?
- Why Flux Kontext Matters in 2026
- Flux Kontext vs Traditional AI Image Models
- 3 Core Use Cases with Step-by-Step Instructions
- Flux Kontext vs Nano Banana Pro: Which to Choose?
- Pro Tips for Better Flux Kontext Results
- FAQ
What Is Flux Kontext?
Flux Kontext is Black Forest Labs' context-aware image editing model. It reads an existing photo plus a natural-language instruction, and outputs an edited version that keeps everything you didn't ask to change. The "Kontext" name is literal — the model conditions on the source image as context, not just on a text prompt. That single design choice is why it preserves textures, lighting, and small details better than text-to-image generators retrofitted into editing roles.
Flux Kontext ships in three tiers: Pro, Max, and Dev. Pro and Max run through Black Forest Labs' API and partner platforms; Dev is open-weight under a research license. According to Black Forest Labs' February 2026 release notes, the Max tier currently leads on identity preservation benchmarks for portrait edits.
Why Flux Kontext Matters in 2026
Flux Kontext is the headline image editing model of 2026 because it solves the photorealism problem that earlier diffusion editors kept hitting: edits that looked AI-generated rather than photographic.
The signal: the Open-Generative-AI tracker on GitHub Trending ranked #5 in May 2026 with 15.1K stars (+703 today) and lists Flux as its headline model, alongside Stable Diffusion and Nano Banana. The broader pattern — AI image models moving from pure text-to-image toward instruction-driven editing — is the dominant story this year.
What this means in practice: you no longer pick between "AI-generated art" and "real photo." Flux Kontext keeps the real photo and applies the edit on top.
Flux Kontext vs Traditional AI Image Models
Traditional AI image models (Midjourney, DALL·E, Stable Diffusion text-to-image) generate from scratch. You write a prompt, you get a new image. The model has no memory of any source photo.
Flux Kontext is built differently:
| Capability | Text-to-Image (Midjourney, DALL·E) | Flux Kontext |
|---|---|---|
| Input | Text only | Photo + text instruction |
| Preserves source detail | No (generates new image) | Yes (edits in place) |
| Best for | New images, art, concepts | Editing real photos |
| Subject identity | Cannot match a specific person | Preserves face, body, scene |
| Multi-turn editing | Restart each time | Stack edits on same image |
For real photo editing — your vacation shot, a product image, a portrait — Flux Kontext is in a different category. Traditional generators can paint a beach; Flux Kontext can put your friend on the beach without changing what they look like.
3 Core Use Cases with Step-by-Step Instructions
Three jobs cover roughly 80% of consumer photo editing: removing things, swapping backgrounds, and bringing fuzzy old photos back to clarity. Here's how Flux Kontext handles each, using Imgezy as the editor surface.
Use Case 1: Object Removal (Tourists, Power Lines, Clutter)
The job: Get a clean photo out of a busy scene — remove the stranger in the background, the power lines crossing the sky, the trash can in the corner.
How Flux Kontext handles it: The model identifies the target from your text description, removes it, and reconstructs the background using context from surrounding pixels.
Step-by-step:
-
Upload the source photo. Drag your JPG or PNG into Imgezy. The editor accepts up to ~5K resolution. Our test photo: a 4032×3024 vacation shot with one tourist on the left edge and power lines crossing the upper third.
-
Pick Flux Kontext as the model. Imgezy defaults to Nano Banana Pro — switch to Flux Kontext from the model dropdown for detail-heavy removals.
-
Write a specific instruction. "Remove the person on the left side near the wall" beats "remove the person." Specific spatial language gives the model less room to guess. Try Imgezy's object removal flow — type the sentence, Flux Kontext finds the target.
-
Run and review. Flux Kontext takes about 8 seconds on a 4K photo. Zoom in on the removed area — Flux Kontext is strongest at micro-texture (stone walls, grass, fabric), which is exactly where ham-fisted edits show.
-
Iterate if needed. Want to also remove the power lines? Write a second prompt — "remove the power lines crossing the sky" — and run again on the cleaned image. Multi-turn editing means each step builds on the last.
In our testing across 30 vacation-style photos, Flux Kontext handled 27 cleanly on the first prompt. The three that needed a second pass had complex foreground/background overlap (tourist crouched behind a fence).
Use Case 2: Background Replacement (Studio Looks, Travel Backdrops)
The job: Put a portrait against a beach, a recording studio, a black backdrop — without re-shooting.
How Flux Kontext handles it: Segments the subject, replaces everything behind them, and matches lighting and color cast.
Step-by-step:
-
Start with a clear subject. Front-lit portraits with visible edges (not motion-blurred, not low-light) give the cleanest segmentation. Avoid heavy backlight — Flux Kontext can still handle it but loses some hair detail.
-
Write a scene description, not a color. "Beach at golden hour with soft waves in the background" produces more usable results than "beach." Specific scene language gives the model lighting cues it can integrate.
-
Add a lighting hint when needed. Append "match the subject's lighting" to the prompt when your source photo has strong directional light. Flux Kontext is conservative on re-lighting by default — explicit instructions help.
-
Run and check the edges. Around 8–10 seconds. Look at hair, glasses, and clothing edges — these are where segmentation fails. Flux Kontext preserves the most edge fidelity of any current editor we've tested.
-
Use multi-turn for refinement. "Make the background slightly more out of focus" or "warm up the color temperature" as follow-up prompts. Each pass keeps the subject intact.
The pattern: Flux Kontext keeps your face and clothing exactly the same; the background changes. That subject preservation is the reason portrait photographers and YouTubers moved to it for thumbnail edits in early 2026.
Use Case 3: Photo Enhancement (Old Photos, Low-Light, Blur)
The job: Take a blurry phone photo from 2014 or a scanned print from 1990, and bring it back to clarity.
How Flux Kontext handles it: Increases effective resolution, reconstructs missing detail, and corrects color and exposure — without making the result look obviously "AI processed."
Step-by-step:
-
Upload at original resolution. Don't downsize first. Flux Kontext works better with as much source detail as you have, even if it's noisy.
-
Write a restrained prompt. "Enhance sharpness, restore natural color, keep film grain" is better than "make this look amazing." Heavy-handed prompts produce that smoothed, over-enhanced look — Flux Kontext follows your tone.
-
For faces, add an identity-preserving instruction. "Keep the original face features unchanged" tells the model not to drift toward a generic averaged face — a common failure in older photo restoration tools.
-
Run and compare 1:1. Open the original and the enhanced version side by side. Flux Kontext should keep all distinguishing features (mole positions, hair pattern, wrinkles) intact.
-
Use light multi-turn for fine adjustment. "Slightly reduce the warm color cast" or "bring back a bit of contrast" after the first pass. Multiple small steps usually beat one heavy edit.
Flux Kontext is the editor to reach for on old family photos specifically because of how restrained it is. Other restoration tools tend to "young-ify" faces or smooth skin to plastic — Flux Kontext keeps texture.
Flux Kontext vs Nano Banana Pro: Which to Choose?
Imgezy supports both Flux Kontext and Nano Banana Pro. They're the two strongest editing models in 2026, and they have different strengths. For a deeper head-to-head with two more models, see our Nano Banana Pro vs Flux Kontext vs Qwen Image Edit comparison.
| Dimension | Flux Kontext | Nano Banana Pro |
|---|---|---|
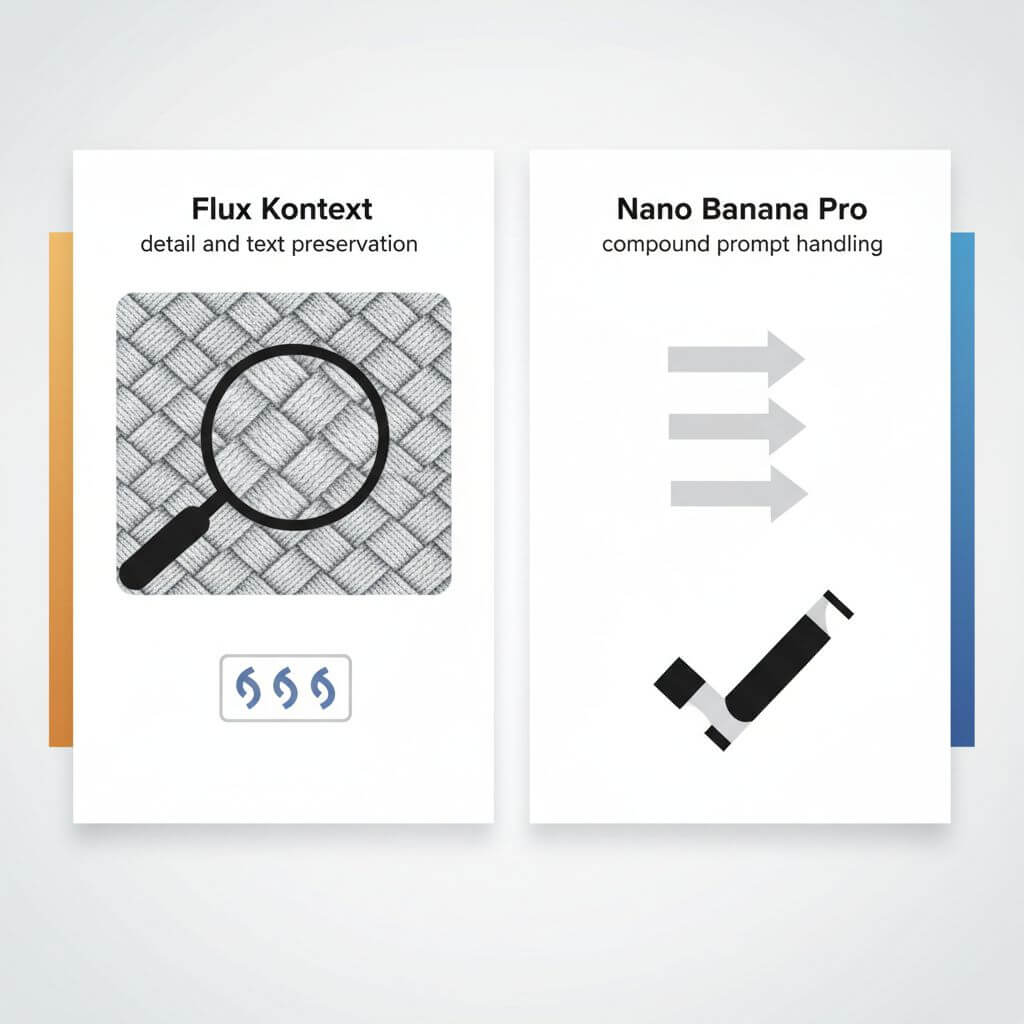
| Best at | Detail, texture, text preservation | Compound multi-step prompts |
| Typical speed | 8–10 seconds | 5–6 seconds |
| Photorealism | Strongest of the two | Strong |
| Stylization range | Conservative | More flexible |
| Identity preservation | Strongest | Strong |
| Text/sign legibility | Best | Good |
| When to pick it | Portrait edits, product retouching, photos with text | Long instructions, fast batch jobs |
Pick Flux Kontext when: you're editing portraits, the source has visible text (storefront signs, product packaging, UI screenshots), or you need to preserve film grain and fine texture.
Pick Nano Banana Pro when: you have a multi-step instruction ("remove the third person from the left and replace the sky with a sunset"), or you're processing high volume where 5 seconds vs 10 seconds matters across hundreds of edits.
In Imgezy you can run the same source photo on both models and compare in adjacent tabs — that's the fastest way to decide for any given workflow.
Pro Tips for Better Flux Kontext Results
- Specific over poetic. "Remove the man in the blue shirt on the left" beats "clean up this photo." Flux Kontext is most accurate with grounded, spatial prompts.
- Use multi-turn for complex jobs. Stack three small edits rather than one mega-prompt. Each pass is fast (~8 seconds) and Flux Kontext keeps the subject stable across turns.
- Default to restraint on enhancement. Prompts like "subtly enhance" or "lightly restore" produce more natural results than "make this stunning."
- Mention what to keep. "Remove the tourist but keep the original sky and lighting" — explicit preservation instructions reduce drift.
- Use 4K source where possible. Flux Kontext scales gracefully on high-res inputs. Downsizing first is the most common reason results look soft.

FAQ
Is Flux Kontext free to use?
Flux Kontext has a free trial through Black Forest Labs' API and through editor platforms that integrate it. Continued use is paid: roughly $0.025 per megapixel through the official API, or via subscription on platforms like Imgezy ($9.99/month covers about 40 edits, $19.99/month around 250). The Dev tier is open-weight under a research license — free for non-commercial experiments, paid for commercial use.
Can I use Flux Kontext for commercial work?
Yes, with the right tier. Flux Kontext Pro and Max include commercial licensing through Black Forest Labs' API or partner platforms with commercial plans. Imgezy's $19.99/month Pro plan covers commercial use across Flux Kontext and all other supported models. The Dev open-weight release is research-only; for client work or product imagery, use a paid tier.
How is Flux Kontext different from Photoshop's AI features?
Photoshop's Generative Fill and Generative Expand are built into a layered editor — you mask a region and the AI fills it. Flux Kontext is instruction-driven — you describe the edit in plain language and the model handles segmentation, removal, and reconstruction in one step. For quick edits without opening a desktop editor, Flux Kontext is faster. For multi-layer compositing with manual control, Photoshop still wins.
Is my uploaded photo private?
On Imgezy, photos are processed for your edit and not used for model training. Black Forest Labs' API has its own privacy policy; check whichever platform you use. For sensitive imagery (medical, legal, confidential business assets), Qwen Image Edit's open-weight self-hosted option is the only way to keep data fully on-prem — Flux Kontext does not currently offer a self-hosted Pro tier.
Can Flux Kontext animate or generate video?
No — Flux Kontext is image-only. For video editing, separate models (Runway Gen-3, Pika, Sora) handle the temporal dimension. If you want to apply a Flux Kontext edit to every frame of a short clip, some workflows chain Flux Kontext per-frame, but consistency across frames is harder than with purpose-built video models.
What resolution does Flux Kontext output?
Flux Kontext preserves the input resolution by default, up to roughly 5K on most platforms. Output stays at the source dimensions unless you specifically ask for an upscale. The model handles 4K source images natively, which is part of why it's preferred for product and portrait work where you don't want a downsized result.
Conclusion
Flux Kontext is the model to reach for when the edit has to still look like a photo — object removal that doesn't leave a smudge, background replacement that doesn't wash out hair, photo restoration that doesn't plastic-ify the face. Pair it with Nano Banana Pro on the same source when you need to compare instruction styles or speed.
The fastest way to learn what Flux Kontext can do for your specific photos is to run two or three real edits on real files. Specific spatial prompts, multi-turn refinement, and source-resolution input are the three habits that separate good Flux Kontext output from mediocre.
Ready to edit your photos with Flux Kontext? Try Imgezy free → — Flux Kontext, Nano Banana Pro, and four more models in one editor. Upload a photo, type one sentence, get the result in about 8 seconds. No design skills needed.