
How to Enhance Concert Photos with AI: Blur & Low Light Fix
You scroll through 200 photos from last night's show. Maybe ten are usable. The rest? Blurry singers, neon-blue noise, that one tall guy's shoulder cropping out the entire chorus. Concert photography on a phone is brutal — and yet TikTok feeds for #stagecoach (52M views), #btsconcert (15.8M), and #lukecombs (19.3M) keep climbing because everyone wants to share the night anyway.
This guide walks you through fixing the three problems that ruin concert photos with AI: motion blur, low-light noise, and crowd obstructions. Every step uses prompt-based AI editing, so you don't need a desktop editor or a tutorial on layers to follow along.
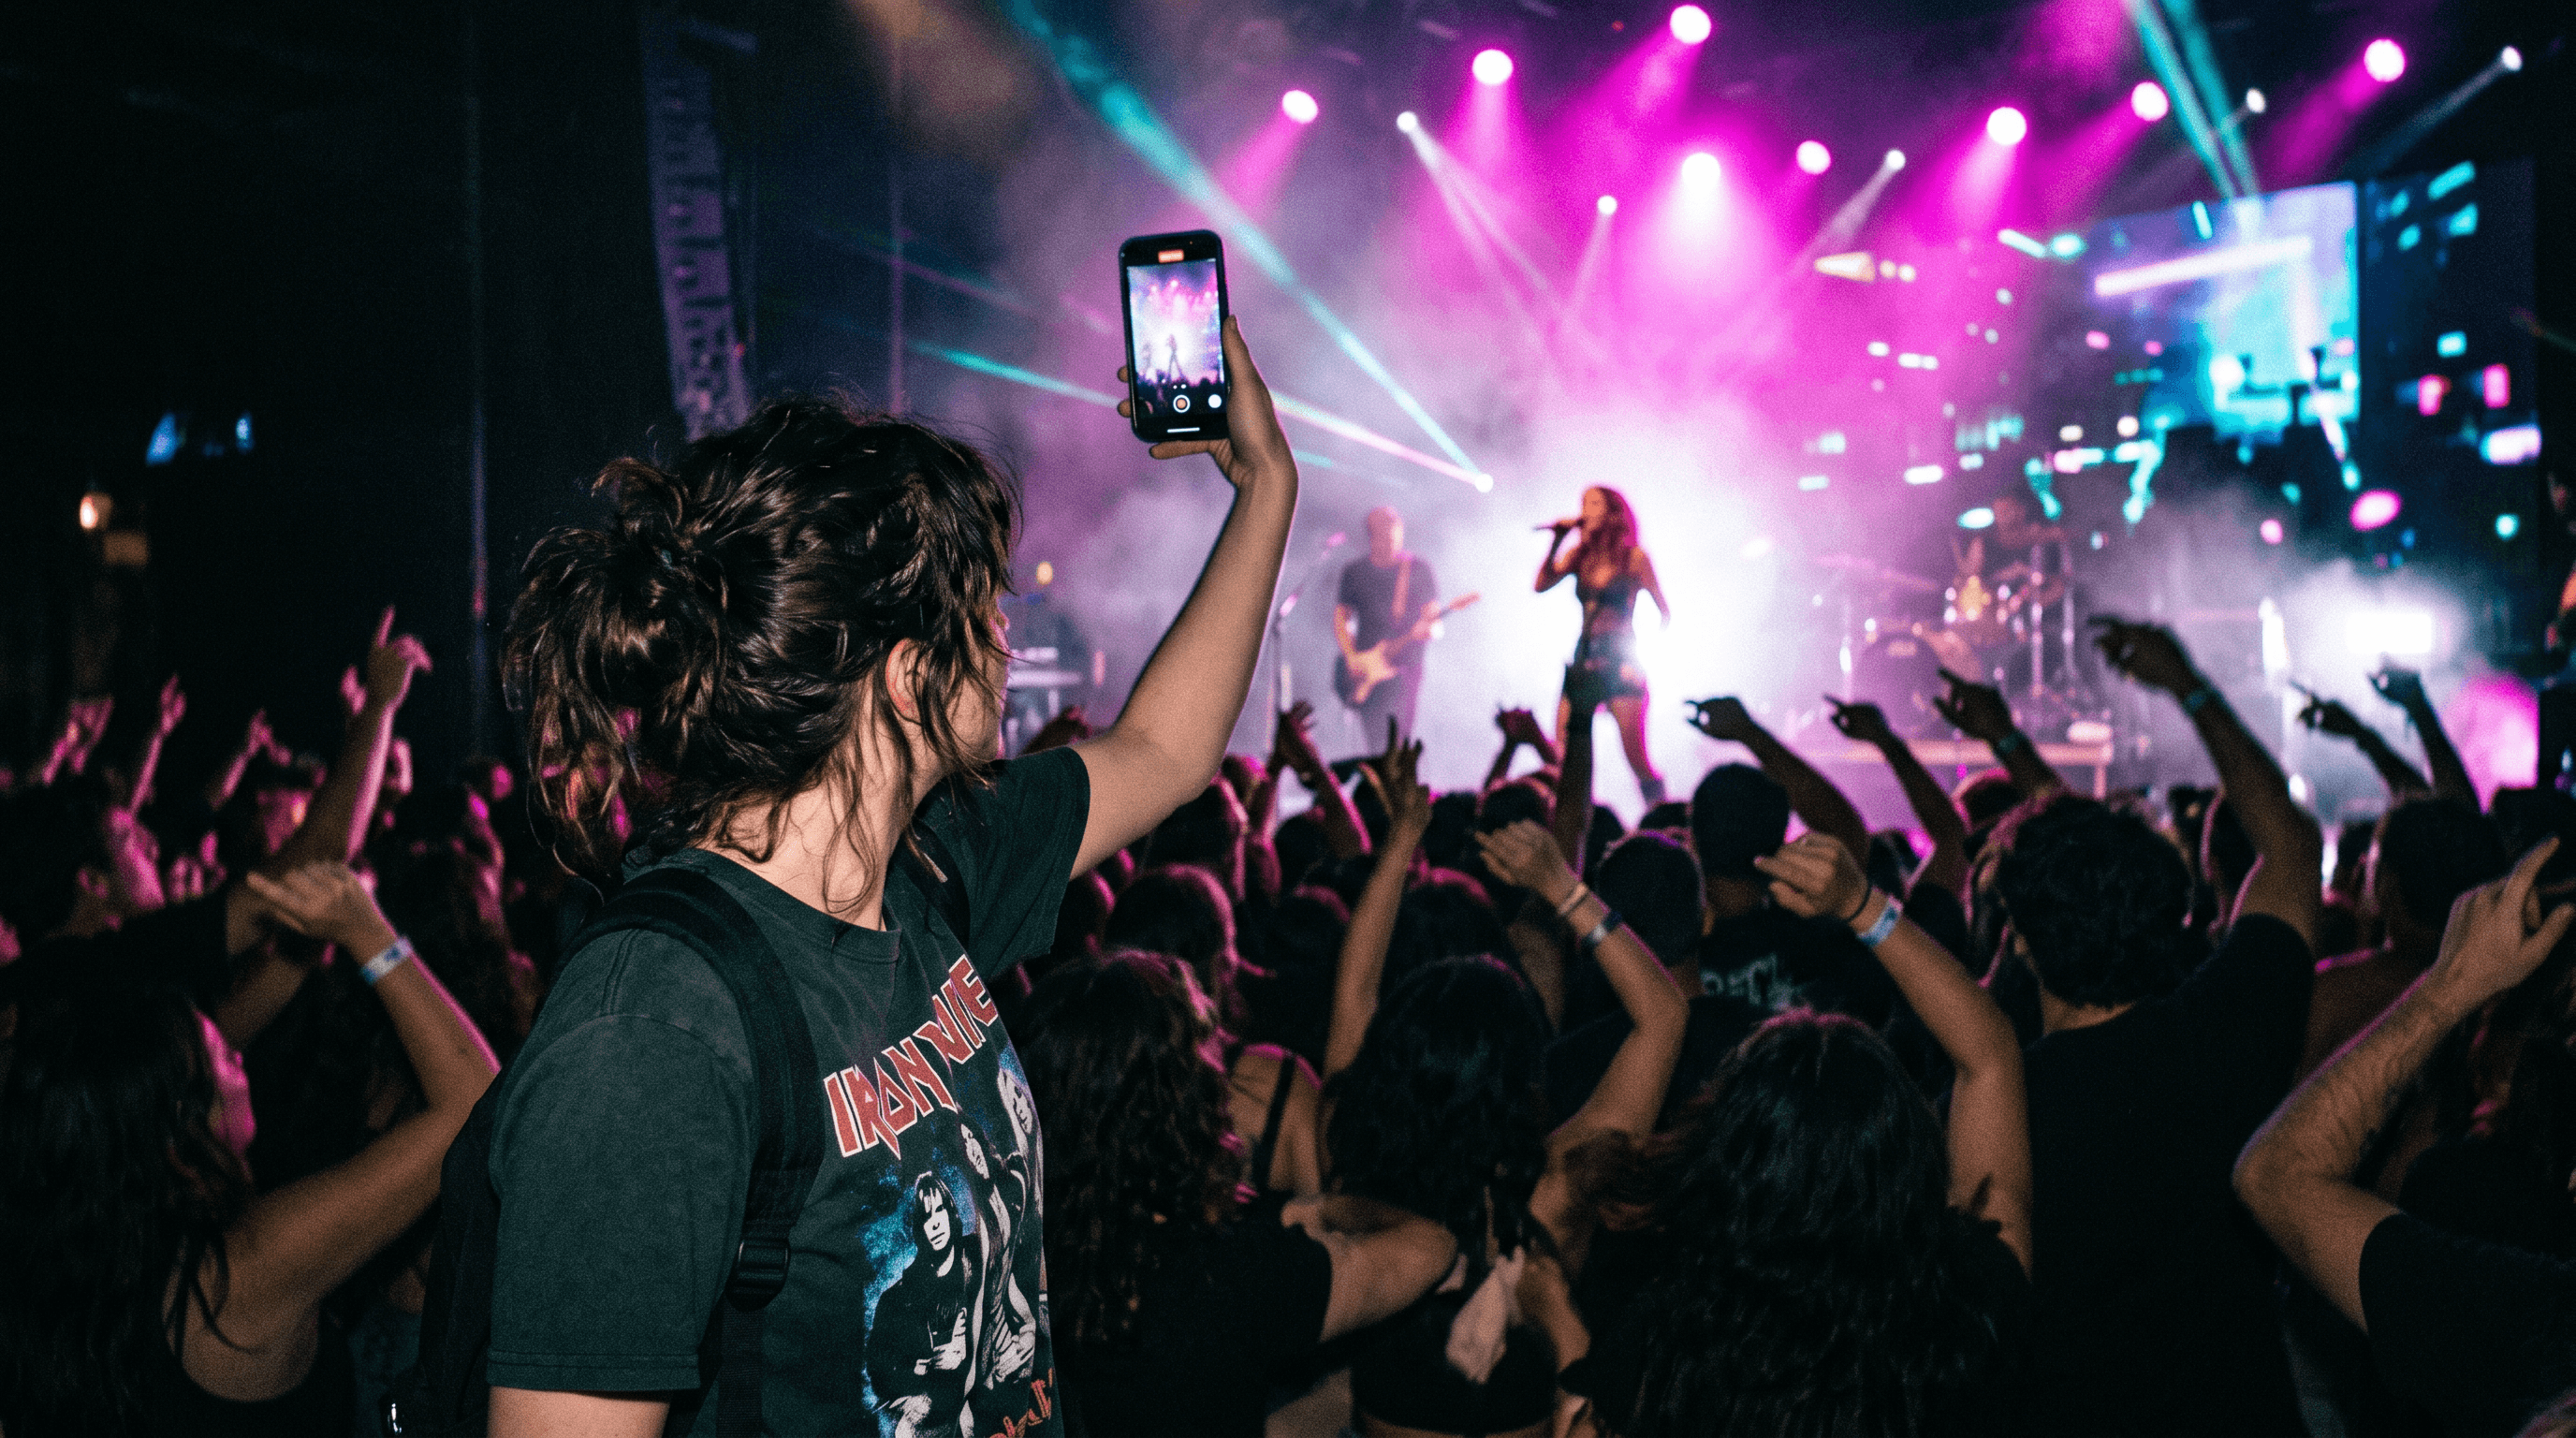
Table of contents
- Why Concert Photos Are So Hard to Shoot
- Step-by-Step: Enhance Concert Photos with AI
- Pro Tips for Better Results
- FAQ
- Conclusion
Why Concert Photos Are So Hard to Shoot
Concerts combine every condition phone cameras struggle with: low ambient light, fast-moving subjects, flashing stage lights, and distance from the action. Your phone opens its sensor wider to grab more light, but that also amplifies sensor noise and any small hand movement.
Three failure modes show up over and over:
- Motion blur — Stage lights flicker at 60–120 Hz; your phone tries to expose for 1/30s and the artist moves through three poses inside that single exposure.
- Low-light noise — Bumping ISO past 6400 trades darkness for a grainy, mushy frame where faces lose definition and skin turns plastic.
- Crowd blocking — That phone three rows ahead, the security guard's arm, the silhouette of a tall hat — they all photobomb the shot you actually wanted.
Last updated: May 2026.
Step-by-Step: Enhance Concert Photos with AI
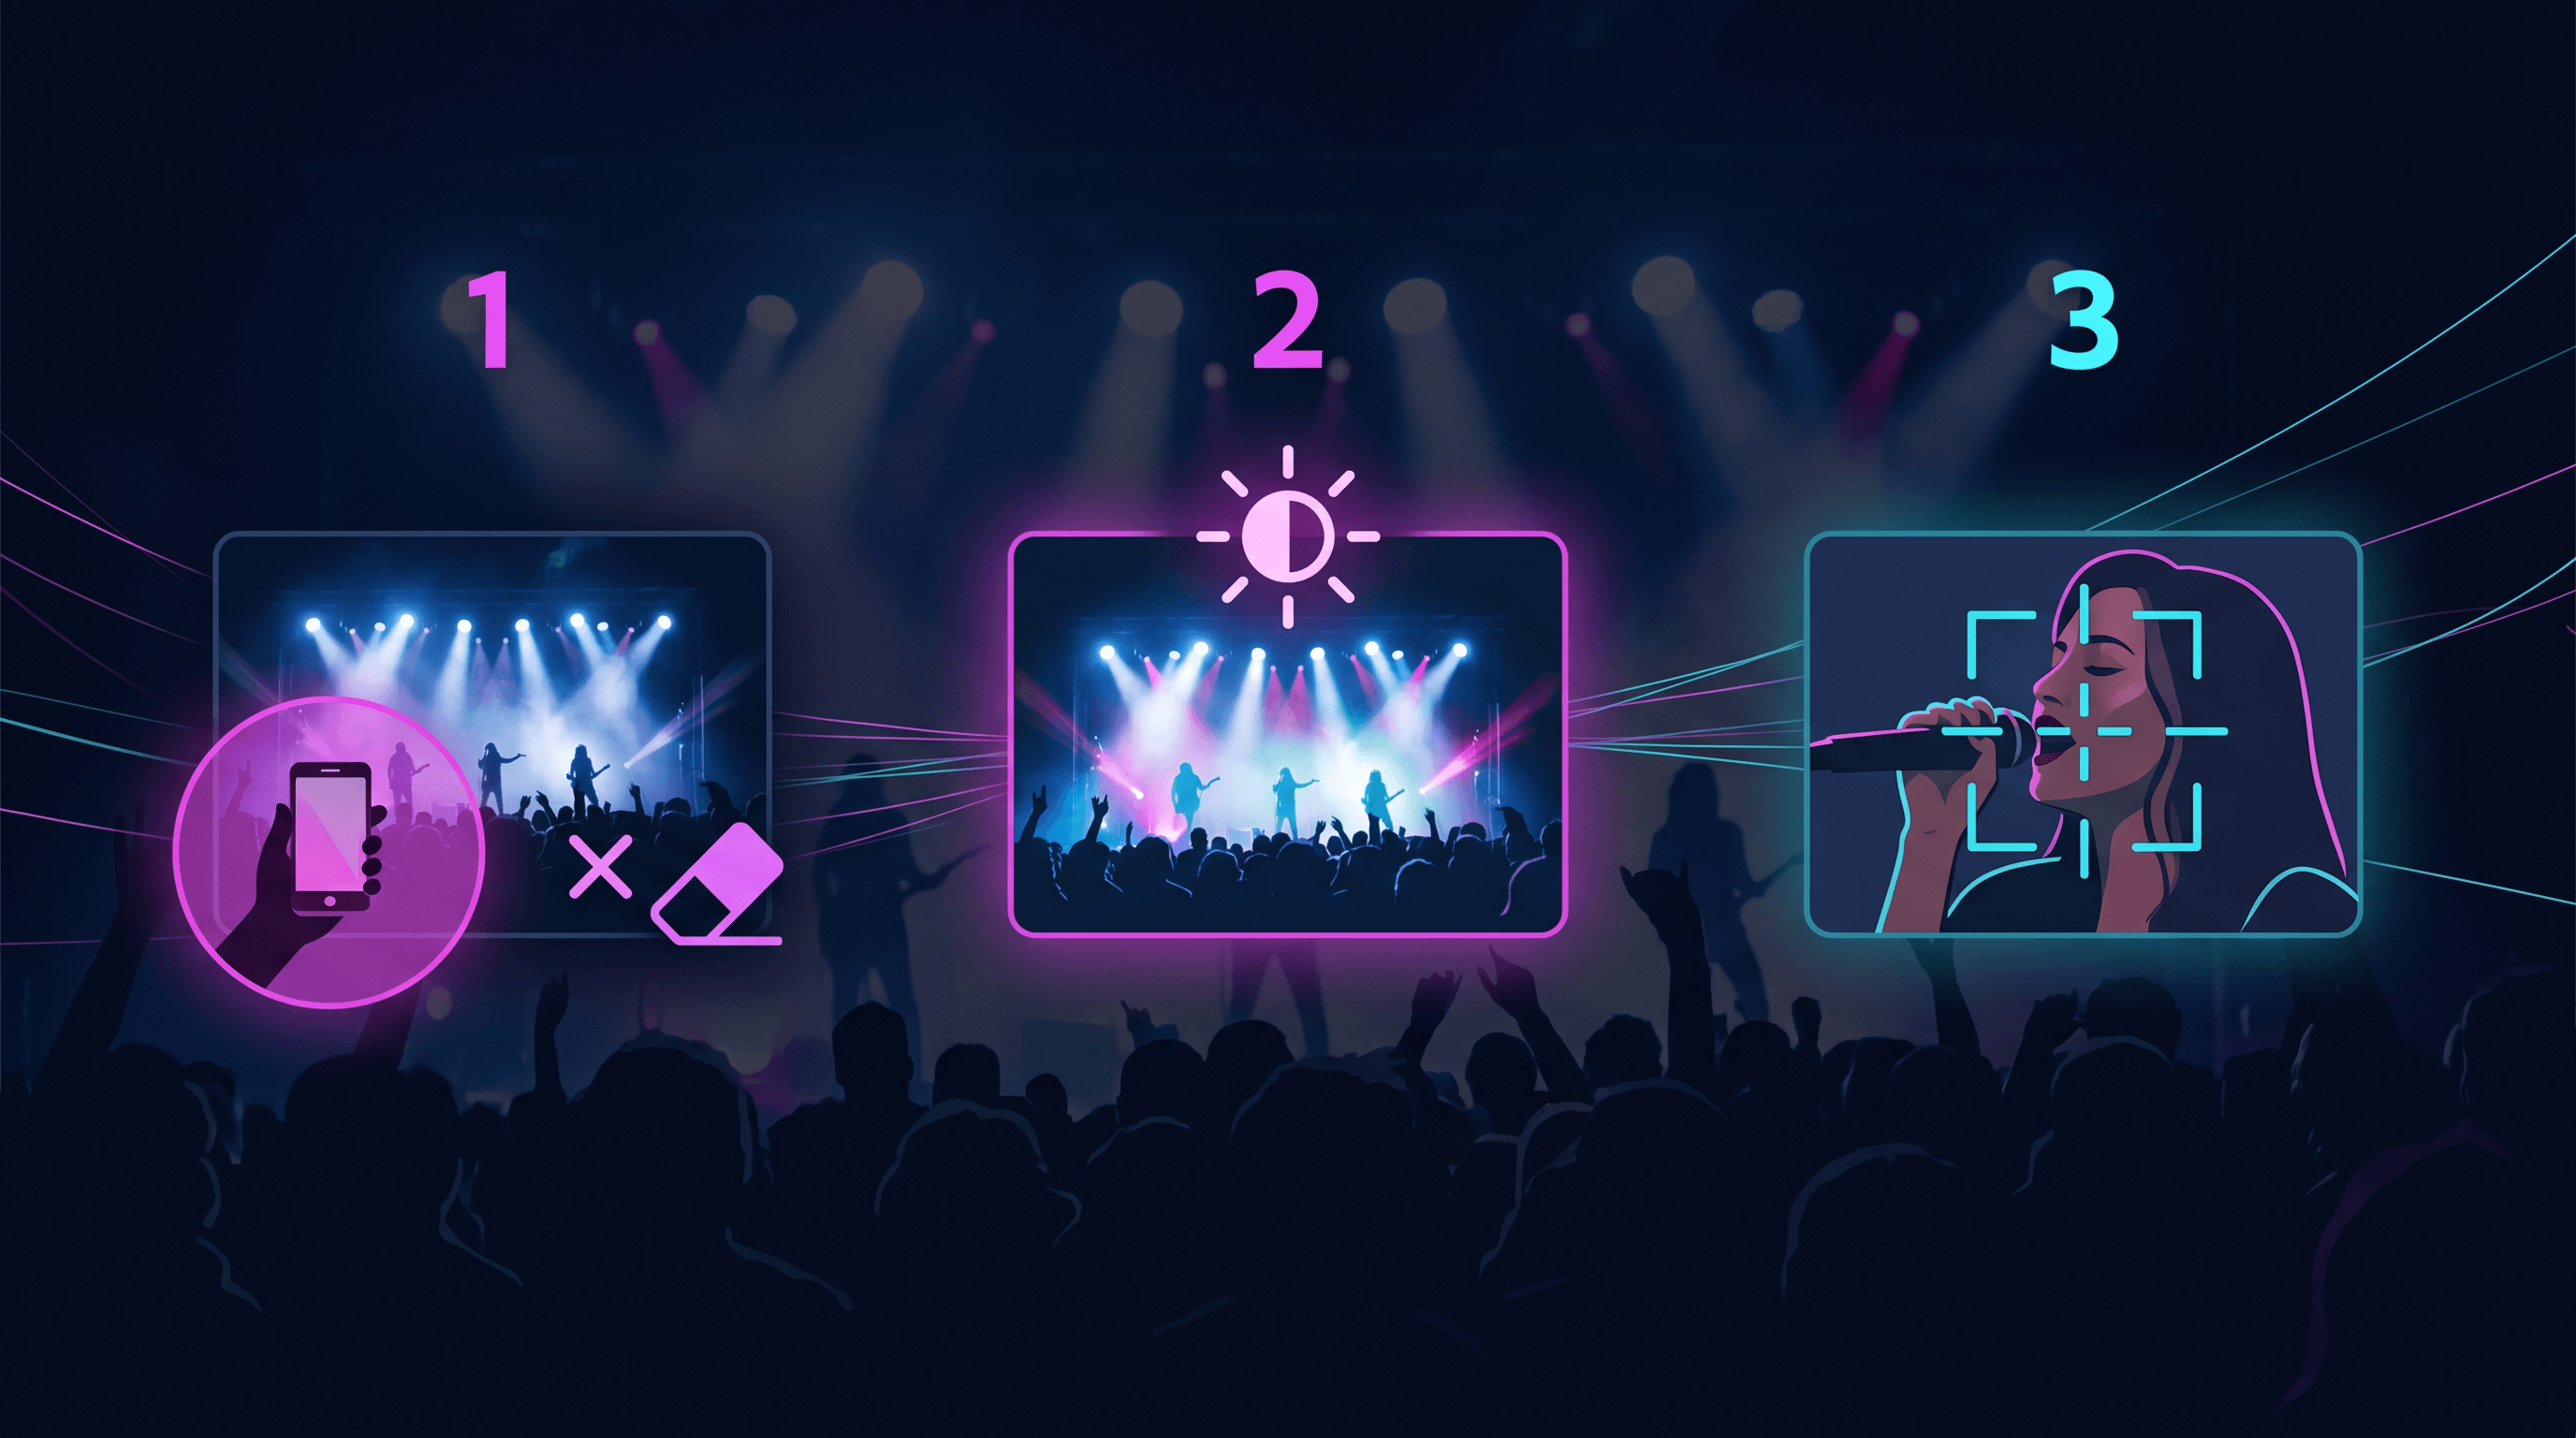
Work through the three problems in this order: remove obstructions first, enhance the exposure second, sharpen detail last. Each pass leaves a cleaner canvas for the next.
Step 1: Remove Crowd Obstructions with Object Removal
Fix obstructions before you touch exposure or sharpness. The phone in front of you, the head of someone tall, the security guard's arm — Object Removal handles all of these by reconstructing what was likely behind the obstruction (stage, lights, the artist's body).
What to do:
- Open your photo in the Object Removal tool.
- Brush over the obstruction or describe it in a prompt:
Remove the phone in the lower-left corner held up by another fan. - Review the patched area. If the fill looks off, try:
Remove the phone and reconstruct the stage edge and crowd silhouettes naturally.
What to expect: Small obstructions (phones, hands, hats) disappear cleanly in about 5 seconds. Larger objects that block more than 30% of the subject get harder — the AI has to invent more, and inventions get noticeable. For partial coverage of a singer's face, results are usually acceptable; for full coverage, expect to pick a different photo.
Pro tip: Run obstruction removal before enhancement, not after. Removing a bright phone screen first means the enhancement step doesn't try to balance exposure around it.
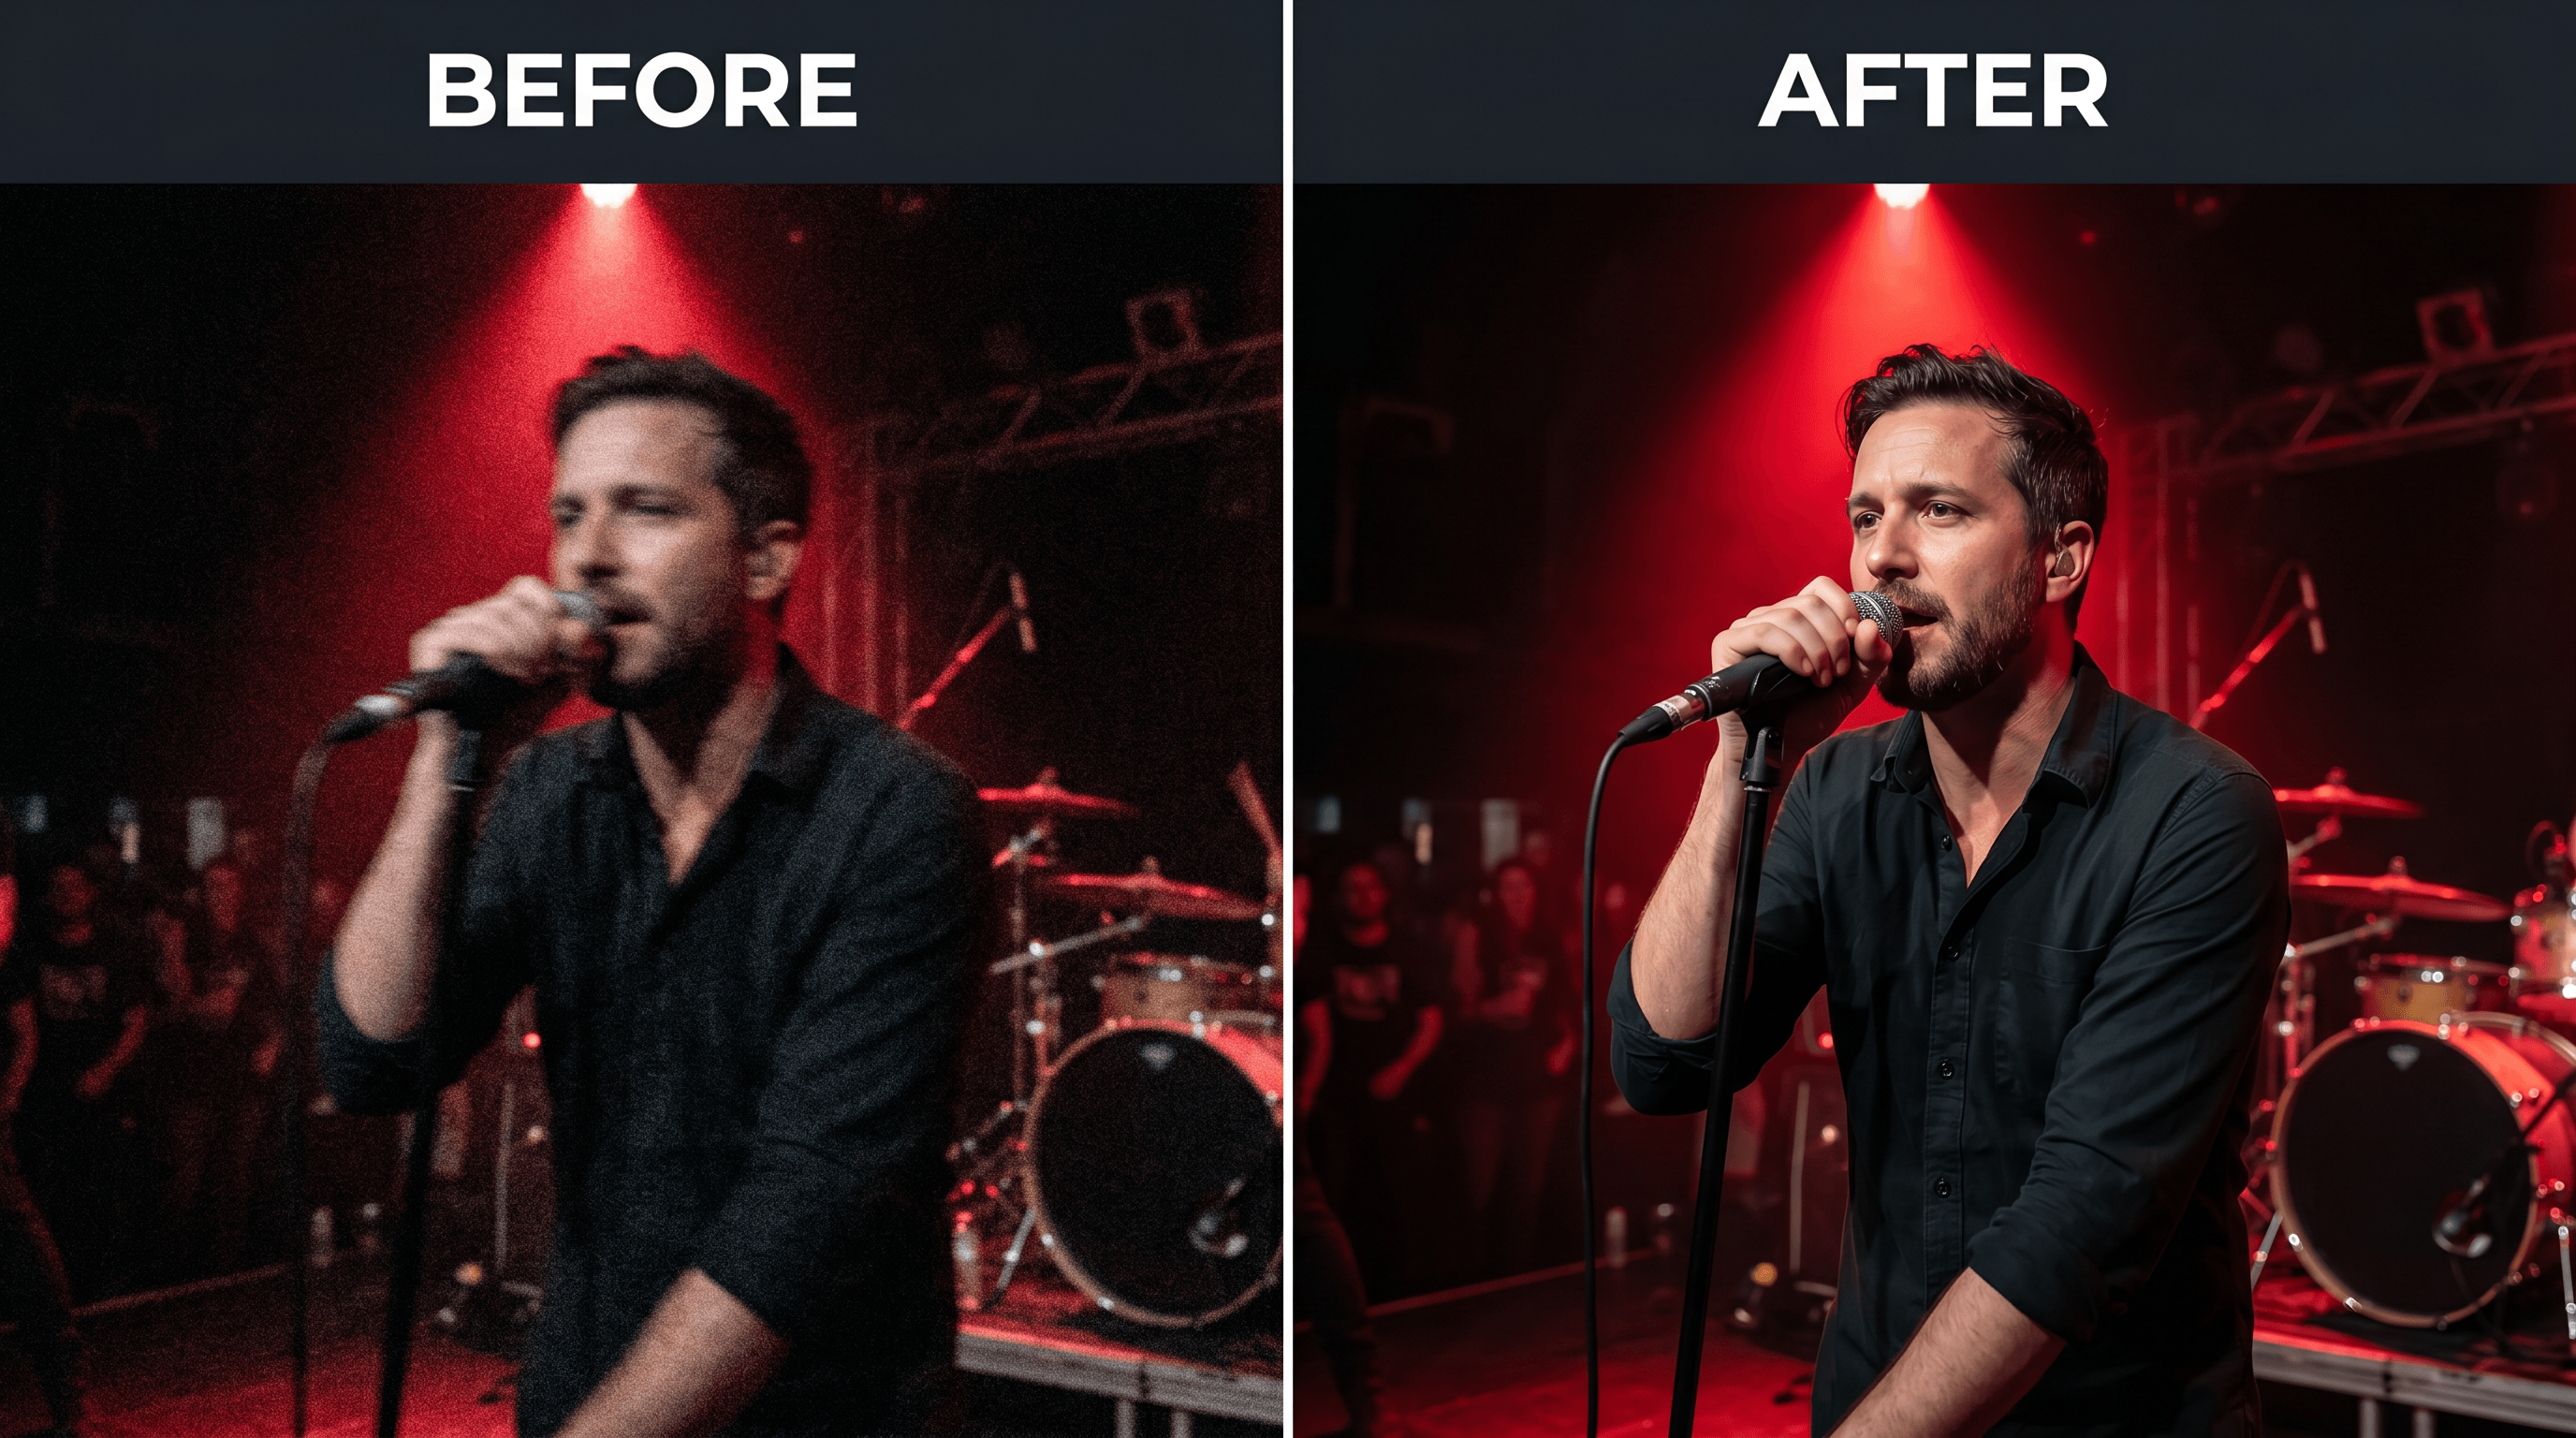
Step 2: Clean Up Low-Light Noise with Photo Enhancement
For dark, grainy shots, jump to Photo Enhancement next. This tool re-exposes the image, lifts shadows, and de-noises in one pass — exactly what you need when the stage was lit by a single red spotlight.
What to do:
- Upload your photo to Imgezy and pick Photo Enhancement.
- Use a prompt like:
Brighten the stage and reduce noise, keep the colored stage lights vivid, preserve skin tones, no blown-out highlights. - If the first pass over-brightens the image, run it again with:
Slightly reduce overall brightness, keep the moody concert atmosphere, only fix noise.
What to expect: Cleaner skin tones, readable faces, and stage lights that stay saturated instead of washing out to white. Imgezy handles this in about 5 seconds per image and preserves the colored light cast that makes a concert photo feel like a concert photo.
Pro tip: Always keep "preserve stage lighting" or "keep moody atmosphere" in the prompt for low-light fixes. Without it, AI enhancement tends to neutralize the color and you end up with a flat, daylight-looking shot of someone standing on a stage.
Step 3: Fix Motion Blur with Smart Repair
Motion-blurred concert photos are the most common problem and usually the most fixable — once exposure is clean. Smart Repair reconstructs sharp edges from the existing pixel data, working best when the subject is recognizable but soft.
What to do:
- Take the enhanced photo from Step 2 and open Smart Repair.
- Use a prompt like:
Sharpen the singer's face and microphone, restore detail in the eyes and mouth, keep the stage lighting natural. - Wait about 5 seconds. Compare the preview against the source. If it over-sharpens, try a softer prompt:
Lightly sharpen the face only, keep skin texture natural.
What to expect: Smart Repair recovers edge detail well on faces and instruments. It can't invent information that isn't there — a completely smeared shot stays blurry — but a "soft but readable" image usually becomes sharp enough to post.
Pro tip: Be specific in the prompt. Sharpen the photo produces generic results; Sharpen the guitarist's hands and the strings of the guitar tells the AI exactly which regions matter.
Pro Tips for Better Results
- Process in the right order. Object removal, then enhancement, then sharpening. Each step leaves a cleaner canvas for the next.
- Batch process the night. Most editors fix one photo at a time. If you came home with 200 shots, use Batch Processing to run the same enhancement preset across the lot, then hand-pick keepers for fine-tuning.
- Save originals. Always keep the unedited file. AI passes are non-destructive when you save a copy, but it's easy to overwrite the only source you have.
- Match the prompt to the failure mode. Don't ask for "make it better" — name the actual problem ("reduce red noise in the shadows") and the AI does targeted work instead of a generic pass.
- Stop at one pass when you can. Stacking three rounds of enhancement softens texture and gives photos that plastic, AI-processed look. One well-prompted pass usually beats three generic ones.
FAQ
Q: Can AI fix a completely blurry concert photo?
A: Not reliably. AI restoration recovers detail from existing pixel data, so a "soft but readable" photo enhances well, while a smeared one stays smeared. If you can't tell who's in the photo even when squinting, no model will rescue it. As a rough rule: if you can identify the artist with effort, AI can probably sharpen it.
Q: How do I edit group selfies taken at a concert?
A: Run Photo Enhancement first to clean noise and lift shadows, then Smart Repair on any individual faces that are still soft. If you want to swap the background (for example, place yourself in front of the actual stage), Background Replacement handles that in one prompt.
Q: Can I batch process all the photos from one show?
A: Yes. Batch Processing accepts multiple uploads and applies the same edit recipe to all of them. The fastest workflow for a full set: run a generic enhancement pass on everything, then go back and hand-edit the 5–10 keepers with custom prompts. A 100-photo batch typically finishes in 8–12 minutes of processing.
Q: Will AI editing make my concert photo look fake?
A: It can if you over-process. The most common giveaways are over-saturation and that smooth, plastic skin texture. Stick to one pass per problem (one for noise, one for sharpening, one for object removal) and ask the prompt to "keep natural skin texture" and "preserve stage lighting." Stop when the photo looks like a clean version of itself, not a different photo.
Q: Which file format gives the best result?
A: Upload the highest-quality original you have — usually the JPG straight from your phone (or HEIC converted to JPG). Avoid uploading screenshots or compressed copies from social apps; you're feeding the AI fewer pixels to work with, and the results show it.
Conclusion
Concert photos go wrong in three predictable ways: motion blur, low-light noise, and crowd obstructions. Each has a matching AI tool — Object Removal, Photo Enhancement, and Smart Repair — and each step takes about 5 seconds when you write the prompt clearly. Process in order (remove, enhance, sharpen), keep originals, and don't stack enhancements past the point where the photo still looks like itself.
Next time you shoot a show, plan to keep maybe 5% of what you take. With a focused AI edit pass, that 5% becomes the night you actually want to share.
Ready to fix your concert shots? Try Imgezy free → — repair blur, clean up low-light noise, and remove crowd obstructions in about 5 seconds per photo. No design skills needed.
Last updated: May 2026