

AI Image Inpainting in Browser: WebGPU Guide
You open a travel photo and there it is: a stranger standing in the clean background, a cable crossing the sky, or a blank corner where a crop went wrong. The fastest fix is no longer manual cloning. AI image inpainting in browser tools let you mark the broken area, describe what should happen, and let a model rebuild the missing pixels from nearby context.
The timing is useful. On June 17, 2026, the Moebius team published Moebius: 0.2B Lightweight Image Inpainting Framework with 10B-Level Performance. On June 22, 2026, Simon Willison documented porting Moebius to run in the browser with ONNX and WebGPU. This guide explains what AI image inpainting in browser means for non-technical photo repair, object removal, background reconstruction, and fast editing workflows.
Last updated: June 24, 2026
On this page
- What AI Image Inpainting in Browser Means
- Why Moebius and WebGPU Matter
- Browser Inpainting vs Cloud Editing
- Step-by-Step Guide: Use Inpainting for Photo Repair
- Prompt Recipes for Object Removal and Repair
- Pro Tips for Cleaner Inpainting
- Limits and Privacy Checks
- FAQ
What AI Image Inpainting in Browser Means
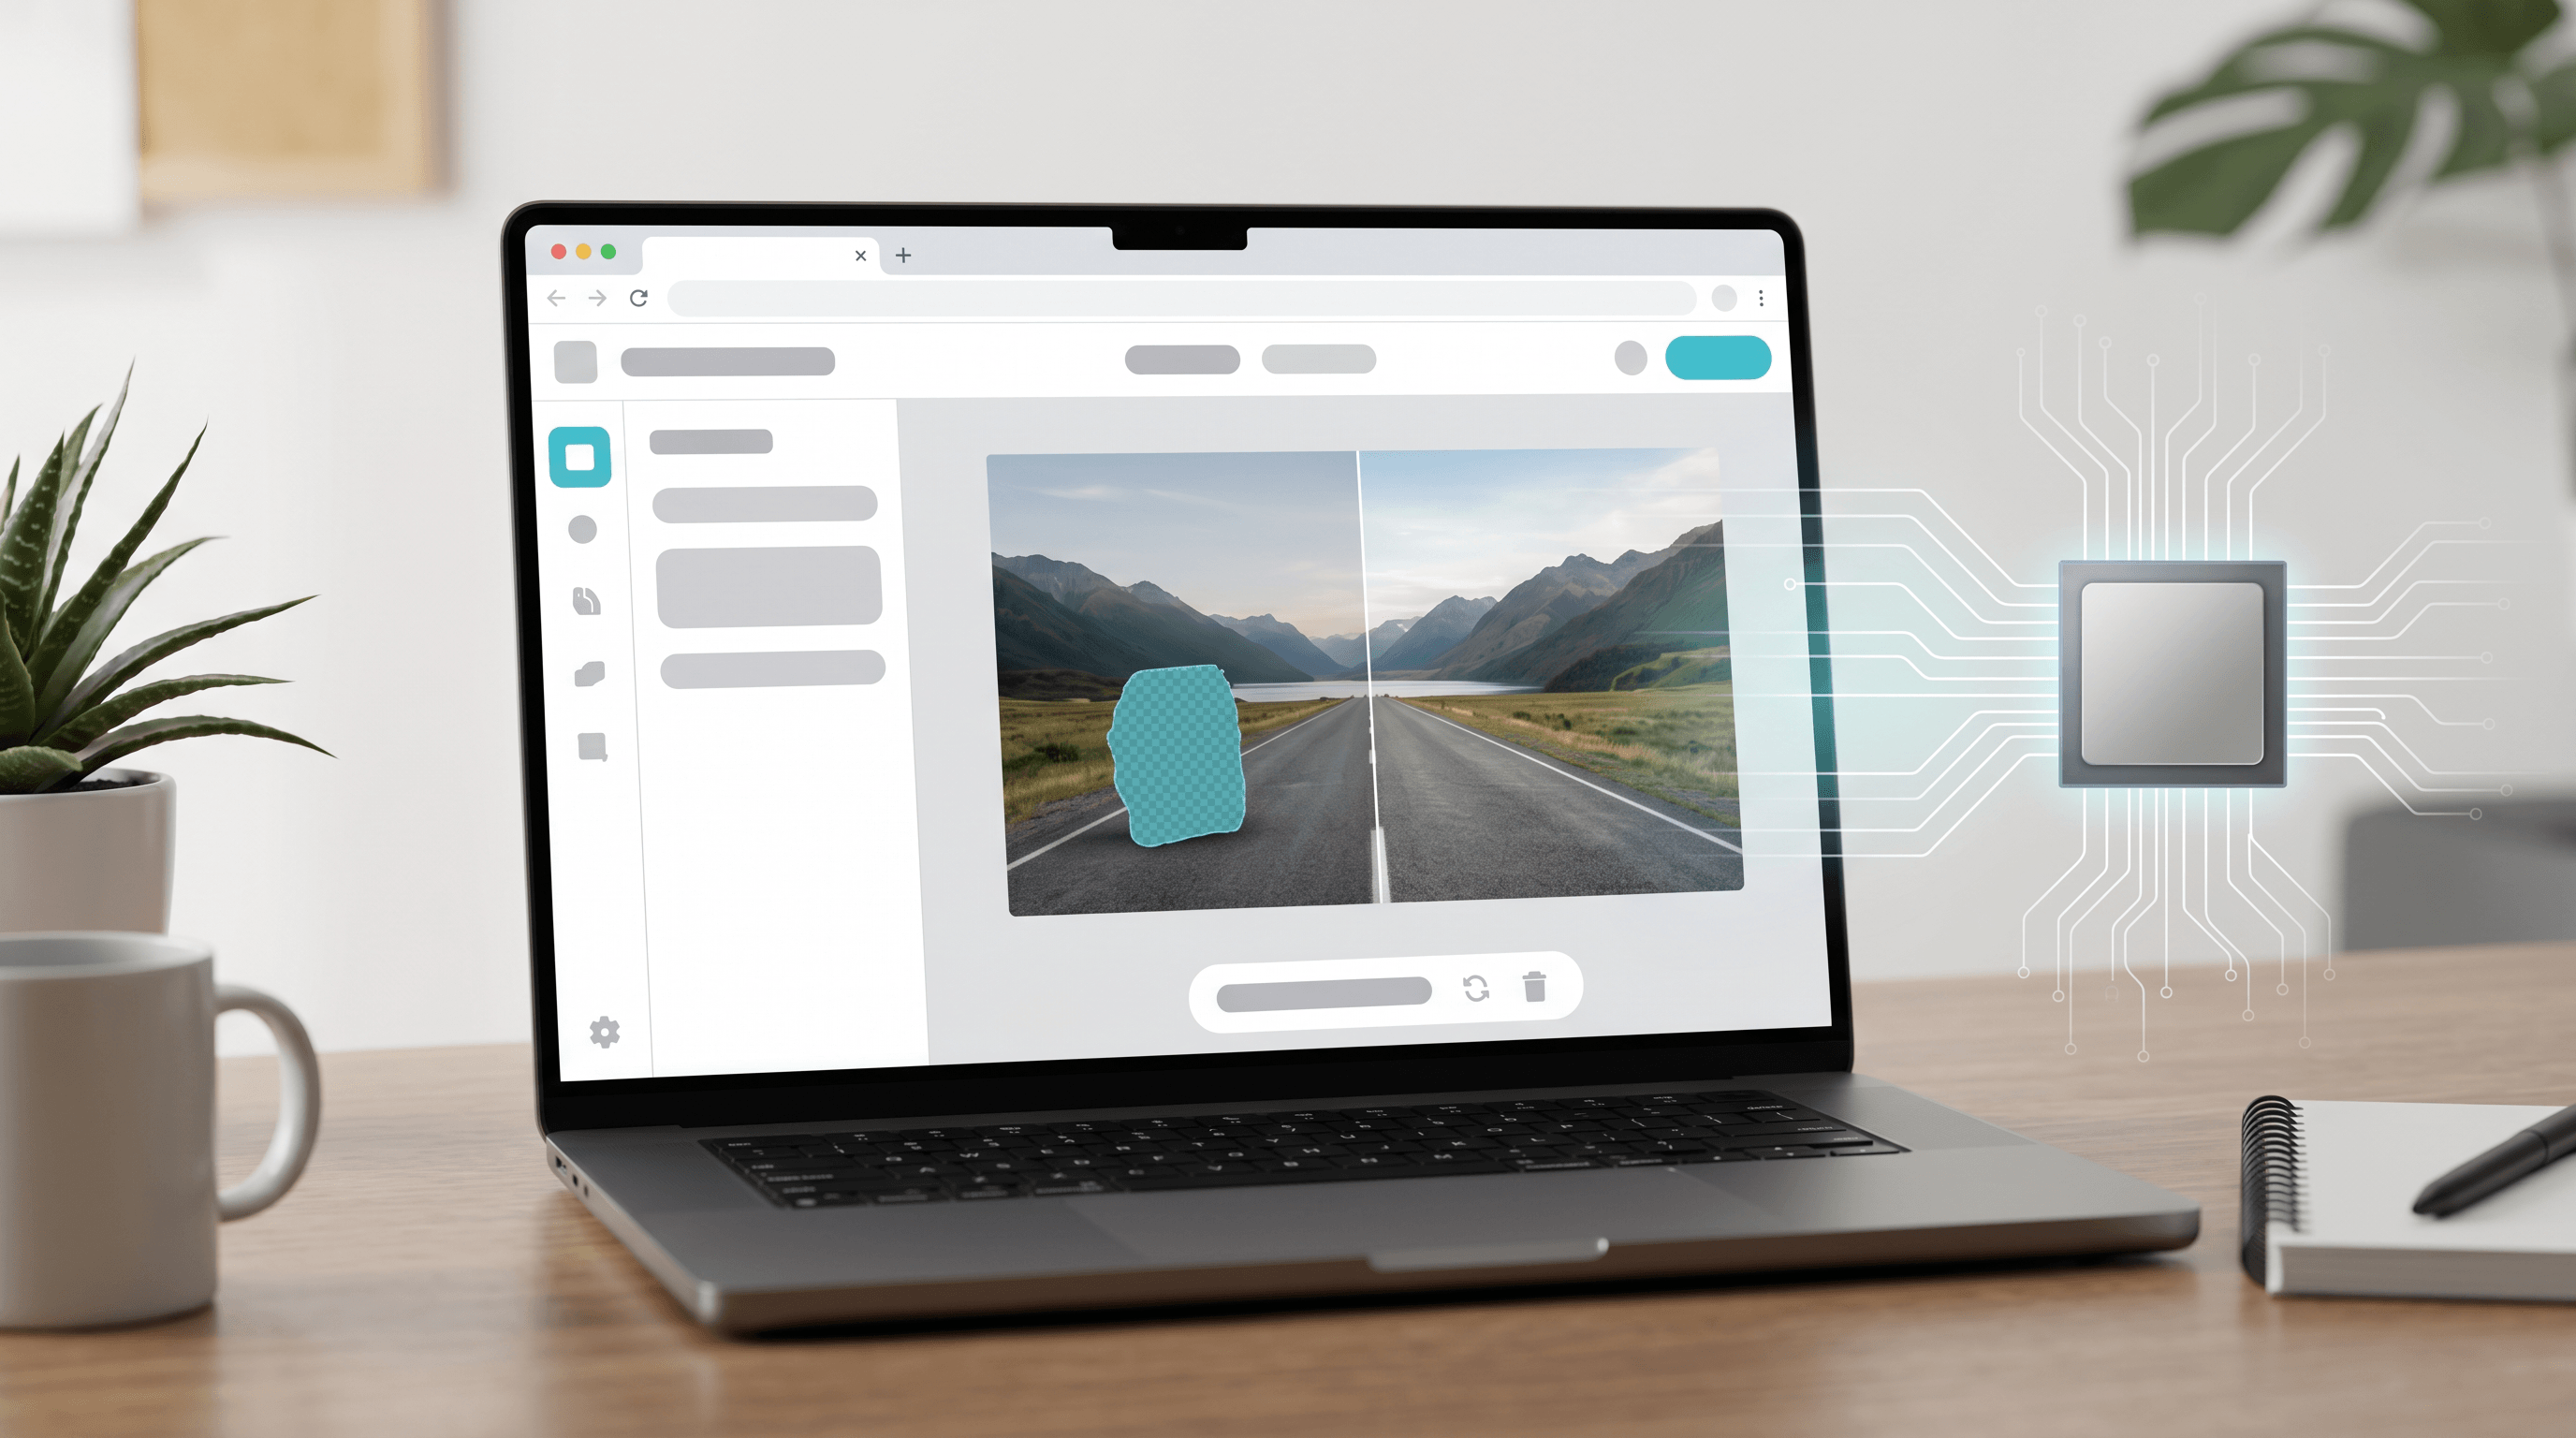
AI image inpainting in browser means using a web-based editor to fill, repair, or replace a selected region of an image. The user marks a mask, gives a plain-language instruction, and the model reconstructs the missing content from surrounding pixels, lighting, perspective, and scene context.
Inpainting is different from a general text-to-image generator. A generator creates a new picture from a prompt. Inpainting starts with a real image and changes only the masked region. That makes it useful for object removal, scratch repair, damaged-area filling, watermark cleanup when you own the image, and background reconstruction after something has been erased.
For a non-technical user, AI image inpainting in browser should feel like a smarter repair brush. You do not need to understand neural networks. You only need three inputs: the image, the area to fix, and a clear instruction such as "remove the parked bike and reconstruct the brick wall behind it."
The browser part matters because the editor runs where people already work: inside a tab. Some systems still process final images in the cloud, while newer research demos show more model execution moving to the device. Either way, the user experience is becoming closer to paint, preview, adjust, and export.
Why Moebius and WebGPU Matter
Moebius matters because it shows that image inpainting can be specialized and small without giving up the repair quality users need. The paper reports a 0.226B-parameter model that reaches competitive inpainting results while using less than 2 percent of the parameters of an 11.902B FLUX.1-Fill-Dev baseline.
The performance numbers are the real hook for AI image inpainting in browser. The Moebius paper reports 26.01 ms per sampling step for Moebius compared with 161.01 ms for FLUX.1-Fill-Dev, plus an overall inference-time speedup above 15x in its default comparison. Smaller specialist models make interactive repair loops more realistic.
Simon Willison's browser port is not a finished consumer product. His demo notes that the first run downloads about 1.27 GB of model files, including a UNet around 907 MB, and it needs a WebGPU-capable browser. The point is not that every user should run that demo today. The point is that AI image inpainting in browser is moving from theory to visible, working prototypes.
ONNX Runtime Web explains the technical path: WebGPU can use the client GPU for general-purpose compute, including machine learning workloads. The W3C WebGPU specification defines WebGPU as an API that exposes GPU hardware capabilities to the web, and MDN describes it as a successor to WebGL with stronger support for general-purpose GPU computation.
For photo editing products, this trend points to a hybrid future. Lightweight previews may run locally, final high-quality rendering may run in the cloud, and the interface stays inside a browser either way.
Browser Inpainting vs Cloud Editing
The practical question is not "browser or cloud?" but "which part of the repair loop belongs where?" AI image inpainting in browser can reduce waiting for masks and previews, while cloud editing can still deliver stronger final quality, larger models, and batch processing for many images.
| Editing path | What happens | Best for | Watch out for |
|---|---|---|---|
| Browser-side inpainting | The model or preview logic runs locally with WebGPU, WASM, or WebGL | Fast previews, privacy-sensitive edits, small masks | Large first download, browser support, device memory |
| Cloud inpainting | The image uploads to a hosted model and the result downloads | High-quality output, large images, multi-model tools | Upload time, privacy expectations, network reliability |
| Hybrid inpainting | Masking and preview happen locally; final rendering uses cloud models | Everyday photo repair with better responsiveness | More complex product behavior |
| Prompt-only editing | User describes the edit and the tool handles masking internally | Simple object removal and background cleanup | Less control over exact repair boundary |
This is why AI image inpainting in browser is best understood as a workflow shift, not just a model location. The user wants the same result: remove the object, fill the damaged region, reconstruct the background, and keep the original photo intact everywhere else.
Step-by-Step Guide: Use Inpainting for Photo Repair
The most reliable AI image inpainting in browser workflow is controlled and narrow: start with the best source image, mask only the problem area, write one precise repair instruction, inspect the boundary, then enhance the final image only after the inpainted patch looks natural.
Step 1: Start with the highest-quality source image
Use the original photo if you have it. Avoid screenshots, compressed messenger downloads, or social-media copies because the model has less texture to infer from. If you are repairing a printed photo, make a flat, evenly lit scan or phone capture before editing.
For AI image inpainting in browser, source detail matters more than prompt length. A clear wall pattern, pavement texture, grass edge, or fabric weave gives the model evidence. A noisy, tiny, heavily compressed image forces the model to invent more.
Step 2: Decide what should change and what must stay fixed
Before you mask, write the repair goal in one sentence. Good: "Remove the trash can and reconstruct the wooden fence behind it." Weak: "Make this better." The model needs a bounded task, especially when the photo contains people, product details, documents, or brand assets.
Add a preservation rule when the image matters. Examples: "Keep the person, lighting, shadows, and camera angle unchanged" or "Do not alter the product label." These short constraints are important because inpainting models can over-help if the instruction sounds like a full restyle.
Step 3: Paint a tight mask around the damaged area
Mask slightly beyond the object or damaged patch, but not the whole scene. A tight mask gives the model enough room to blend edges while still forcing it to follow nearby context. A huge mask makes background reconstruction harder because too much evidence has been removed.
In our testing, most object-removal failures come from mask size, not from the idea of AI image inpainting in browser itself. If a removed person leaves warped railings or repeated leaves, undo and try a smaller mask around the body, shadow, and contact edge.
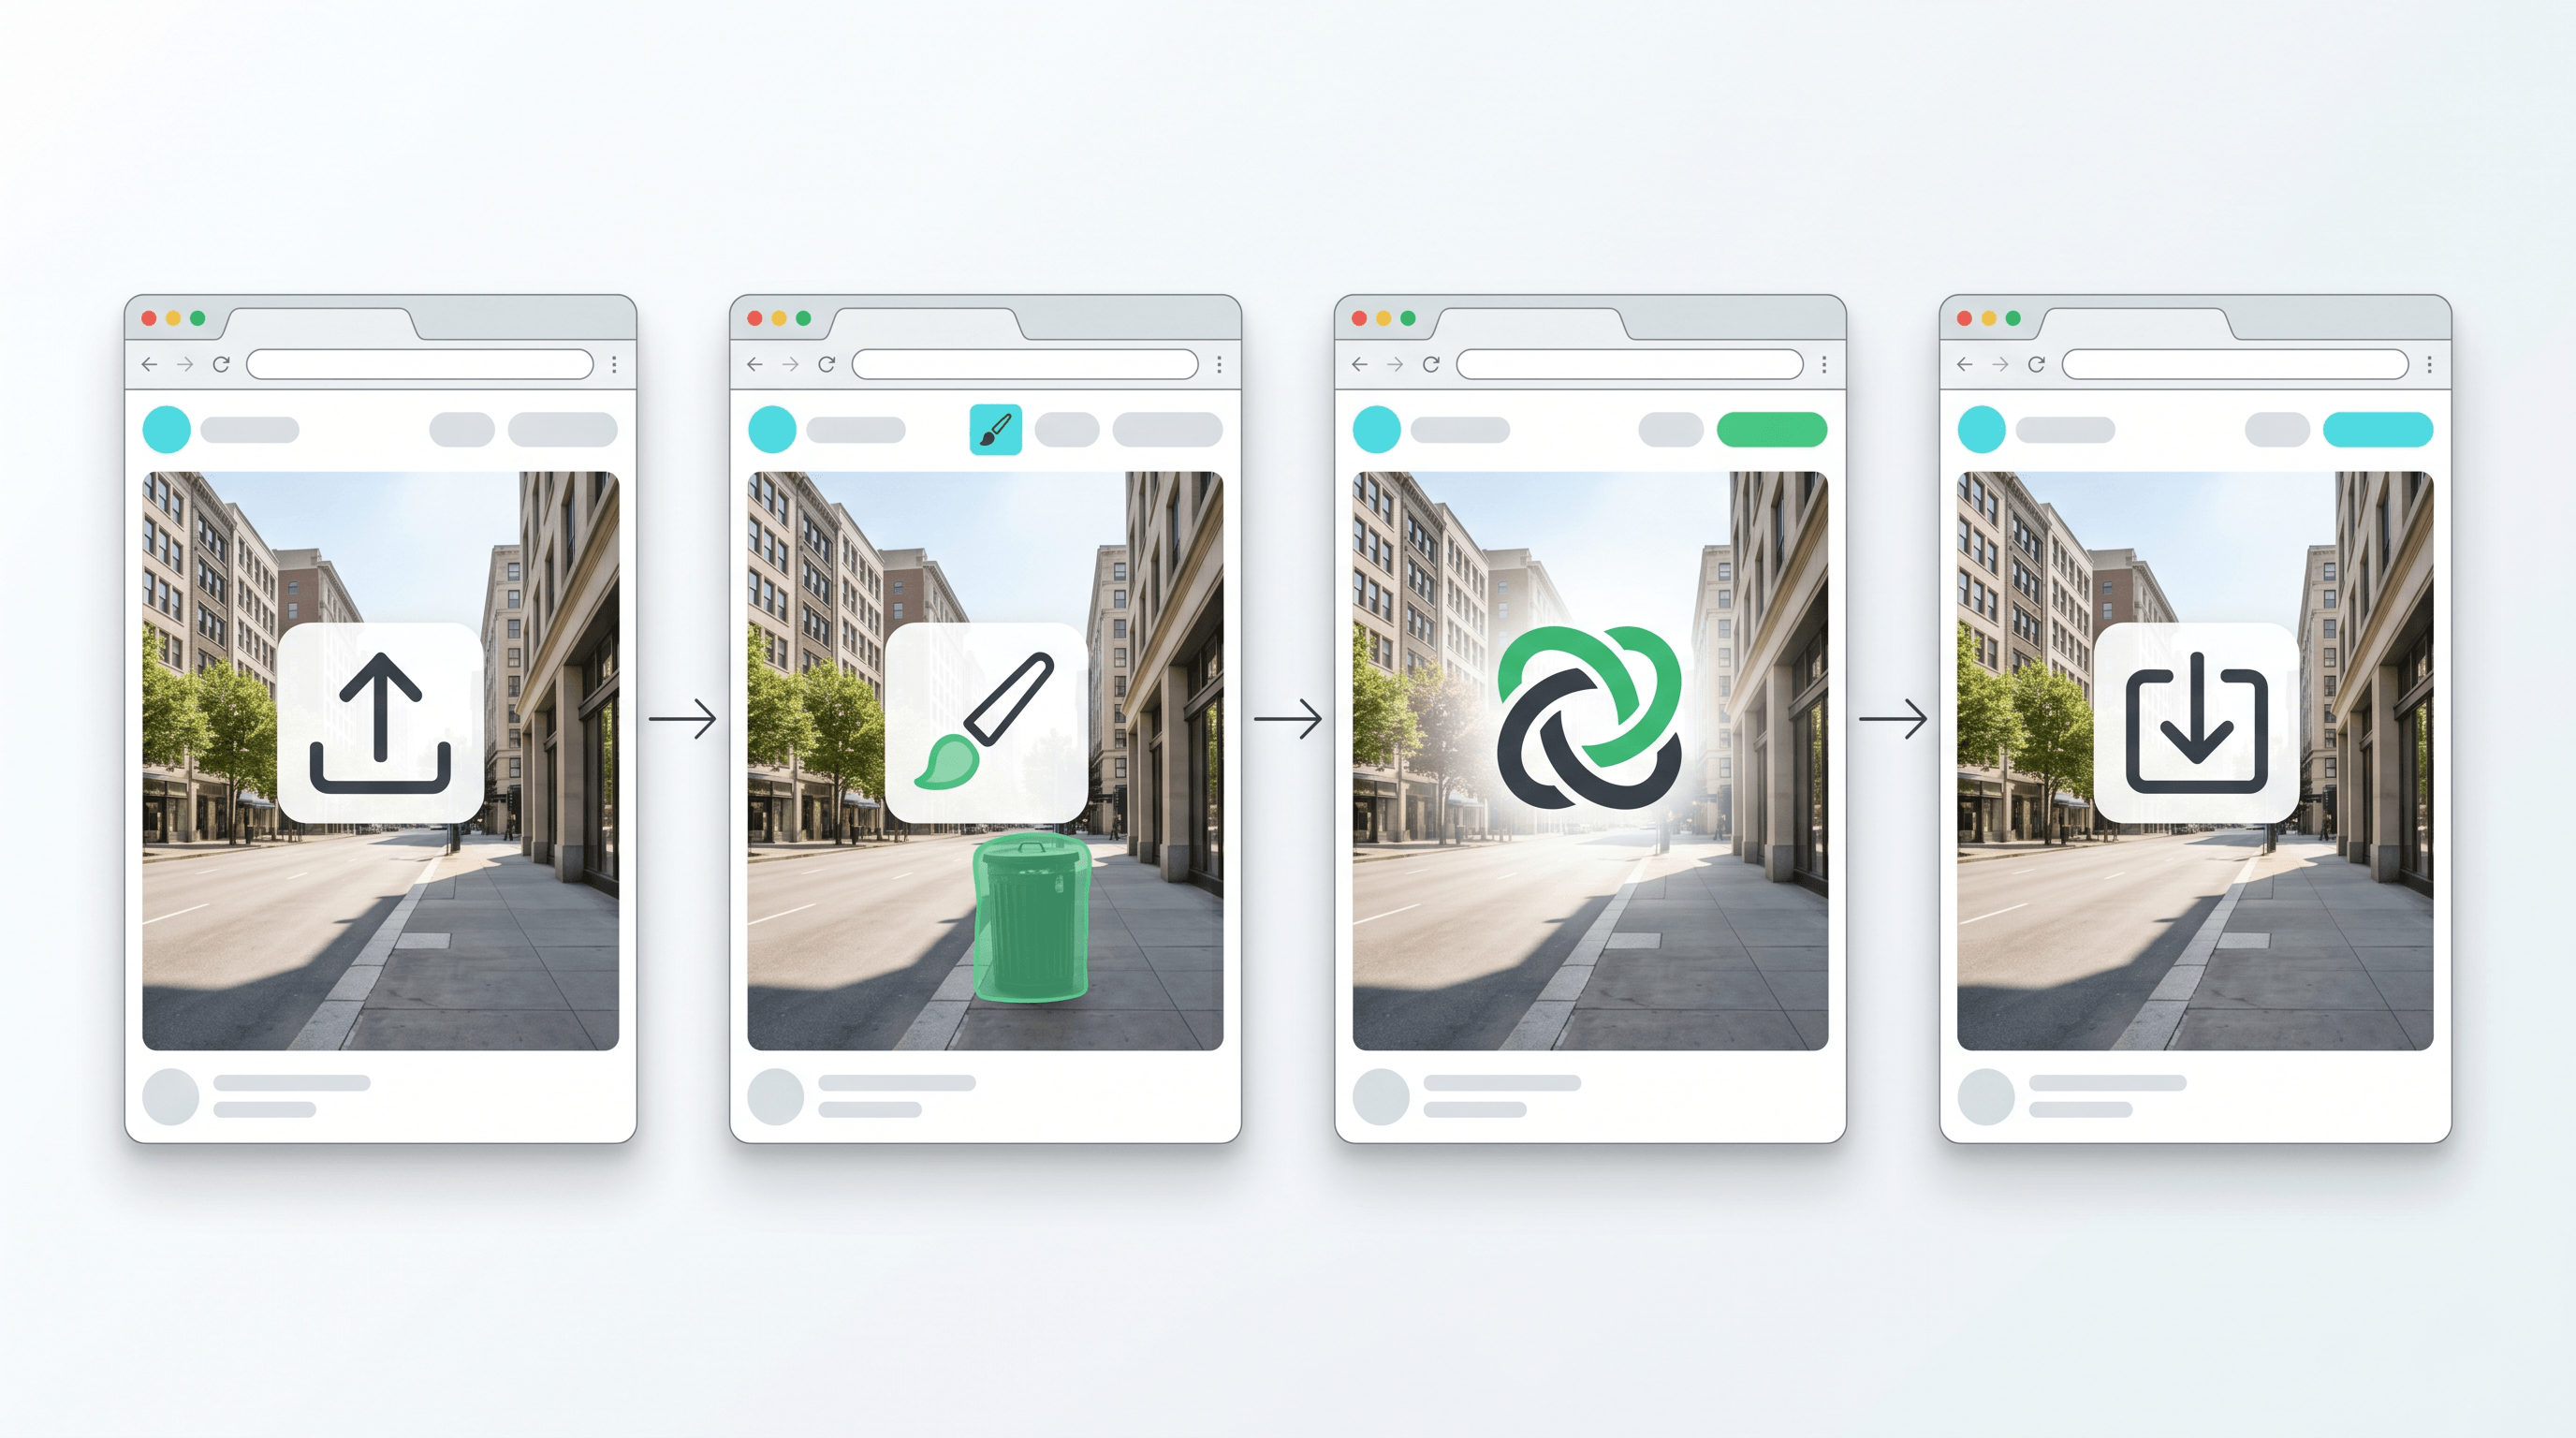
Step 4: Run inpainting, then inspect the patch at full size
Run one inpainting pass and check the result at 100 percent zoom. Look for repeating textures, broken straight lines, mismatched shadows, plastic skin, smeared edges, and halos. If the patch is close but not clean, run a second small pass over the bad edge instead of repainting the entire object.
This is where a finished editor is easier than a research demo. With Imgezy, you can upload a photo, describe what to remove or repair, and use AI editing for object removal, Smart Repair, and background cleanup without managing WebGPU settings or model files. For direct object cleanup, the remove object tool follows the same inpainting idea: mark the distraction and let AI rebuild the background.
Step 5: Enhance only after the inpainted area looks believable
Do not upscale, sharpen, or color-grade before repair. Enhancement makes scratches, stains, and object boundaries more visible. Once the inpainted patch blends well, use light photo enhancement to clean noise, improve contrast, or prepare the image for export.
If you need a larger final image, use an image upscaler after the repair, not before. The order is simple: repair first, enhance second, upscale last. That sequence keeps AI image inpainting in browser from amplifying the very defects you are trying to remove.
Prompt Recipes for Object Removal and Repair
Good prompts for AI image inpainting in browser name the target, the desired reconstruction, and the preservation rule. The best prompts are usually short because the mask already tells the model where to work.
| Job | Prompt recipe | What to inspect |
|---|---|---|
| Remove a tourist | "Remove the person in the mask and reconstruct the street, wall, and shadows behind them. Keep the rest of the scene unchanged." | Feet area, shadows, repeated pavement |
| Fill a missing corner | "Reconstruct the missing corner using the surrounding sky and tree texture. Do not add new objects." | Edge blending, repeated leaves |
| Repair a scratch | "Remove the scratch line and restore the original background texture underneath. Preserve grain." | Straight halos, blurred texture |
| Remove a cable | "Remove the overhead cable and rebuild the sky gradient and building edge naturally." | Broken roofline, sky banding |
| Fix a product photo | "Remove dust and small marks from the product surface. Do not change the shape, logo area, or color." | Product geometry, labels, reflections |
| Clean a background | "Remove clutter from the background and reconstruct a simple wall behind the subject. Keep the subject unchanged." | Hair edges, shoulder outline, wall texture |
For AI image inpainting in browser, avoid style words unless style is the point. Words like "cinematic," "beautiful," or "premium" may push the model to restyle the whole region. Repair language works better: remove, fill, reconstruct, preserve, blend, keep unchanged.
Pro Tips for Cleaner Inpainting
Cleaner AI image inpainting in browser results usually come from restraint. Use smaller masks, one goal per pass, and preservation rules. Treat inpainting as repair work, not a chance to redesign the image.
- Use one repair goal per pass. Remove the cable first, then fix the stain, then enhance color. Multi-goal prompts are harder to judge.
- Include the contact shadow. If you remove an object, mask its shadow too. Leaving the old shadow behind makes the edit obvious.
- Protect faces and product labels. Add "preserve identity" for people and "do not change the logo or text area" for products.
- Check lines and patterns. Fences, bricks, tiles, and horizon lines expose bad inpainting faster than soft textures.
- Do not chase perfect pixels. If the image is for a social post, believable at normal viewing size is enough. For archival or product work, inspect full size.
- Keep the original. Save the source file and export the repaired version separately so you can compare or redo the edit later.
Limits and Privacy Checks
Do not use AI image inpainting in browser as a truth machine. It can produce a plausible background, but it cannot know the real content that was destroyed or hidden. For legal, journalistic, archival, or forensic images, keep the original untouched and label AI-restored outputs clearly.
Privacy also depends on implementation. A browser UI does not automatically mean local processing. Some tools run models on your device; others upload to cloud servers; many will become hybrid. Check the product's privacy policy, file retention rules, and whether sensitive photos are appropriate for the tool.
The Moebius browser port is a strong signal, but it is still experimental. The demo proves that AI image inpainting in browser can run through ONNX/WebGPU on compatible machines; it does not remove practical constraints like large model downloads, memory use, browser support, and product polish.
FAQ
What is AI image inpainting in browser?
AI image inpainting in browser is a web-based photo-editing workflow where you select part of an image and let AI fill or repair that region. It is used for object removal, damaged-area repair, missing background reconstruction, and cleanup tasks that would otherwise require manual retouching.
Does browser AI inpainting mean my photo never uploads?
Not always. Some browser AI runs locally through WebGPU, WebAssembly, or WebGL, but many tools still process final images in the cloud. Treat "browser-based" as an interface description unless the product clearly states that the model runs locally.
What did the Moebius WebGPU port show?
The Moebius WebGPU port showed that a lightweight image inpainting model can be converted to ONNX and run in a browser demo on compatible hardware. It also showed current trade-offs: a large first download, WebGPU requirements, and research-demo rough edges.
Is AI image inpainting in browser good for object removal?
Yes, AI image inpainting in browser is well suited to object removal when the object covers a modest area and the surrounding background gives enough context. It works best on walls, sky, grass, pavement, water, fabric, and other areas with recoverable texture.
Can it restore missing details from old photos?
It can reconstruct plausible missing regions, but it cannot recover exact facts that are not visible. Use it for cosmetic repair, not for evidence. If a face, date, license plate, or document text is missing, the model may invent a believable but false detail.
Which browser features matter for local inpainting?
WebGPU is the main feature to watch because it lets web apps use the client GPU for compute-heavy tasks. ONNX Runtime Web also supports other browser execution paths, but WebGPU is the path that makes heavier browser-side AI editing more practical.
Conclusion
AI image inpainting in browser is becoming practical because the pieces are improving together: smaller specialist models like Moebius, web runtimes such as ONNX Runtime Web, and GPU access through WebGPU. For users, the promise is simple: mark a problem area, describe the repair, preview quickly, and keep the rest of the photo unchanged.
For real editing work, use a conservative sequence: start with the best source, mask tightly, write a repair-specific prompt, check the boundary, then enhance. That workflow works whether the model runs locally, in the cloud, or across a hybrid pipeline.
Ready to remove distractions and repair photo details without manual retouching? Try Imgezy free -> - use object removal, Smart Repair, background editing, photo enhancement, and upscaling from one browser-based workflow.